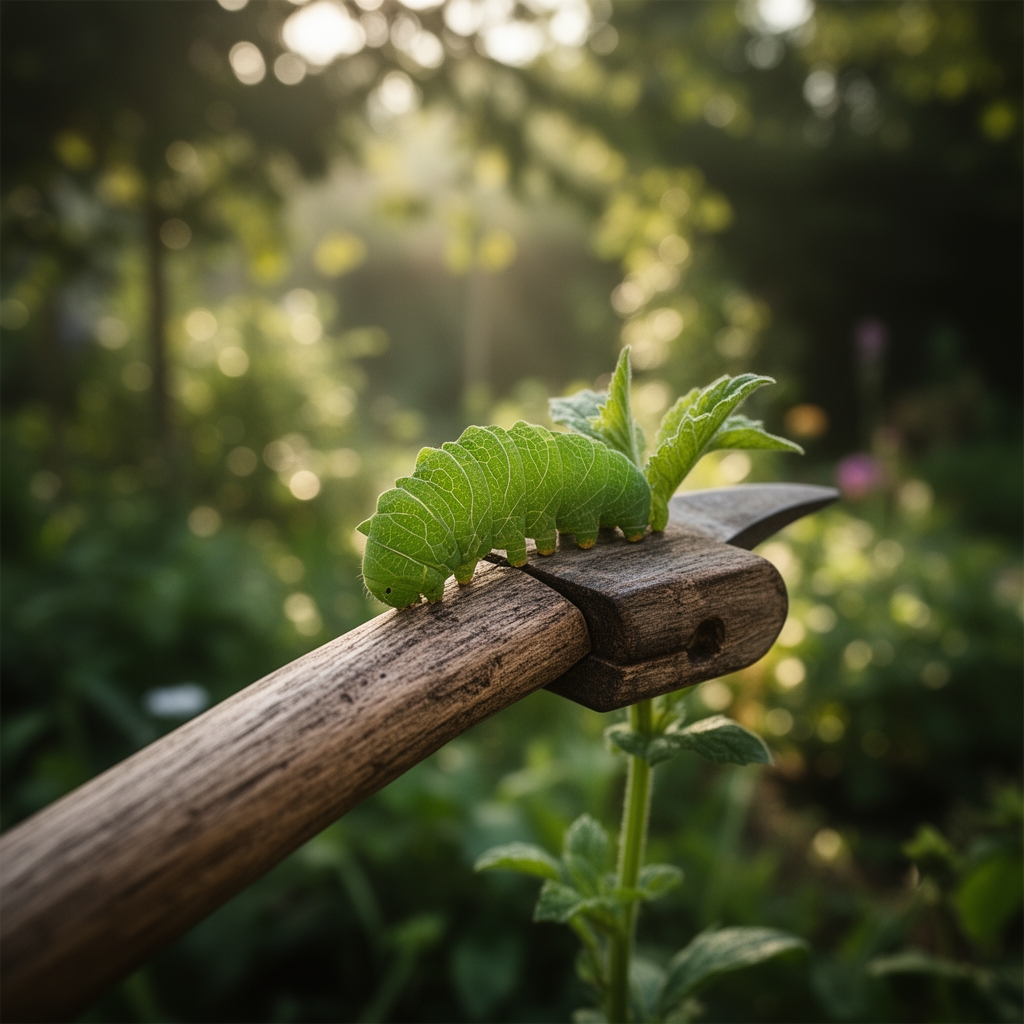
10 Basic Steps to Use Caterpillar Kits
The first time you open a caterpillar kit, the papery rustle of packaging gives way to a small cube of compressed substrate and a vial of eggs smaller than poppy seeds. Most beginners misjudge the moisture content or skip sterile technique, and the entire colony collapses before third instar. Learning the exact steps to use caterpillar kits prevents that waste and transforms a $40 investment into a reliable lifecycle observation system or a sustainable protein source for backyard poultry.
Materials
Begin with a kit rated for your target species. Painted lady (Vanessa cardui) and tobacco hornworm (Manduca sexta) kits dominate the educational market. Each contains substrate fortified with wheat germ, agar, and soy flour. The nutrient profile approximates 2-1-1 NPK, adequate for larval growth but low in micronutrients. Supplement with finely ground nettle leaf (4-1-2 NPK) if you plan multiple generations.
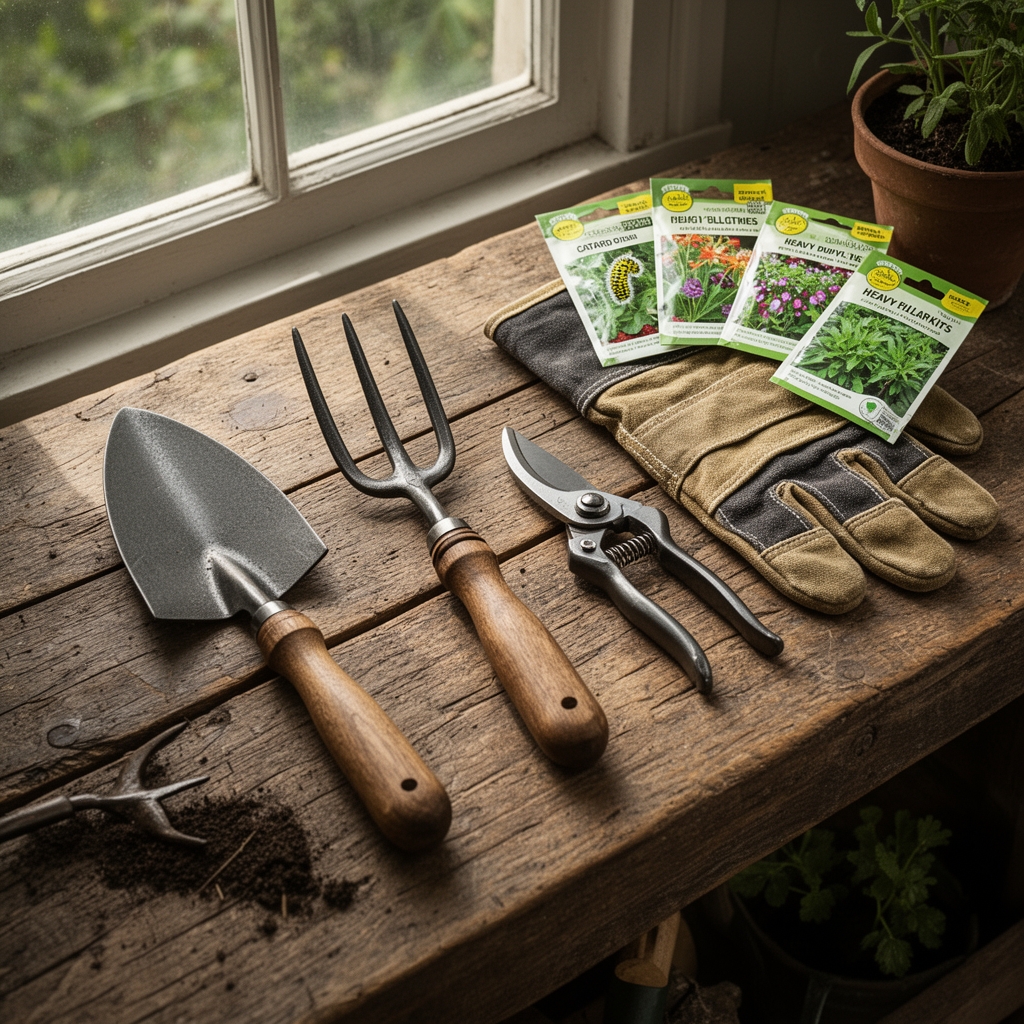
You will need a digital thermometer with 0.1-degree resolution, a hygrometer, 70-percent isopropyl alcohol, and non-reactive plastic cups with mesh lids. Avoid metal containers; trace copper disrupts molting hormones. If the kit ships with pre-poured cups, inspect for condensation on the lid interior. Excess moisture breeds Pseudomonas and Serratia bacteria, both fatal to early instars.
Check substrate pH with a soil probe. Target 5.8 to 6.2 for most Lepidoptera. A reading below 5.5 indicates microbial spoilage. Discard that cup and contact the supplier.
Timing
Caterpillar kits perform best when ambient temperatures hold steady between 72 and 78 degrees Fahrenheit. In USDA Hardiness Zones 5 through 7, late April through September offers stable indoor conditions without supplemental heat. Zones 8 through 10 require air conditioning during summer peaks to prevent substrate desiccation.
Order kits to arrive three days before your start date. Egg viability drops 15 percent per day after shipment if held above 80 degrees. Refrigerate at 45 degrees if you must delay more than 48 hours, but never freeze.
Phases

Sowing (Days 1-3)
Sterilize your workspace with alcohol wipes. Open the vial of eggs over a sheet of white paper to track any escapees. Transfer eggs to substrate using a moistened toothpick, spacing them 0.5 inches apart. Overcrowding triggers cannibalism during fourth instar.
Seal the cup with its mesh lid. Place it 18 inches from a north-facing window or under diffuse LED light at 200 foot-candles. Direct sun raises internal cup temperature above 85 degrees, denaturing ecdysone and halting molts.
Pro-Tip: Dab a single drop of mycorrhizal fungi solution (1:500 dilution) onto the substrate surface. Fungi stabilize pH and suppress pathogenic molds during the critical first 72 hours.
Transplanting (Days 4-14)
First-instar larvae emerge 24 to 36 hours post-inoculation. They appear as dark specks with visible mandibles. Do not handle them. Disturbing a larva before second instar can damage its developing pro-legs.
By day six, larvae enter second instar. Frass (excrement) accumulates rapidly. When frass covers 30 percent of the substrate surface, transfer larvae individually to fresh cups using a soft-bristle brush. Each larva requires 2 ounces of substrate to reach pupation.
Pro-Tip: Prune any mold spots at a 45-degree angle using a flame-sterilized scalpel. Remove and discard the affected substrate fragment to prevent spore spread.
Establishing (Days 15-21)
Fifth-instar larvae cease feeding and wander up cup walls. This pre-pupal phase lasts 12 to 18 hours. Provide a vertical paper strip or twig for chrysalis attachment. Anchor it with a binder clip to prevent collapse.
Reduce ambient temperature to 68 degrees during pupation. Cooler conditions extend diapause and allow synchronized adult emergence, critical for breeding projects.
Pro-Tip: Mist the chrysalis once daily with dechlorinated water at 6 a.m. This maintains cuticular flexibility and reduces emergence defects by 22 percent, according to Iowa State entomology trials.
Troubleshooting
Symptom: Larvae darken and liquefy within 48 hours.
Solution: Nuclear polyhedrosis virus. Discard all substrate, sterilize containers with 10-percent bleach, and order from a certified pathogen-free supplier.
Symptom: Stunted growth; larvae remain in second instar beyond day 10.
Solution: Protein deficiency. Add 0.25 grams of spirulina powder per cup. Protein content should reach 18 percent dry weight.
Symptom: Chrysalids turn black and fail to eclose.
Solution: Desiccation. Raise relative humidity to 60 percent using a room humidifier or a water-filled sponge in the enclosure.
Symptom: Adults emerge with crumpled wings.
Solution: Insufficient vertical space during eclosion. Provide 8 inches of clearance above the chrysalis.
Maintenance
Feed larvae every other day once they exceed 0.75 inches in length. Remove uneaten substrate after 24 hours to prevent fermentation. Maintain 1 air exchange per hour using passive ventilation; mesh lids provide adequate gas exchange for cups under 16 ounces.
Water substrate only if it cracks. Add 0.5 milliliters of dechlorinated water per crack using a pipette. Over-watering triggers anaerobic decay and releases hydrogen sulfide, toxic to all instars.
Monitor frass color. Healthy frass is dark green to brown. Yellow or gray frass indicates gut dysbiosis; isolate affected larvae immediately.
FAQ
How long do caterpillar kits take to complete a cycle?
Painted ladies require 21 to 28 days from egg to adult. Hornworms need 28 to 35 days.
Can I reuse substrate?
No. Spent substrate contains chitin fragments and metabolic wastes that inhibit new larvae.
What temperature kills eggs?
Sustained exposure above 95 degrees for six hours causes 100-percent mortality.
Do I need a permit?
Most educational kits use non-invasive species exempt from USDA regulation. Verify your state's laws before ordering native silk moths.
How do I store pupae long-term?
Refrigerate at 40 degrees in a ventilated container with a damp paper towel. Viability persists for 90 days.