5 Quick Steps to Install Arched Gates
The smell of creosote-treated cedar and freshly turned soil marks the beginning of serious garden architecture. Whether you are enclosing a vegetable patch or framing a rose arbor, the steps to install arched gates demand precision in post placement, accurate measurement of the arch radius, and attention to soil chemistry where footings meet earth. A 6-foot arched gate in Zone 6 needs footings that extend 30 inches below grade to resist frost heave.
Materials
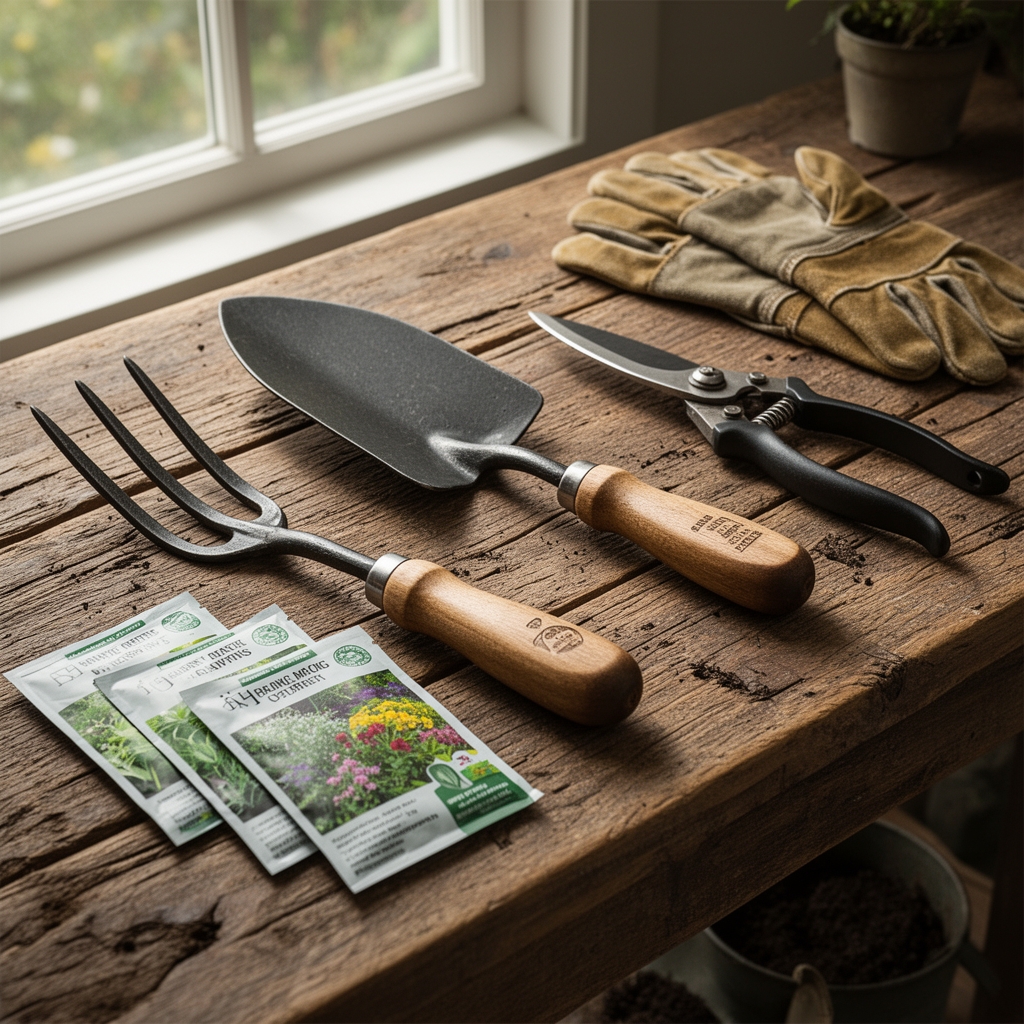
Gate hardware and structural lumber form the skeleton. Select pressure-treated 4×4 posts rated for ground contact, minimum 8 feet in length. Western red cedar or black locust heartwood resists decay without chemical treatment. For the arch itself, laminated Douglas fir beams or pre-curved steel tubing (1.5-inch diameter, 14-gauge) provide structural integrity. Stainless steel hinges rated for 150 pounds prevent sagging.
Footings require Type II Portland cement mixed 1:2:3 (cement:sand:gravel). In acidic soils below pH 5.5, incorporate dolomitic lime at 5 pounds per cubic foot of backfill to buffer corrosion on metal hardware. For wooden posts, coat the below-grade section with copper naphthenate preservative, avoiding creosote near edibles. Apply a root barrier fabric (6-mil polyethylene) if installing within 4 feet of established trees with aggressive lateral roots.
Backfill amendments depend on native soil. In heavy clay (cation exchange capacity above 25), blend 40% coarse sand and 10% aged compost with a balanced 4-4-4 organic fertilizer at 2 pounds per post hole. Sandy soils benefit from biochar at 15% by volume and kelp meal (1-0.1-2 NPK) at 1 cup per hole to improve moisture retention. Mycorrhizal fungi inoculant (Glomus intraradices) applied at 1 tablespoon per hole colonizes the rhizosphere of adjacent plantings within 8 weeks.
Timing
Installation windows align with frost-free periods and soil workability. In Zones 3-5, schedule work between mid-May and early September when soil temperatures exceed 50°F at 12 inches depth. Zones 6-7 permit installation from late March through October. Zones 8-10 allow year-round work, though avoid periods of excessive rainfall that compromise concrete curing.
Concrete footings require 72 hours of cure time above 40°F before bearing load. In autumn installations north of Zone 6, complete work 6 weeks before first frost to allow concrete to reach 80% strength. Spring installations should follow the last frost date by 2 weeks to ensure stable soil conditions.
Phases

Sowing: Site Preparation and Layout
Mark hinge-post and latch-post locations with stakes, ensuring 48 inches clear opening for wheelbarrow access. Verify level across both points using a laser level accurate to 1/16 inch over 10 feet. Excavate post holes 12 inches in diameter, extending to 30 inches depth in frost-prone zones or 18 inches in Zone 8 and above. Remove organic debris and test soil pH with a calibrated meter. Adjust excavated soil pH to 6.5-7.0 using sulfur (to lower) at 0.5 pounds per pH unit per cubic foot or lime (to raise) at 3 pounds per pH unit per cubic foot.
Pro-Tip: Spray hole walls with Bacillus subtilis solution (10^8 CFU/ml) to suppress Armillaria root rot if installing near old fruit trees.
Transplanting: Post and Arch Assembly
Set posts in holes, bracing with 2×4 lumber at 90-degree angles. Pour 6 inches of gravel base for drainage. Mix concrete to a slump of 4 inches. Pour around posts while vibrating with a steel rod to eliminate air pockets. Crown the top of each footing 2 inches above grade, sloping away from the post at 5 degrees. Embed J-bolts at the top of each footing if using bolt-on post bases.
Attach arch members after concrete reaches 48-hour cure. For laminated wood arches, pre-drill holes 1/16 inch smaller than lag screw diameter to prevent splitting. Apply exterior polyurethane glue at joints. Steel arches require welding at 90-amp settings for 14-gauge tubing, grinding welds flush. Galvanize bare metal with cold-galvanizing compound (95% zinc) to prevent rust.
Pro-Tip: Induce slight camber by shimming the arch crown 1/4 inch higher than design height during installation. Settling compresses the arch to target radius within 6 months.
Establishing: Gate Mounting and Finishing
Hang the gate on heavy-duty strap hinges, positioning the top hinge 6 inches below the arch spring line. Set a 3/8-inch gap between gate bottom and ground to prevent binding during frost heave. Install a cane bolt or drop rod on the latch side, drilling 2 inches into subsoil for a positive stop. Test swing clearance through full 180-degree arc.
Seal all wood surfaces with three coats of exterior-grade linseed oil or acrylic latex stain. Reapply annually in high-UV zones. Metal components receive rustproof enamel after wire-brushing and acetone wipe.
Pro-Tip: Apply auxin-based rooting hormone paste to any nicks in pressure-treated posts to stimulate lignin repair and seal against fungal entry.
Troubleshooting
Symptom: Post lean developing within first season.
Solution: Excavate one side to 18 inches depth. Drive a 36-inch galvanized steel stake against the post, refill with concrete slurry (1:3 mix), and brace for 72 hours.
Symptom: Hinge screws loosening in softwood posts.
Solution: Remove screws. Inject two-part epoxy wood filler into stripped holes. Re-drill after 24-hour cure. Use screws one gauge larger.
Symptom: White fungal growth on buried post section (visible during inspection).
Solution: Identified as saprophytic Trichoderma, benign in oxidized soil. If mushroom fruiting bodies appear, indicating Armillaria, excavate post, remove infected wood 6 inches beyond discoloration, treat with copper naphthenate, and reinstall with fresh concrete.
Symptom: Arch sag exceeding 1 inch at crown.
Solution: Install a tension cable along the underside of the arch, attaching turnbuckles at each spring point. Tighten to restore original radius. Use 1/8-inch stainless aircraft cable rated to 2,000 pounds.
Symptom: Gate binds during winter months.
Solution: Frost heave has lifted footings. In spring, excavate around footings and install crushed stone to 36 inches depth, extending below frost line.
Maintenance
Inspect hinges quarterly. Apply lithium-based grease to pivot points, wiping excess to prevent dust accumulation. Tighten hinge screws to 20 inch-pounds of torque annually. Check post plumb with a 4-foot level each spring. Deviation beyond 1 degree requires cable bracing or footing reinforcement.
Water adjacent plantings with 1 inch per week during establishment, measured with a rain gauge. Avoid irrigation within 6 inches of wooden posts to prevent decay. Mulch gate threshold with 2 inches of shredded hardwood bark to suppress weeds, maintaining a 4-inch gap around posts.
Reapply wood sealant every 18 months. Sand lightly with 120-grit paper before application. Metal components need annual inspection for rust. Wire-brush affected areas to bare metal, prime with zinc chromate, and topcoat with rustproof enamel.
FAQ
How deep should footings be for arched gates?
Excavate to 30 inches in Zones 3-6, 24 inches in Zone 7, and 18 inches in Zones 8-10. Depth must exceed local frost line by 6 inches.
What is the ideal gate opening width?
A 48-inch clear opening accommodates wheelbarrows and garden carts. Narrow to 36 inches for pedestrian-only access.
Can I install arched gates in clay soil?
Yes. Amend backfill with 40% coarse sand to improve drainage and reduce frost heave pressure on footings.
How long before I can hang the gate after pouring concrete?
Wait 72 hours minimum at temperatures above 40°F. Cold weather extends cure time to 5 days.
What prevents wood rot in ground-contact posts?
Use pressure-treated lumber rated for ground contact or naturally rot-resistant species like black locust. Coat below-grade sections with copper naphthenate preservative and ensure proper drainage around footings.