5 Quick Steps to Lay Wood Chips
The sharp scent of fresh wood chips signals the beginning of a transformation in your garden. Learning the steps to lay wood chips correctly prevents nitrogen depletion, controls weed pressure, and builds soil structure over time. The process requires attention to depth, particle size, and substrate preparation. Whether you spread aged hardwood mulch or fresh conifer chips, each layer influences mycorrhizal fungi colonization and cation exchange capacity in the root zone.
Materials
Select wood chips based on the existing soil pH and the nitrogen budget of your planting beds. Fresh hardwood chips (oak, maple, ash) measure pH 5.5-6.5 and tie up approximately 0.5 pounds of nitrogen per cubic yard during the first six months of decomposition. Conifer chips (pine, fir, cedar) skew more acidic at pH 4.5-5.5 and decompose slower due to higher lignin content.
For nitrogen supplementation during chip installation, apply blood meal at 12-0-0 or feather meal at 12-0-0 at a rate of 2 pounds per 100 square feet. Alfalfa meal (2-1-2) provides both nitrogen and triacontanol, a natural growth stimulant. Composted wood chips aged 12-18 months carry beneficial actinomycetes and require no nitrogen compensation.
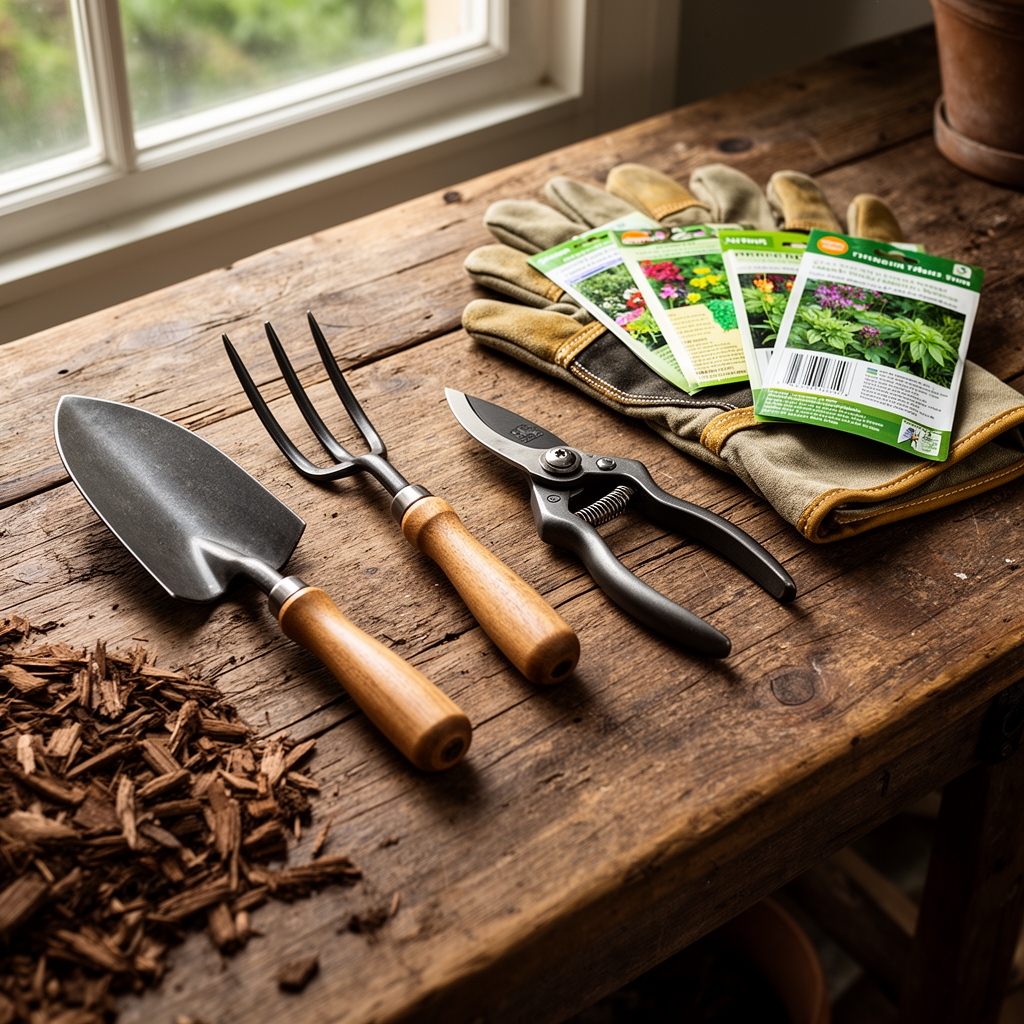
Gather a steel rake, wheelbarrow, landscape fabric pins if working on slopes steeper than 15 degrees, and a soil knife for edging. A 3-cubic-yard load covers approximately 300 square feet at 3 inches deep.
Timing
In USDA Hardiness Zones 3-6, lay wood chips in early spring two weeks after the last frost date, when soil temperatures reach 50°F at 4-inch depth. This timing allows the chips to settle before peak growing season and minimizes disturbance to emerging perennials.
Zones 7-9 benefit from fall application between October and November, after summer heat stress subsides but before winter rains compact bare soil. The chips insulate root systems during occasional freezes and moderate soil temperature swings.
Zone 10-11 gardeners should apply chips during the dry season, typically November through March, to conserve moisture before the return of monsoonal rains. Avoid laying chips during active growth flushes when auxin distribution demands peak nutrient availability.
Phases

Preparation Phase
Clear existing weeds by hand-pulling or severing at soil level with a hoe. Leave root systems intact to minimize soil disruption and preserve established mycorrhizal networks. Measure the area and calculate volume needed: multiply square footage by desired depth in feet, then divide by 27 to convert to cubic yards.
Test soil pH and adjust if necessary. Most ornamental beds perform best between pH 6.0-7.0. Apply elemental sulfur at 1 pound per 100 square feet to lower pH by 0.5 units, or dolomitic limestone at 5 pounds per 100 square feet to raise pH by 0.5 units.
Pro-Tip: Broadcast granular mycorrhizal inoculant at 1 ounce per 10 square feet directly onto cleared soil before chip application. Glomus intraradices and Rhizophagus irregularis species colonize 80% faster when applied to mineral soil rather than over organic mulch layers.
Installation Phase
Dump chips in multiple piles across the bed rather than a single central mound. This reduces wheelbarrow trips and minimizes compaction. Spread chips with a steel rake, working from the perimeter toward the center.
Maintain a 3-inch depth for general landscape beds. Pathways and high-traffic areas tolerate 4-5 inches. Keep chips 2-3 inches away from woody plant stems and tree trunks to prevent moisture accumulation and bark decay. Around herbaceous perennials, leave a 1-inch gap to avoid crown rot.
Pro-Tip: Create a slightly concave profile in the chip layer, with edges 0.5 inches higher than the center. This encourages water penetration toward plant roots rather than runoff at bed margins.
Settling Phase
Water the chip layer lightly with 0.25 inches to help particles interlock and accelerate microbial colonization. Chips will compress 20-30% within the first three months as decomposition begins.
Monitor the chip-soil interface after two weeks. A white fungal mat (primarily saprophytic species, not harmful) indicates active lignin breakdown. This network immobilizes atmospheric nitrogen and improves aggregate stability.
Pro-Tip: Avoid disturbing the chip layer during the first 60 days. Fungal hyphae extend 2-4 inches into the soil profile during this establishment window.
Troubleshooting
Symptom: Yellowing lower leaves on adjacent plants (chlorosis) within 4-6 weeks of chip installation.
Solution: Fresh chips have locked up available nitrogen. Broadcast ammonium sulfate (21-0-0) at 0.5 pounds per 100 square feet and water in thoroughly. Reapply every 3 weeks until leaf color returns.
Symptom: Chip layer develops sour odor and turns grey-black.
Solution: Anaerobic decomposition from excessive moisture. Rake chips to 1.5-inch depth to improve aeration. Ensure drainage pathways exist for water to exit the bed.
Symptom: Weed emergence through chip layer after 6 months.
Solution: Initial chip depth was insufficient. Add 1-2 inches to restore light blockage. Hand-pull weeds before seed set to prevent rhizome establishment.
Symptom: Mushroom fruiting bodies appear in chips during humid weather.
Solution: Normal saprophytic fungi decomposing lignin. These species do not harm plants. Remove fruiting bodies if aesthetics are a concern, but subsurface mycelium benefits soil structure.
Symptom: Vole tunnels appear under chip layer.
Solution: Chips provide cover for rodent activity. Install 0.25-inch hardware cloth barriers around high-value plant crowns. Maintain a 6-inch chip-free zone around tree trunks.
Maintenance
Refresh the chip layer annually with 1-inch of new material to maintain depth as lower layers decompose into soil. This typically occurs in early spring in northern zones, late fall in southern regions.
Apply 0.5 inches of water per week during establishment if rainfall is insufficient. Mature chip layers require no supplemental irrigation except during drought exceeding 3 weeks.
Monitor chip depth with a soil probe every 6 months. When the layer compresses below 2 inches, add material to restore suppression of weed seed germination.
Turn or fluff chips every 18 months with a rake to prevent matting and maintain air exchange. Do not incorporate chips into soil, as this accelerates nitrogen tie-up in the root zone.
FAQ
How deep should wood chips be laid around trees?
Maintain 3-4 inches of chips extending to the drip line, but keep a 3-inch gap at the trunk base to prevent collar rot and rodent damage.
Do wood chips attract termites?
Subterranean termites consume buried wood, not surface mulch. Maintain a 6-inch chip-free zone against building foundations as a precaution.
How long do wood chips last before replacement?
Hardwood chips decompose in 18-24 months in temperate climates. Conifer chips persist 30-36 months due to higher resin content.
Can fresh wood chips harm plants?
Fresh chips temporarily immobilize nitrogen but do not release toxins. Compensate by adding 2 pounds of blood meal per cubic yard at installation.
What particle size works best for steps to lay wood chips?
Target 0.5-2 inch diameter chips. Particles smaller than 0.25 inches mat and repel water. Chunks larger than 3 inches decompose too slowly and create voids.