6 Easy Steps to Grow Spider Plant Babies
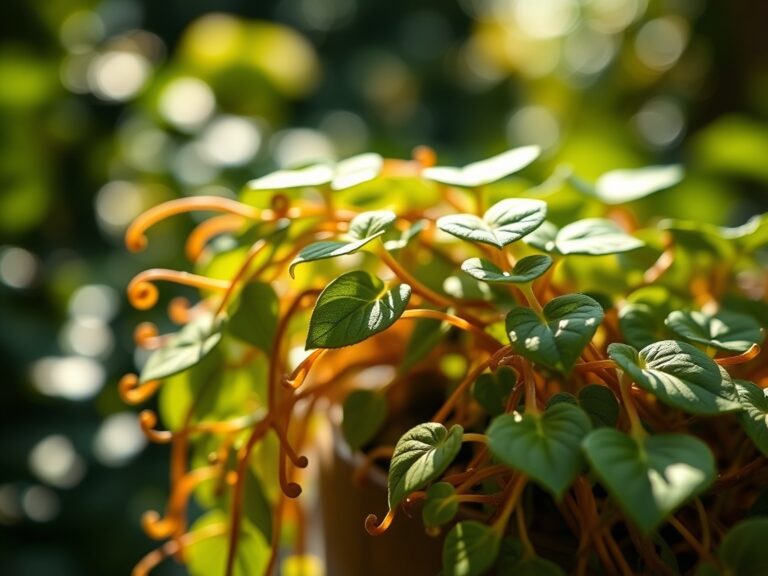
The smell of damp peat moss and the snap of a leaf under high turgor pressure define a successful propagation session. When you master the steps to grow spider plant babies, you are engaging in asexual reproduction through specialized stems called stolons. These plantlets, or offsets, are genetically identical to the parent. Successful rooting requires precise environmental control to ensure the transition from atmospheric moisture to soil-based nutrient uptake. You must monitor the plant for the emergence of adventitious roots before attempting detachment.
Establishing a new generation of Chlorophytum comosum depends on your ability to manipulate the rhizosphere. The parent plant must be in a state of high metabolic activity, characterized by firm, arching foliage and active stolon production. You are not merely planting a clipping; you are managing a physiological transition where the plantlet moves from a parasitic relationship with the mother plant to an independent existence. This process demands a rigorous adherence to soil physics and hydration schedules to prevent cellular collapse or fungal pathogens from colonizing the fresh tissue.
Materials:
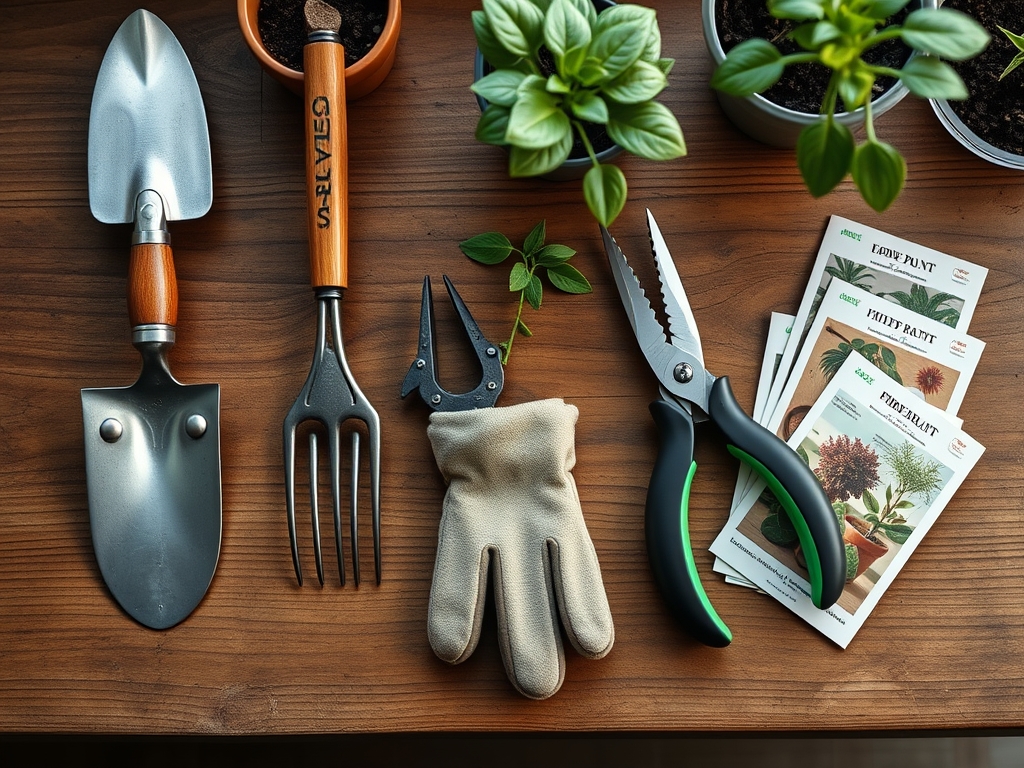
Substrate selection is the foundation of root development. You require a friable loam that offers high porosity and excellent drainage to prevent anaerobic conditions. The ideal soil pH for Chlorophytum ranges from 6.0 to 7.2. A Soil Cation Exchange Capacity (CEC) of 15 to 25 meq/100g ensures the medium can hold and release essential nutrients like potassium and magnesium.
For the initial rooting phase, use a starter fertilizer with an NPK ratio of 5-10-5. The elevated phosphorus levels stimulate ATP production and root elongation. Avoid high nitrogen mixes at this stage, as excessive foliar growth can outpace the root system's ability to provide water. Your toolkit must include a soil moisture meter to calibrate hydration and bypass pruners sterilized with 70 percent isopropyl alcohol to prevent the transmission of pathogens like Pythium.
Timing:
While spider plants are typically indoor specimens, they respond to the "Biological Clock" of seasonal light shifts. In Hardiness Zones 9 through 11, they can remain outdoors year round, but propagation is most successful when ambient temperatures remain between 65 and 75 degrees Fahrenheit. The transition from the vegetative stage to the reproductive stage is triggered by a shortening photoperiod or when the parent plant becomes slightly root-bound.
The optimal window for starting the steps to grow spider plant babies is early spring through mid-summer. This coincides with the plant's peak metabolic rate, ensuring high levels of endogenous auxins are present in the stolon nodes. Do not attempt propagation during the winter dormancy period when light levels fall below 100 foot-candles, as the lack of photosynthetic energy will lead to slow root initiation and increased risk of rot.
Phases:

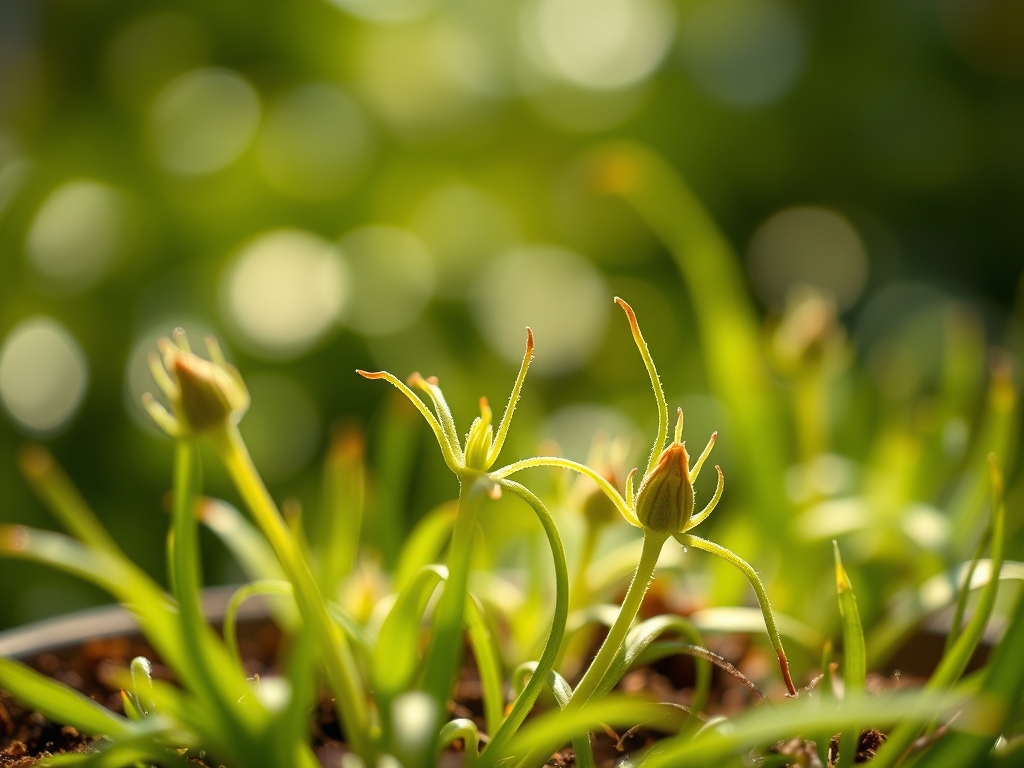
Sowing and Root Initiation
Identify a plantlet on the stolon that has developed small, brown protrusions at the base. These are the initials for adventitious roots. You have two options: "pinning" the baby into a separate pot while still attached to the mother, or "water propping." For soil initiation, press the base of the plantlet into a 2-inch pot filled with moist vermiculite and peat. Use a U-shaped wire to ensure constant contact between the node and the substrate.
Pro-Tip: Maintaining attachment to the mother plant utilizes the parent's vascular system to provide carbohydrates while the baby develops its own roots. This prevents the "transplant shock" associated with immediate excision because the baby is not forced to rely on stored starches during the critical first 10 days of root formation.
Transplanting and Excision
Once the adventitious roots reach a length of 1 to 2 inches, use your bypass pruners to sever the stolon. Cut the umbilical-like stem approximately 0.5 inches from the baby's base. If the plantlet was started in water, move it to a permanent potting medium immediately. Ensure the crown of the plant sits exactly at the soil line; burying the crown leads to moisture entrapment and subsequent crown rot.
Pro-Tip: Use a hori-hori knife to create a precise planting hole that accommodates the root spread without "J-rooting." Proper root orientation is essential for gravitropism, the biological process that directs root growth downward into the soil profile to maximize nutrient absorption.
Establishing the Independent Plant
During the first 21 days post-excision, the plantlet is vulnerable to desiccation. Maintain a consistent humidity level of 50 to 60 percent. Do not apply full-strength fertilizers during this window. The focus is on the expansion of the root architecture into the surrounding soil. Monitor the turgidity of the leaves; if the foliage appears limp, the root system is failing to meet the transpiration demands of the plant.
Pro-Tip: Mycorrhizal symbiosis can be encouraged by inoculating the soil with beneficial fungi. These organisms extend the reach of the root system, increasing the surface area for water and phosphorus uptake by up to 100 times, which significantly hardens the plant against future drought stress.
The Clinic:
Physiological disorders often manifest as visible leaf damage. You must distinguish between mechanical injury and systemic nutrient issues.
- Symptom: Brown, necrotic leaf tips.
- Solution: This is often caused by fluoride or chlorine toxicity in municipal water. Switch to distilled water or rainwater. Fluoride accumulates in the leaf margins, causing cellular death.
- Symptom: Pale, yellowing foliage (Chlorosis).
- Solution: This indicates a Nitrogen deficiency or high soil pH. Apply a balanced 10-10-10 water-soluble fertilizer and check that the pH has not drifted above 7.5, which locks out iron and manganese.
- Symptom: Soft, blackened base (Crown Rot).
- Solution: This is a result of overwatering or poor drainage. Reduce irrigation and ensure the substrate dries to a depth of 1 inch between watering cycles.
Fix-It: If you observe "stretching" or leggy growth, the plant is suffering from etiolation due to low light. Increase light intensity to at least 200 foot-candles to restore compact, robust growth.
Maintenance:
Precision irrigation is the most critical factor in long-term health. Provide 1.5 inches of water per week during the active growing season. Use a soil moisture meter to verify that the root zone, not just the surface, is hydrated. For mature specimens, water at the drip line rather than directly into the center of the foliage to prevent fungal spores from germinating in the crown.
Pruning is necessary to redirect energy. Use your bypass pruners to remove spent stolons and yellowing leaves at the base. This prevents the plant from wasting resources on senescence and encourages the development of new vegetative shoots. Every 24 months, check the root mass. If the roots are circling the interior of the pot, the plant is pot-bound and requires a vessel 2 inches larger in diameter to maintain a healthy Cation Exchange Capacity.
The Yield:
While spider plants do not provide an edible harvest, their "yield" is measured in the volume of air purified and the number of viable offsets produced. A healthy parent can produce over 15 babies per season. To ensure "day-one" freshness for gifted plantlets, keep them in a high-humidity environment until the very moment of transfer. If shipping babies, wrap the root zone in damp sphagnum moss and seal it in a plastic membrane to maintain hydraulic pressure during transit.
FAQ:
How long does it take for spider plant babies to root?
In optimal conditions with temperatures of 70 degrees Fahrenheit, adventitious roots typically emerge within 7 to 14 days. Complete establishment in a soil substrate usually requires 3 to 4 weeks before the plantlet can be considered independent.
Can I grow spider plant babies in water indefinitely?
While possible, it is not recommended for long-term health. Water lacks the necessary Cation Exchange Capacity and micronutrients found in soil. Plants kept in water often develop "water roots" which are fragile and struggle to adapt to soil later.
Why are my spider plant babies not growing roots?
Root inhibition is often caused by low ambient temperatures or insufficient light. Ensure the plant is in a location with at least 12 hours of indirect light and maintain a substrate temperature above 65 degrees Fahrenheit to stimulate auxin activity.
What is the best fertilizer for young spider plants?
Use a diluted, water-soluble fertilizer with an NPK ratio of 20-20-20 at half strength. Apply this every 4 weeks during the growing season. Avoid heavy salts, as young roots are highly sensitive to osmotic burn and dehydration.