7 Artistic Steps to Install a Stone Lantern
The smell of damp, disturbed earth and the tactile turgor of a healthy leaf define the successful garden space. Installing a stone lantern requires more than aesthetic placement; it demands an understanding of soil compaction and structural stability. To master the steps to install a stone lantern, you must integrate the heavy granite or sandstone components into the existing rhizosphere without compromising the root systems of nearby specimen plants. Precision in leveling and drainage ensures the lantern remains a permanent fixture through seasonal freeze-thaw cycles.
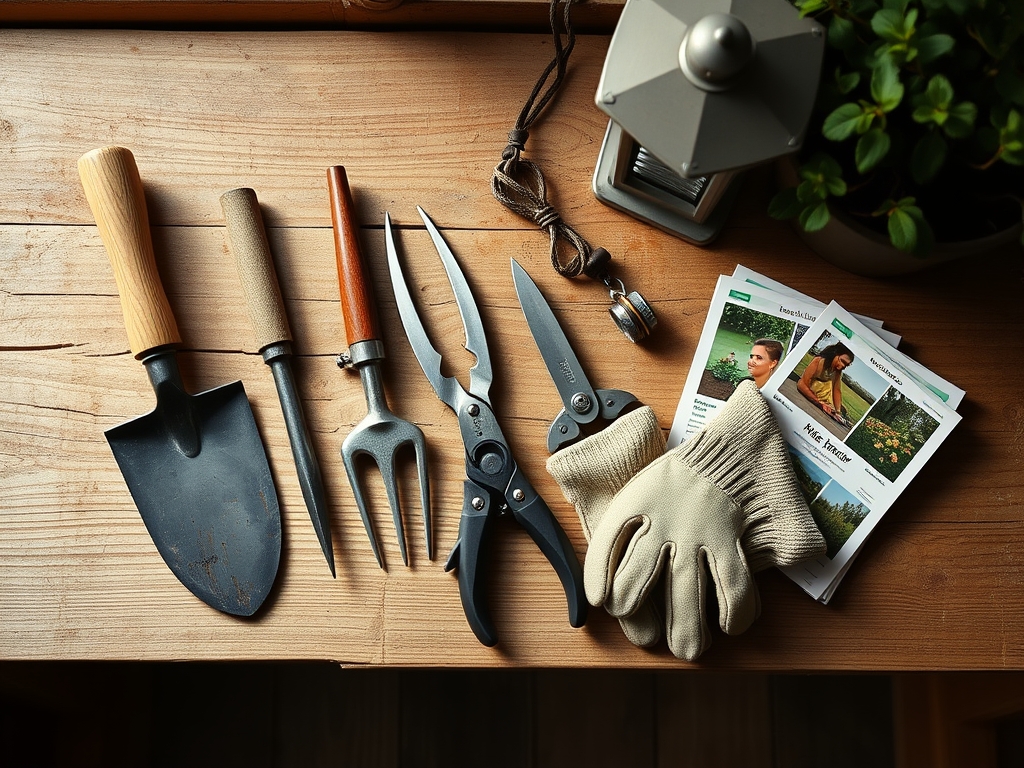
Materials:
The foundation of a stone lantern depends on a **friable loam** substrate that allows for adequate drainage while maintaining structural integrity. If you are planting around the base of the lantern, the soil pH should be maintained between **6.0 and 7.0** for most ornamental shrubs. For acid-loving companions like Azaleas or Camellias, aim for a pH of **5.0 to 5.5**.
Provide a slow-release fertilizer with an NPK ratio of 10-10-10 if the soil Cation Exchange Capacity (CEC) is low. High CEC soils, typically those with high clay or organic matter content, retain nutrients better and may only require a 5-10-5 ratio to prevent excessive vegetative growth that could obscure the lantern. You will need crushed 3/4-inch angular gravel for the base to prevent settling and a level to ensure the vertical axis remains true.
Timing:
Installation is best performed during the dormant season or early spring before the "Biological Clock" triggers the transition from vegetative to reproductive stages in surrounding flora. In Hardiness Zones 4 through 7, perform the installation after the ground thaws but before the first flush of spring growth. This prevents damage to tender new shoots and allows the soil to settle during the spring rains.
Avoid installation during periods of high soil moisture to prevent compaction. Compaction reduces the macropores in the soil, limiting oxygen availability to the rhizosphere and increasing the risk of root rot in nearby perennials. Aim for a window at least two weeks before the average last frost date to ensure the site is ready for any supplemental planting.
Phases:

Sowing the Foundation
Excavate a hole 12 inches deep and twice the width of the lantern base. Fill the first 6 inches with compacted gravel. This creates a capillary break that prevents moisture from wicking up into the stone, which can cause spalling during sub-zero temperatures.
Pro-Tip: Proper drainage prevents the "heaving" caused by ice crystals. By creating a gravel sump, you manage the hydrostatic pressure around the base, protecting the structural integrity of the stone.
Transplanting and Leveling
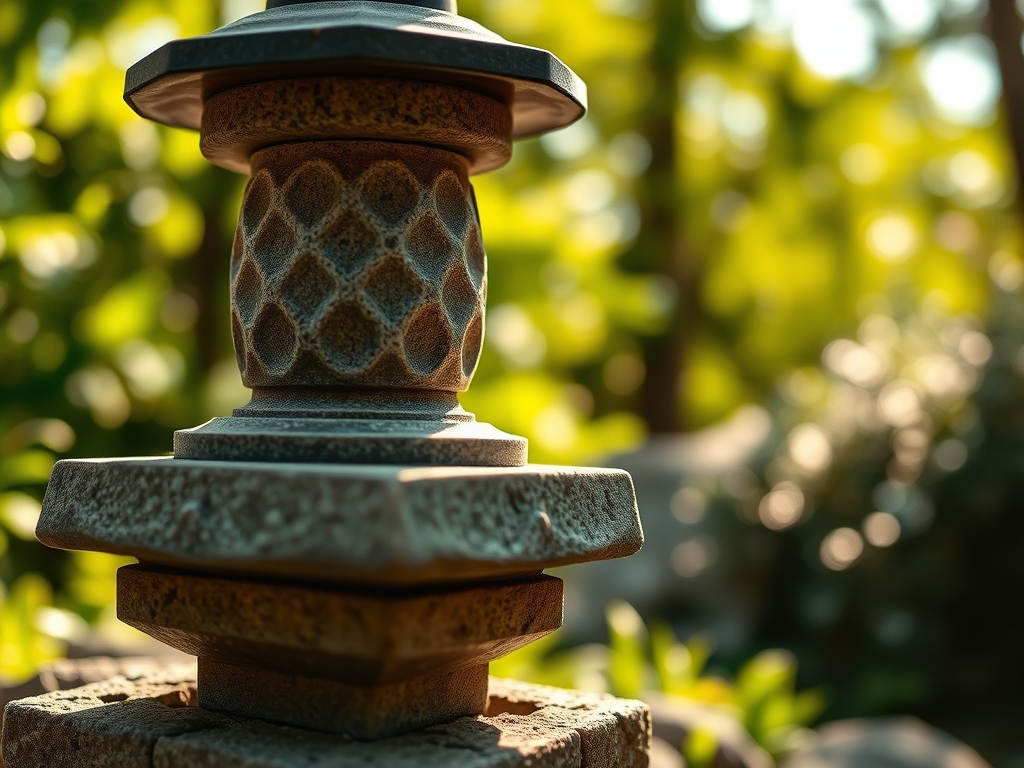
Place the base stone (jibukuro) onto the gravel. Use a level to check both the X and Y axes. Once the base is level, stack the shaft (sao), the middle platform (chudai), the light box (hibukuro), and the roof (kasa). If the lantern is tall, use a thin layer of stone epoxy between segments for safety in high-wind areas.
Pro-Tip: Use a hori-hori knife to clean the edges of the excavation. This prevents "glazing" of the soil walls, which can inhibit lateral root penetration of surrounding plants and disrupt the mycorrhizal symbiosis necessary for nutrient uptake.
Establishing the Surroundings
Backfill the area with the original topsoil mixed with 20% organic compost. Tamp the soil firmly to remove large air pockets but do not over-compress. Water the area with 1 inch of water to help the soil settle naturally around the base.
Pro-Tip: Maintain the auxin balance in nearby shrubs by pruning only after the lantern is set. Heavy pruning during installation can trigger a stress response, shifting the plant's energy from root establishment to rapid, weak vertical growth.
The Clinic:
Physiological disorders in the landscape surrounding the lantern often stem from the installation process.
- Symptom: Leaf chlorosis (yellowing) in nearby plants.
Solution: Check the soil pH. If the stone is limestone-based, it may be leaching calcium carbonate, raising the pH. Apply elemental sulfur to lower the pH back to the desired range. - Symptom: Marginal leaf burn.
Solution: This often indicates moisture stress or high salt index. Ensure the gravel base isn't diverting too much water away from the root zones of thirstier plants. - Symptom: Stunted growth or "dieback."
Solution: This is likely due to soil compaction. Use a soil moisture meter to check for anaerobic conditions. If the soil is too tight, use a garden fork to aerate the rhizosphere carefully.
Fix-It for Nitrogen Chlorosis: If plants show uniform paling, apply a liquid fish emulsion (5-1-1) for immediate nitrogen availability. This restores chlorophyll production and increases turgor pressure within 7 to 10 days.
Maintenance:
A stone lantern is low-maintenance, but the biological environment around it is dynamic. Ensure surrounding plants receive 1.5 inches of water per week at the drip line, monitored by a soil moisture meter. Use bypass pruners to maintain the "window" or view of the lantern; do not allow foliage to touch the stone for extended periods, as this promotes lichen growth that can eventually pit certain types of soft stone.
In autumn, clear debris from the light box to prevent moisture traps. If using a real candle, ensure the flame does not directly touch the stone to avoid thermal shock. Check the level of the lantern annually every spring to account for any minor soil subsidence.
The Yield:
While a stone lantern does not produce a harvestable crop, its "yield" is the architectural permanence it brings to the garden. For the best visual result, time your garden lighting for the "blue hour," just after sunset. This is when the photoperiod shifts and the contrast between the stone and the darkening foliage is most pronounced. If you have planted mosses like Bryophyta around the base, harvest small plugs from other areas of the garden and press them into the damp soil to accelerate the "aged" look.
FAQ:
How deep should the foundation be for a stone lantern?
Excavate at least 8 to 12 inches. Fill with 6 inches of compacted crushed stone to provide a stable, frost-resistant base that prevents the lantern from tilting due to soil expansion or contraction.
What is the best soil for plants near the lantern?
A friable loam with a pH of 6.0 to 7.0 is ideal. Ensure the soil has a high Cation Exchange Capacity (CEC) to retain nutrients while allowing for adequate drainage through the gravel foundation.
Can I install a lantern on top of mulch?
No. Mulch decomposes and shifts, leading to instability. Always install the lantern on a compacted mineral substrate or gravel bed to ensure it remains level and does not sink over time.
How do I prevent moss from damaging the stone?
While often desired, excessive moss can trap moisture. Use bypass pruners to keep nearby foliage back and occasionally brush the stone with a stiff nylon brush to manage growth without using harsh chemicals that alter soil pH.