7 Easy Ways How to Build Gravel Paths
The satisfying crunch of stone underfoot, the clean lines curving through a border of lavender, and the immediate drainage that keeps boots dry after rain all explain why gravel paths remain the backbone of working gardens. Learning how to build gravel paths transforms muddy tracks into permanent circulation routes that suppress weeds, reduce soil compaction in planting beds, and cost a fraction of poured concrete or cut stone. A well-constructed gravel path relies on proper base preparation, edge restraint, and aggregate gradation, not luck.
Materials
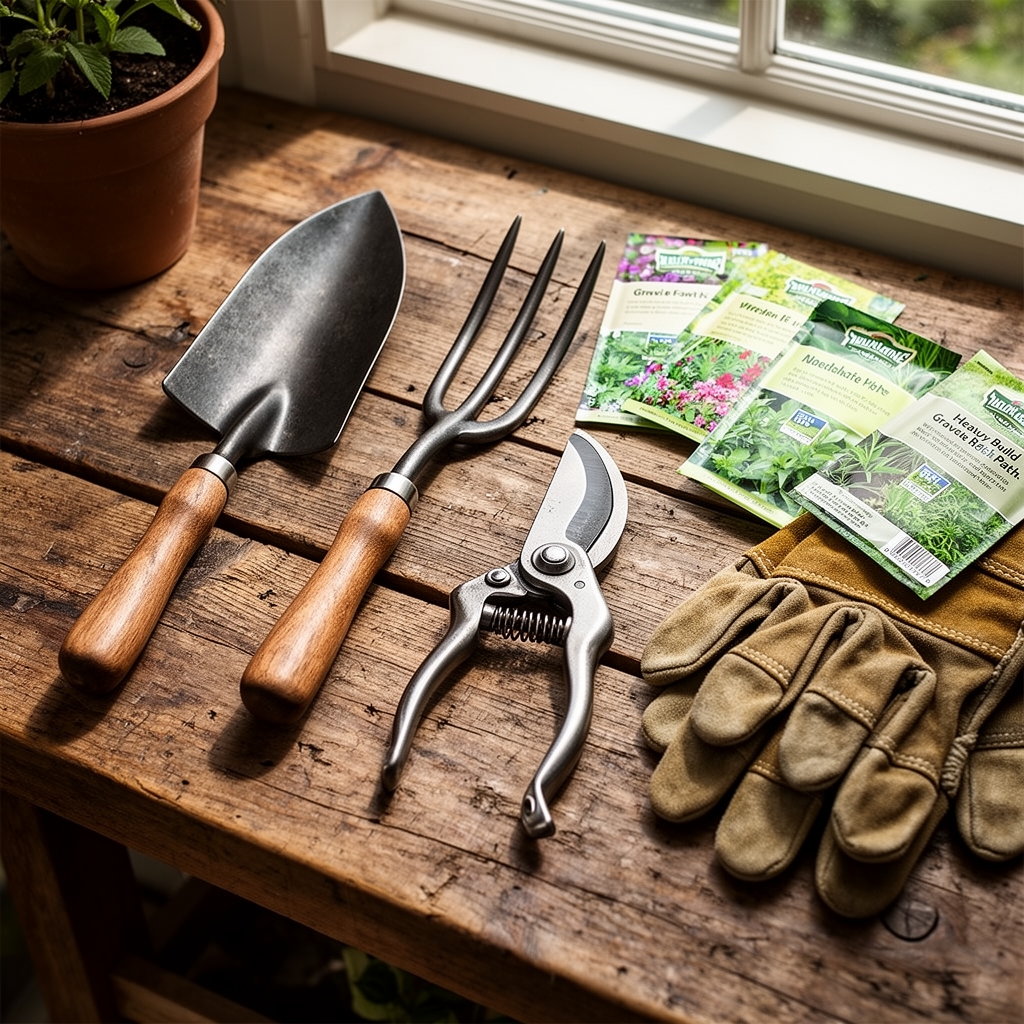
A durable gravel path requires a three-layer system that mimics the stratification found in natural alluvial deposits. The foundation layer consists of crushed angular stone, typically 3/4-inch minus aggregate, which compacts into a stable base through mechanical interlock. This layer should measure 3 to 4 inches deep after compaction. The middle binder layer uses 1/4-inch crushed stone or decomposed granite, applied at 2 inches, to fill voids and create a firm walking surface. The top dressing layer employs pea gravel, 3/8-inch river stone, or fine crushed granite at 1 to 1.5 inches for aesthetic finish and easy foot traffic.
Edge restraint prevents lateral migration of stone into adjacent beds. Steel landscape edging (14-gauge minimum), cedar boards (1-inch by 6-inch), or Belgian blocks set in a narrow trench of tamped subsoil all function effectively. Secure edging every 24 inches with 10-inch galvanized spikes driven below the final grade. Avoid plastic edging; freeze-thaw cycles and UV degradation compromise structural integrity within two seasons.
Landscape fabric belongs beneath the base layer only in areas with high clay content where soil has a cation exchange capacity above 25 meq/100g. In sandy or loamy soils with good native drainage, fabric traps organic debris between layers and reduces long-term compaction. Omit it entirely if your soil drains one inch of water within four hours.
Timing
Execute gravel path construction during dry weather when soil moisture sits below field capacity, typically late spring through early autumn in USDA Hardiness Zones 5 through 8. Saturated subsoil compacts poorly and creates future subsidence problems. In Zone 9 and warmer, winter construction avoids summer heat but requires attention to seasonal rain patterns; wait for a seven-day dry window.
Frost heave poses the chief concern in Zones 3 through 5. Install paths after the last spring frost date when soil temperature at 4-inch depth stabilizes above 50°F. This allows proper compaction of the base layer without ice-lens formation during the following winter. Alternatively, excavate below the local frost line (consult county extension offices for precise depth) and backfill with non-frost-susceptible aggregate before beginning the standard three-layer system.
Phases

Excavation and Base Preparation
Mark the path centerline with stakes and mason's twine, then measure half-widths on each side to establish edges. Standard garden paths measure 36 to 48 inches wide; service paths for wheelbarrows require 48 to 60 inches. Excavate to a total depth of 6 to 7 inches, maintaining consistent grade for drainage (minimum 2 percent slope, or 1/4 inch per foot).
Compact the exposed subsoil with a plate compactor making three overlapping passes. Rental units deliver 3,000 to 5,000 pounds of centrifugal force, essential for proper densification. Hand tampers suffice only for paths under 20 feet in length.
Pro-Tip: Wet the subsoil lightly (not to saturation) before compacting clay-heavy soils. Moisture acts as a lubricant for soil particles, improving density by 12 to 18 percent compared to bone-dry compaction.
Layer Installation
Spread the 3/4-inch base aggregate evenly using a bow rake, checking depth with a story pole marked at 3.5 inches. Compact in two lifts rather than one thick layer; each lift should measure approximately 1.75 inches loose (compacting to roughly 1.5 inches). This technique reduces void space and increases load-bearing capacity.
Add the 1/4-inch binder layer at 2 inches loose depth. Compact with three passes, then mist lightly with water and make a fourth pass. The binder layer should feel rigid underfoot with minimal give.
Pro-Tip: Rake the binder layer in perpendicular direction to the base layer's rake marks. This cross-hatching distributes point loads more evenly, mimicking the auxin distribution pattern that strengthens plant cell walls through multi-directional reinforcement.
Surface Finishing
Spread the final pea gravel or crushed stone layer without compaction. Rake smooth, bringing aggregate 1/4 inch below the top edge of restraints to prevent stone scatter. Walk the path repeatedly during the first week; foot traffic naturally settles the surface into optimal density.
Pro-Tip: Broadcast 1/2 pound of finely milled limestone per 10 square feet over the finished surface if your soil pH reads below 6.0. Runoff will gradually leach calcium into adjacent planting beds, benefiting acid-sensitive perennials like clematis and delphinium.
Troubleshooting
Symptom: Gravel migrates into planting beds within one season.
Solution: Edge restraint sits too shallow or lacks adequate staking. Re-excavate along edges, position restraint so top edge rises 1/2 inch above final path surface, and add stakes every 18 inches.
Symptom: Puddles form on path surface after moderate rain.
Solution: Inadequate base compaction or insufficient slope. Remove top layers, re-compact base with additional passes, and verify 2 percent minimum grade with a 4-foot level and shims.
Symptom: Weeds emerge through gravel within three months.
Solution: Windblown seeds germinate in organic debris trapped between stones. Apply a pre-emergent herbicide containing dithiopyr at 0.5 lb active ingredient per acre in early spring, or hand-pull weekly and top-dress with 1/2 inch of fresh stone annually to bury weed seeds beyond germination depth.
Symptom: Path surface feels loose and rolls underfoot despite compaction.
Solution: Missing or inadequate binder layer. Remove top dressing, install proper 1/4-inch stone layer at 2 inches compacted depth, then replace pea gravel.
Symptom: Ruts develop along wheelbarrow tracks.
Solution: Base layer under-designed for load. Excavate affected area 2 inches deeper, add geogrid fabric rated for 4,000 lb tensile strength, then restore full three-layer system.
Maintenance
Top-dress with 1/2 inch of matching surface stone every 18 to 24 months to compensate for settlement and subsurface migration. Rake smooth in early spring before weed seeds germinate. Apply 1 inch of water over the path surface after top-dressing to wash fines into voids and accelerate re-settling.
Edge maintenance requires annual attention. Trim encroaching grass and perennial roots in early spring using a half-moon edger, cutting vertically along the restraint line to maintain crisp definition. Remove 1 inch of soil from the bed side of edging to preserve the slight reveal that prevents stone escape.
Control moss and algae growth in shaded paths by broadcasting pelletized limestone at 5 pounds per 100 square feet each autumn. The calcium raises surface pH above 7.2, creating inhospitable conditions for bryophyte establishment. Alternatively, apply a solution of 1 part household bleach to 10 parts water during dormant season (below 50°F air temperature) to avoid volatilization and damage to nearby plantings.
Monitor compaction annually by pressing a soil probe or screwdriver into the path. Resistance should begin immediately; penetration deeper than 1/2 inch indicates base degradation. Re-compact affected sections with a rented plate compactor before structural failure propagates.
FAQ
How deep should I dig for a gravel path?
Excavate 6 to 7 inches total: 3.5 inches for base aggregate, 2 inches for binder layer, and 1.5 inches for surface stone, measured after compaction.
Can I skip the base layer and use only pea gravel?
No. Single-layer installations subside within one season, creating uneven surfaces and poor drainage. The three-layer system distributes load and prevents mixing with subsoil.
What is the best gravel type for a garden path?
Crushed angular stone for base and binder layers (not rounded river rock, which resists compaction), topped with 3/8-inch pea gravel or decomposed granite for aesthetics and comfort.
How do I prevent gravel from sinking into clay soil?
Compact the clay subsoil thoroughly with a plate compactor and install landscape fabric before adding base aggregate. The fabric acts as a separation barrier without impeding vertical drainage.
How much does it cost to build a gravel path?
Material costs average $1.50 to $3.00 per square foot depending on aggregate type and regional availability. A 4-foot-wide by 25-foot-long path (100 square feet) requires approximately 1.5 tons of stone and costs $150 to $300 in materials plus equipment rental.