7 Easy Ways How to Build Low Tunnels
Cold spring winds can strip unprotected seedlings of moisture in under four hours, while late-season frost threatens to erase weeks of careful germination work. Learning how to build low tunnels solves both problems by creating a microclimate that extends your growing season by six to eight weeks on either end. These simple hoop structures, draped with polyethylene or row cover fabric, raise soil temperatures 8 to 15 degrees Fahrenheit and block damaging wind speeds. The result is earlier harvests, protection from hard freezes down to 28 degrees Fahrenheit, and improved cation exchange capacity in still-warming spring soil.
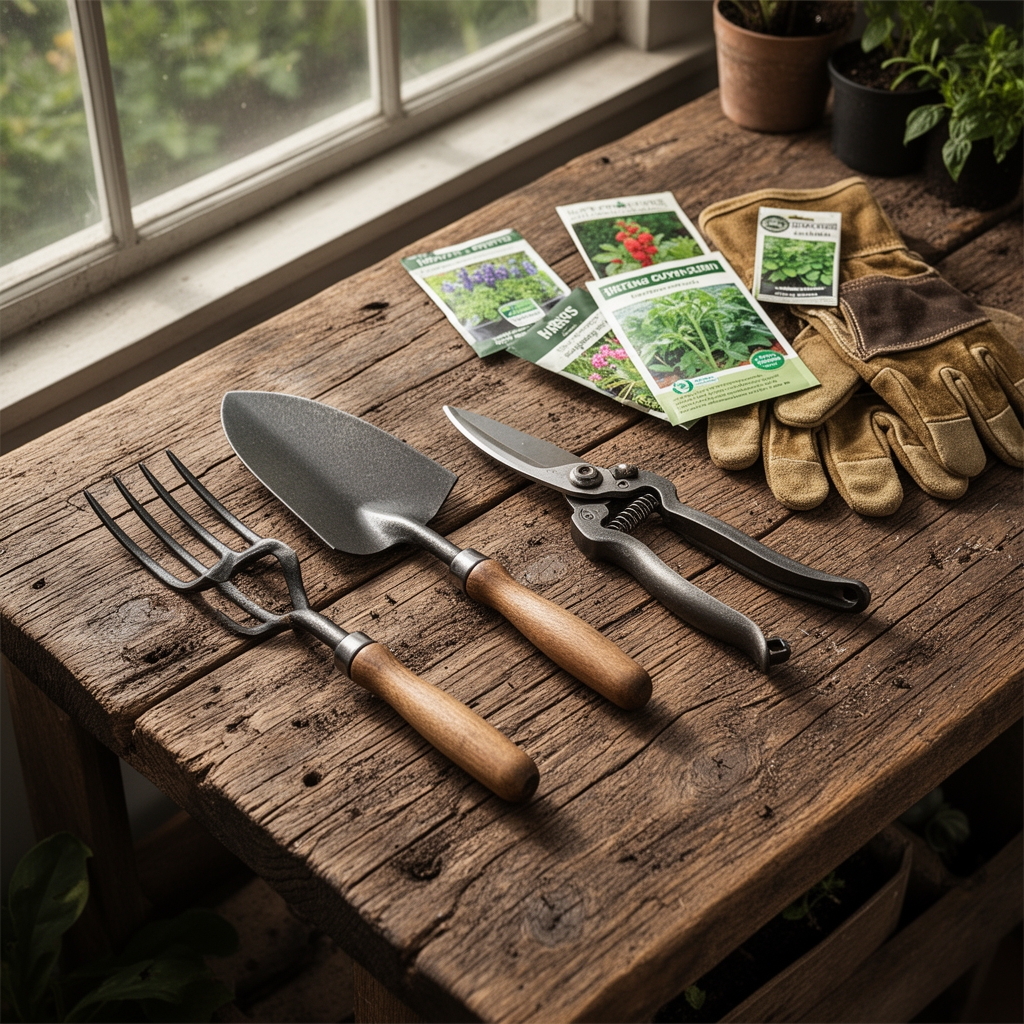
Materials
Select half-inch PVC schedule 40 pipe or 9-gauge galvanized wire for hoops. PVC offers rigidity in tunnels wider than four feet, while wire hoops flex for narrower beds and store flat. Cut hoops to span your bed width plus 18 inches of insertion depth per side.
Anchor hoops with 18-inch sections of half-inch rebar driven 12 inches into the ground. Space rebar every four feet along bed edges to prevent hoop migration during wind events.
Choose covering material by target temperature gain. Six-mil greenhouse polyethylene adds 12 to 15 degrees Fahrenheit and lasts two seasons. Spunbond row cover rated at 0.9 ounces per square yard adds 4 to 6 degrees and permits 70 percent light transmission for leafy crops requiring high photosynthetic rates. Row cover at 1.25 ounces per square yard provides 8-degree protection but reduces light to 50 percent.
Before installation, amend soil with compost aged 180 days to a target pH of 6.2 to 6.8. Apply organic fertilizer at 4-4-4 NPK ratio, broadcasting two pounds per 100 square feet and incorporating to four-inch depth. Mycorrhizal fungi inoculant applied at transplanting improves phosphorus uptake by 40 percent under the reduced soil temperatures present in early spring.
Timing
Hardiness zones 3 through 5 benefit from low tunnel construction two weeks before last expected frost. This window allows soil beneath covers to reach 50 degrees Fahrenheit at four-inch depth, the minimum for brassica root development.
Zones 6 through 7 should install tunnels three weeks before last frost for cool-season crops. For fall season extension, erect tunnels when nighttime ambient temperatures consistently drop below 50 degrees Fahrenheit, typically mid-September in zone 6 and early October in zone 7.
Zones 8 and warmer use low tunnels primarily for pest exclusion and autumn temperature moderation. Install covers in late October to prevent aphid colonization on winter greens while avoiding excessive heat buildup.
Phases
Sowing Phase
Drive rebar stakes 12 inches deep at four-foot intervals along both bed edges. Insert hoop ends into rebar sleeves, ensuring each hoop peak reaches 18 to 24 inches above bed surface. Lower tunnels reduce wind resistance and retain heat more efficiently than taller structures.
Secure hoops by lashing a horizontal ridge pole along the peak using zip ties at each intersection. This spine prevents lateral hoop movement and supports covering weight during rain.
Pro-Tip: Apply 30-degree bends at hoop peaks using a heat gun on PVC to create a flattened ridge. This modification sheds snow loads exceeding eight pounds per square foot.
Transplanting Phase
Drape covering material over the hoop framework, extending fabric 12 inches beyond end hoops. Bury side edges in four-inch-deep trenches filled with soil to create an airtight seal. This burial method prevents wind from entering and lifting covers.
Weight the fabric at two-foot intervals using sandbags or soil-filled landscape staples. Proper anchoring withstands 25-mile-per-hour wind gusts without cover displacement.
Pro-Tip: Install auxin-stimulating kelp foliar spray at 0.5 percent concentration 48 hours post-transplant to accelerate root establishment under reduced light conditions inside tunnels.
Establishing Phase
Monitor internal temperature using a min-max thermometer placed at plant canopy height. Vent tunnels when internal temperatures exceed 75 degrees Fahrenheit by rolling side edges upward and securing with clips.
Once seedlings develop three true leaves, reduce covering during daytime temperatures above 60 degrees Fahrenheit to prevent etiolation. Gradual exposure to direct sun over seven days hardens cuticle layers and increases chlorophyll density by 25 percent.
Pro-Tip: Prune lateral shoots at 45-degree angles to encourage upward auxin distribution and vertical growth habit under confined tunnel headroom.
Troubleshooting
Symptom: Damping-off at soil line, seedlings collapsing within 72 hours of emergence.
Solution: Reduce watering frequency to allow soil surface to dry between irrigations. Apply Bacillus subtilis biological fungicide as soil drench at labeled rates to suppress Pythium and Rhizoctonia populations.
Symptom: Leaf yellowing with interveinal chlorosis spreading from older to younger leaves.
Solution: Indicates nitrogen deficiency from cold soil limiting microbial mineralization. Side-dress with blood meal at 12-0-0 NPK ratio, applying one-quarter cup per four-foot bed section.
Symptom: Aphid colonies clustering on new growth despite covers.
Solution: Aphids overwinter in soil. Remove covers and apply insecticidal soap at 2 percent concentration, targeting leaf undersides. Reapply every five days for three cycles.
Symptom: Excessive stem elongation with pale, thin leaves.
Solution: Insufficient light reaching plants through dirty or doubled fabric. Clean polyethylene with mild detergent solution to restore 85 percent light transmission.
Maintenance
Apply one inch of water per week measured at soil level, increasing to 1.5 inches during head formation in cole crops. Water early morning to allow foliage to dry before nighttime cover closure.
Remove covers entirely when ambient nighttime temperatures stabilize above 50 degrees Fahrenheit for seven consecutive days. Foliar disease pressure increases dramatically under covers once outdoor conditions become favorable for plant growth.
Inspect hoop connections weekly, tightening zip ties that loosen from thermal expansion cycles. Replace any hoops showing stress fractures at insertion points.
FAQ
How deep should hoops be inserted?
Insert hoops nine inches minimum into soil. This depth provides adequate resistance to 20-mile-per-hour sustained winds without additional bracing.
Can low tunnels protect against hard freezes?
Single-layer 6-mil polyethylene protects tender plants to 28 degrees Fahrenheit ambient temperature. Double-layer construction with one-inch air gap extends protection to 24 degrees Fahrenheit.
When should I vent tunnels?
Vent when internal temperature reaches 75 degrees Fahrenheit. Temperatures above 80 degrees Fahrenheit inhibit photosynthesis in cool-season crops and encourage tipburn in lettuce.
What is the ideal tunnel height?
Maintain 18 to 24 inches from bed surface to tunnel peak. This height maximizes heat retention while providing adequate headroom for mature leaf crops.
How long does covering material last?
UV-stabilized 6-mil polyethylene lasts two full seasons. Row cover fabric degrades after one season of continuous outdoor exposure but tolerates washing for reuse within that period.