7 Easy Ways How to Install Chain Link
The metallic rattle of galvanized steel wire against terminal posts marks the boundary between cultivated order and uncontrolled sprawl. Learning how to install chain link fencing transforms property lines into structural frameworks that support climbing plants, define garden zones, and protect vulnerable seedbeds from deer browse. The process demands precise measurement, proper tensioning, and an understanding of soil composition at post-hole depths where anaerobic conditions can accelerate corrosion.
Materials
Terminal posts require 2-7/8-inch outer diameter galvanized steel tubing, set in concrete footings. Line posts use 2-inch diameter tubing spaced 10 feet apart. Top rail sections connect via sleeve couplers to maintain horizontal tension. Chain link fabric comes in 9-, 11-, or 11.5-gauge wire; lower numbers indicate thicker, more durable material.
Concrete mix for post anchoring should target a 3,000 PSI compressive strength. Use a 5-1-2 ratio (5 parts gravel, 1 part portland cement, 2 parts sand) with sufficient water for a stiff consistency. If installing near rhizospheric zones with active root systems, avoid excess lime that raises soil pH above 7.5. The concrete casing creates a barrier against soil acids but may leach calcium hydroxide in the first 30 days.
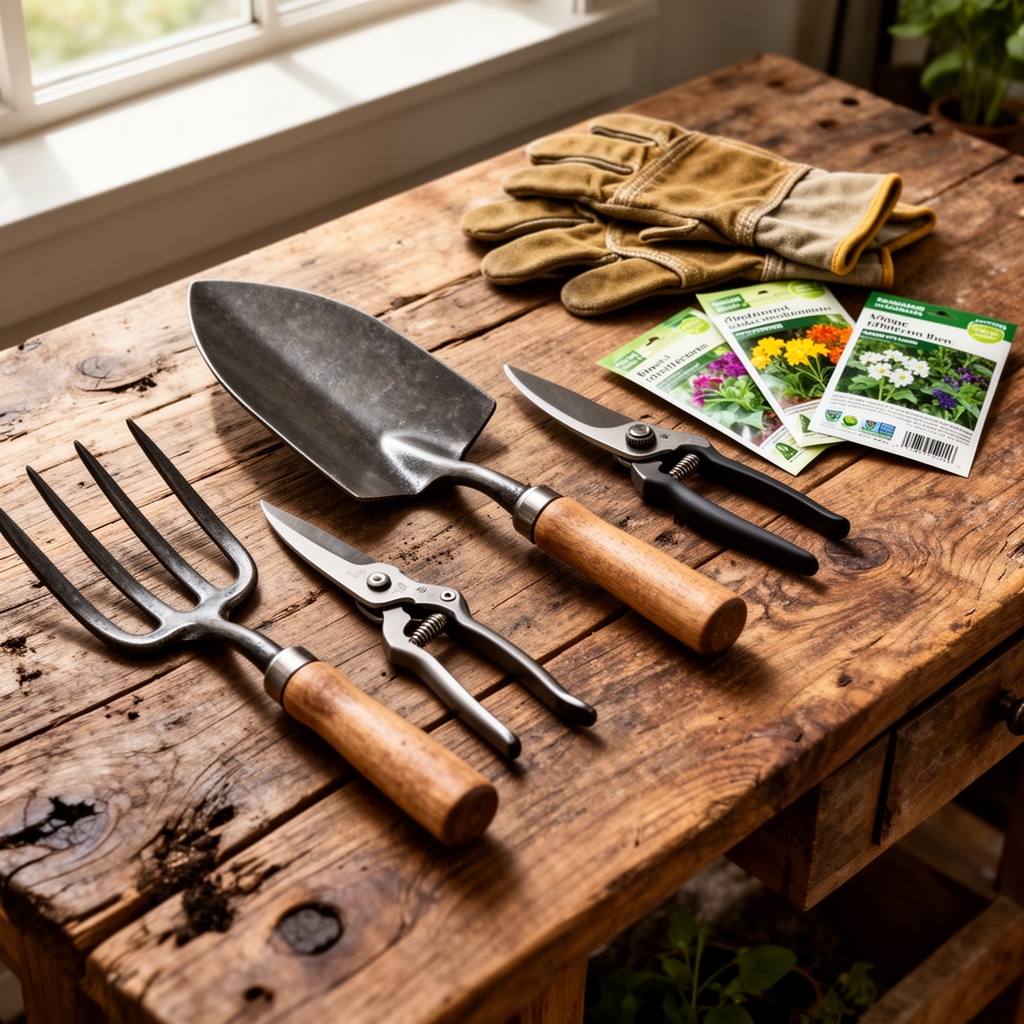
Post-hole diggers or powered augers penetrate compacted subsoil layers. Tension bars thread through fabric end loops. Rail end cups attach to terminal posts. Tension bands and carriage bolts secure fabric to terminal posts. Wire ties every 12 inches fasten fabric to line posts and top rail. A come-along ratchet puller provides the 150-200 pounds of tension needed for proper fabric stretch.
Timing
Installation proceeds year-round in USDA Hardiness Zones 6 through 10, but spring installation between last frost and June 15 allows climbing vines to establish before winter. Northern zones (3-5) benefit from summer installation when frost heave risks diminish and soil reaches 55°F at 24-inch depth.
Avoid frozen ground that prevents proper post-hole excavation. Clay soils with high cation exchange capacity require dry conditions; wet clay smears along auger blades and collapses post holes. Sandy loam soils drain freely and permit installation within 24 hours of rainfall.
Phases

Layout and Marking
Establish corner positions with surveying stakes. Run mason's twine between stakes at fence-line height. Mark line post locations every 10 feet with spray paint or additional stakes. Check