8 Best Chlorophytum Comosum Care Secrets
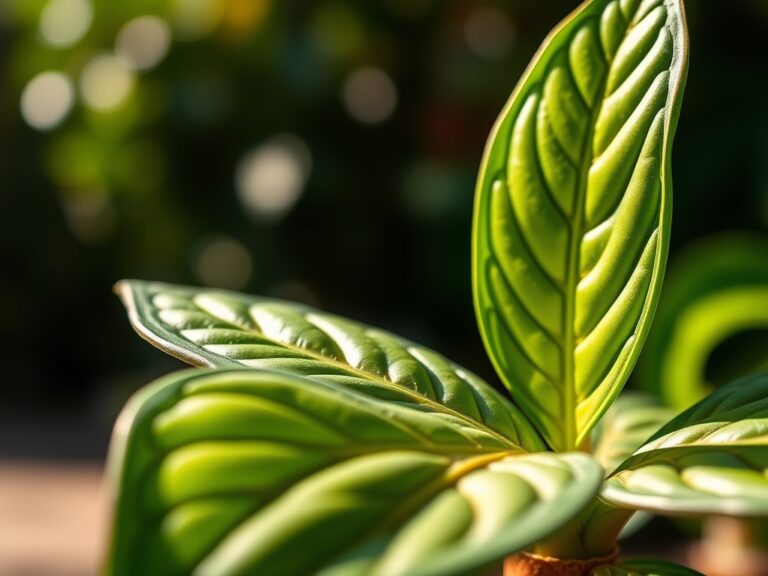
The scent of damp, well-aerated humus and the firm turgor of a hydrated leaf define the successful cultivation of this species. Chlorophytum comosum, commonly known as the spider plant, is often underestimated by novices, yet it requires precise physiological conditions to reach its full genetic potential. To achieve the best chlorophytum comosum care, one must master the balance of soil chemistry and osmotic pressure. A healthy specimen exhibits thick, white tuberous roots capable of significant water storage, which allows the plant to survive intermittent drought. However, maximizing the foliar spread and the production of adventitious plantlets requires a rigorous adherence to horticultural data. You must monitor the Cation Exchange Capacity (CEC) of your substrate to ensure that essential macronutrients remain available to the rhizosphere. This guide focuses on the technical variables of light intensity, mineral toxicity, and cellular hydration to transform a common houseplant into a robust botanical specimen.
Materials:
The substrate is the foundation of plant health. Chlorophytum comosum thrives in a **friable loam** with a **pH range between 6.0 and 7.2**. Avoid heavy clay which restricts oxygen to the root zone and promotes anaerobic pathogens.
- Substrate Components: A mixture of 50 percent peat moss or coconut coir, 30 percent perlite, and 20 percent sterilized pine bark. This configuration ensures high porosity and rapid drainage.
- Nutrient Profile: Use a controlled-release fertilizer with an NPK ratio of 3-1-2. High nitrogen levels are necessary for foliar development, while phosphorus and potassium support root architecture and cellular wall integrity.
- Water Quality: This species is highly sensitive to fluoride and chlorine. Use distilled water or rainwater to prevent leaf tip necrosis.
- Container: Select a pot with at least three drainage holes. Terracotta is preferred for its evaporative cooling properties and gas exchange capabilities.
Timing:
Chlorophytum comosum is typically grown indoors, but its biological clock is tied to USDA Hardiness Zones 9 through 11. In these regions, it can remain outdoors year-round. In cooler zones, the plant must be moved indoors when ambient temperatures drop below 55 degrees Fahrenheit.
The transition from vegetative growth to reproductive stages is triggered by photoperiod and root restriction. When the tuberous roots fill the container, the plant shifts energy toward the production of long, arching stolons. This reproductive phase usually occurs in late spring and summer as light intensity increases. To optimize this, ensure the plant receives 12 to 14 hours of bright, indirect light during the peak growing season.
Phases:

Sowing and Propagation
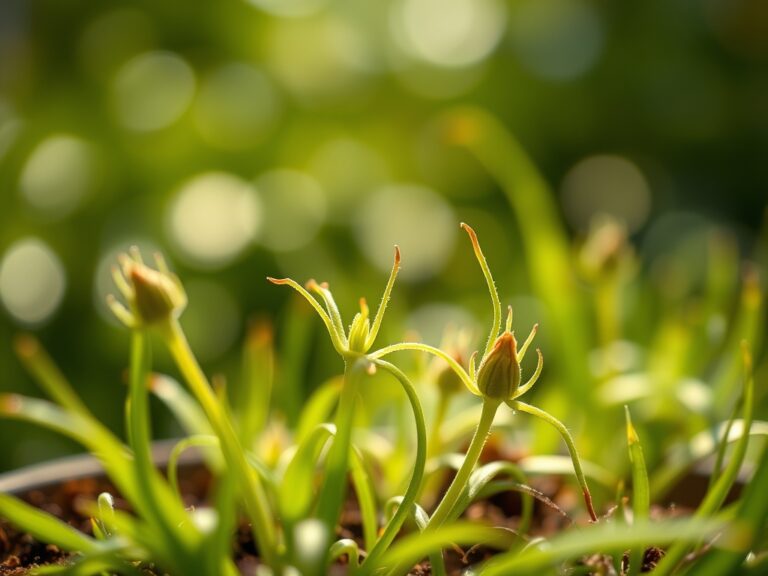
Propagation is most effective through the removal of adventitious plantlets (pups) that form on the stolons. Wait until the plantlet has developed visible root initials at its base before detaching. Place the plantlet in a moist medium of 100 percent perlite or suspended over water.
Pro-Tip: This process utilizes auxin suppression. By removing the plantlet from the mother plant, you break the apical dominance, allowing the plantlet to focus its hormonal energy on root initiation rather than foliar elongation.
Transplanting
Transplant when the roots begin to circle the interior of the pot or emerge from drainage holes. Use a hori-hori knife to loosen the root ball if it has become compacted. Shift the plant to a container only one to two inches larger in diameter.
Pro-Tip: Maintaining a tight root-to-soil ratio prevents "wet feet." A smaller volume of soil ensures that the plant can transpire the available moisture within 48 to 72 hours, preventing the onset of Pythium root rot.
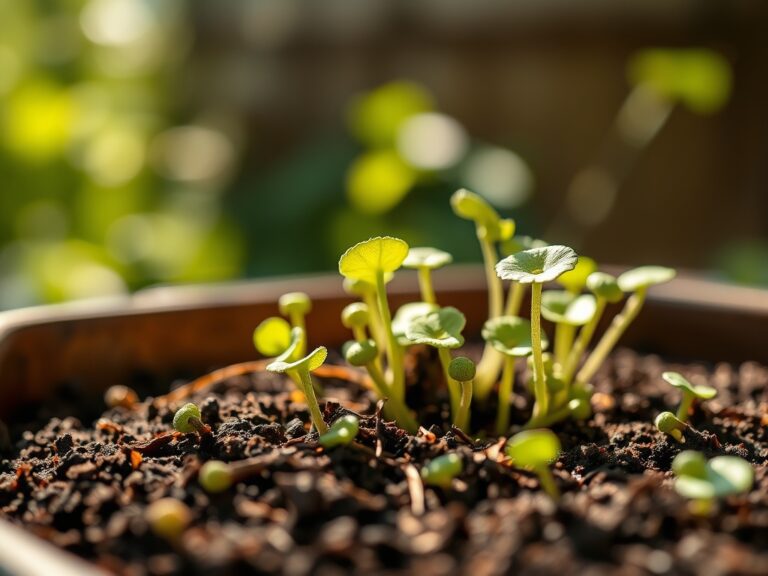
Establishing
During the first 21 days post-transplant, maintain a consistent temperature of 70 degrees Fahrenheit. Avoid fertilization during this period to prevent osmotic shock to new root hairs.
Pro-Tip: During establishment, the plant relies on mycorrhizal symbiosis. Introducing a beneficial fungal inoculant to the rhizosphere can increase the surface area of the roots by up to 100 times, significantly improving phosphorus uptake.
The Clinic:
Physiological disorders in Chlorophytum comosum are often misdiagnosed as pests. Analyze the symptoms based on mineral mobility and environmental stress.
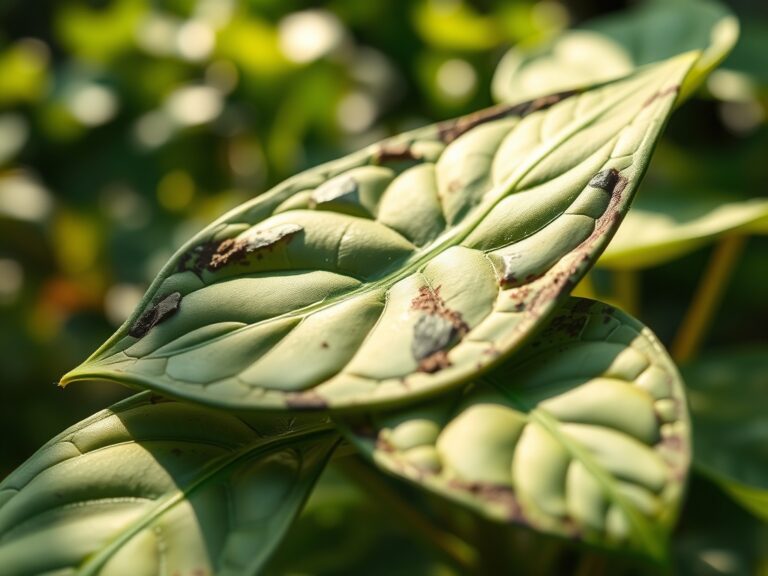
- Symptom: Brown Leaf Tips (Necrosis)
- Cause: Fluoride toxicity or low humidity.
- Solution: Flush the soil with three volumes of distilled water to leach accumulated salts. Maintain ambient humidity above 40 percent.
- Symptom: Pale, Limp Leaves (Chlorosis)
- Cause: Nitrogen deficiency or insufficient light.
- Solution: Apply a liquid fertilizer with a high nitrogen (N) concentration. Relocate the plant to a position with 200 to 400 foot-candles of light.
- Symptom: Translucent or Mushy Stems
- Cause: Overwatering leading to cellular collapse.
- Solution: Cease irrigation immediately. Check the rhizosphere for darkened, soft roots. Prune affected roots with sterilized bypass pruners and repot in dry substrate.
Fix-It Section: If the plant shows yellowing between the veins of older leaves, it is likely a Magnesium (Mg) deficiency. Dissolve one teaspoon of Epsom salts in one gallon of water and apply as a soil drench to restore chlorophyll production.
Maintenance:
Precision is the hallmark of professional care. Monitor the soil moisture daily using a soil moisture meter. Irrigate only when the top two inches of substrate are dry to the touch. For a standard 10 inch pot, this typically equates to 1.5 cups of water distributed evenly across the soil surface.
Use bypass pruners to remove spent stolons or senescent leaves at the base. This prevents the plant from diverting carbohydrates to dying tissues. Every six months, use a damp cloth to wipe dust from the leaf surfaces. This ensures the stomata remain unobstructed, allowing for efficient gas exchange and transpiration. If the plant becomes excessively root-bound, use a hori-hori knife to slice through the bottom inch of the root mass to stimulate new lateral root growth.
The Yield:
While not an edible crop, the "yield" of a spider plant is measured in its production of viable clones. To harvest plantlets for gifting or expansion, wait until the plantlet has at least five distinct leaves and visible root bumps. Use a sharp blade to cut the stolon one inch from the plantlet base. To maintain "day-one" freshness for transport, wrap the root initials in a damp paper towel and place them in a ventilated silicone bag. This maintains turgor pressure and prevents the delicate root initials from desiccation during transit.
FAQ:
How often should I fertilize for the best chlorophytum comosum care?
Apply a balanced, water-soluble fertilizer at half strength every four weeks during the spring and summer. Suspend fertilization during the winter months when the plant enters a period of slower metabolic activity and reduced photoperiod.
Why are the centers of my spider plant turning yellow?
Yellowing in the center often indicates iron chlorosis or excessive moisture at the crown. Ensure the crown is situated slightly above the soil line and use a soil moisture meter to verify the substrate is not waterlogged.
Can spider plants survive in low light conditions?
They can survive in low light, but growth will be stunted and they will not produce stolons. For optimal health, provide bright, indirect sunlight. Avoid direct afternoon sun, which can cause solar scorching of the leaf cuticle.
What is the ideal humidity for Chlorophytum comosum?
Aim for a humidity level between 40 and 60 percent. If your indoor air is dry, especially during winter, use a humidifier or place the pot on a pebble tray filled with water to increase localized vapor pressure.
How do I stop leaf tips from turning brown?
Switch to distilled or rainwater to eliminate fluoride exposure. Ensure the soil never dries out completely, as drought stress increases salt concentration in the leaves, leading to terminal cell death at the leaf tips.