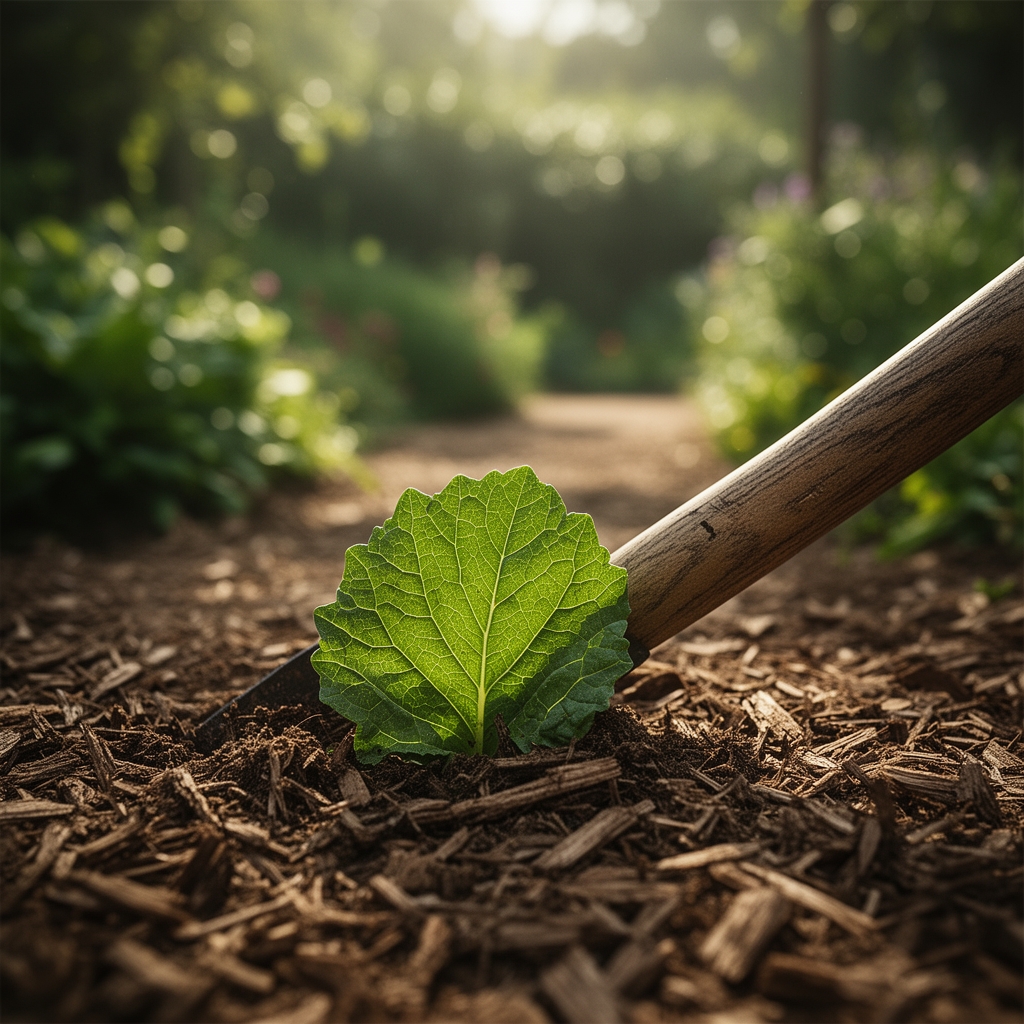
8 Simple Ways How to Build Mulch Paths
Walking a garden path through damp earth after rain leaves shoes caked with clay and gravel scattered across lawn edges. Learning how to build mulch paths solves this by creating firm, weed-suppressing corridors that drain quickly while feeding soil organisms below. Mulch paths offer a low-cost alternative to flagstone or concrete, require no specialized tools, and improve year after year as organic matter breaks down into humus. The process demands attention to base preparation, edging integrity, and mulch depth to prevent compaction and weed penetration.
Materials
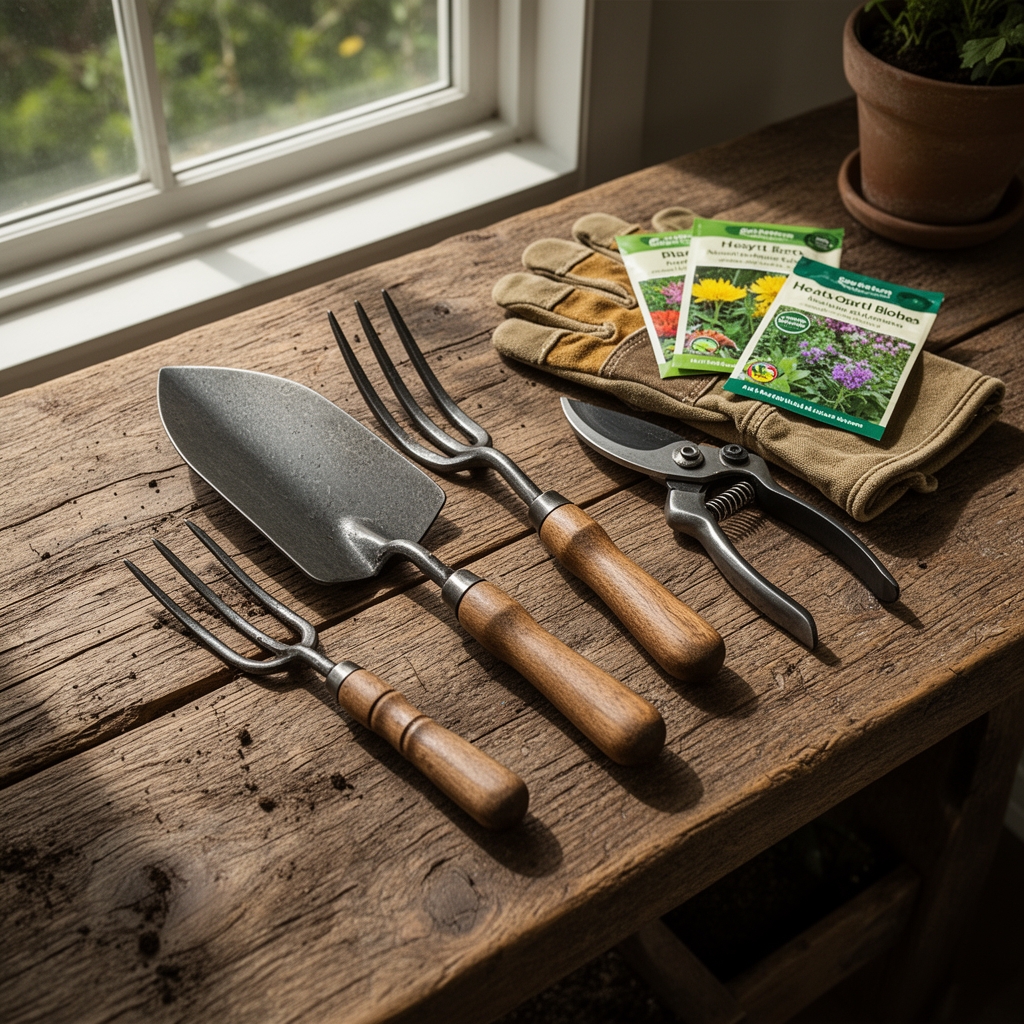
Successful mulch path construction begins with selecting materials matched to soil chemistry and traffic patterns. Use shredded hardwood bark for paths in acidic-soil gardens (pH 5.5-6.5), as decomposition releases tannins that suppress broadleaf weeds. Pine bark nuggets work best in neutral to alkaline conditions (pH 6.8-7.5) and resist compaction under moderate foot traffic.
For the base layer, apply landscape fabric with a permeability rating of 2.5 gallons per square foot per minute. This allows water infiltration while blocking annual weed seeds. Avoid solid plastic sheeting, which creates anaerobic conditions and kills beneficial soil bacteria.
Edge restraints require rigid materials. Galvanized steel edging (16-gauge minimum) bends to curves and lasts 15-20 years. Untreated cedar boards (1 inch thick by 6 inches tall) provide a rustic alternative with 10-12 year longevity. Secure edging every 24 inches with 10-inch landscape spikes.
Mulch depth determines weed suppression and longevity. Purchase 3 cubic yards of mulch per 100 square feet to achieve a settled depth of 3-4 inches. Avoid dyed mulches, which leach chromium and can alter soil pH by 0.3-0.5 units. Incorporate a 4-4-4 organic fertilizer (blood meal, bone meal, kelp) at 2 pounds per cubic yard if using fresh wood chips to prevent nitrogen immobilization during decomposition.
Timing
Install mulch paths in USDA Hardiness Zones 3-9 during early spring (March-April) or fall (September-October) when soil moisture allows easy digging but ground temperatures remain above 45°F. This timing encourages mycorrhizal fungi colonization at the mulch-soil interface before summer heat or winter freezing.
In Zones 10-11, schedule path construction during the dry season (November-March) to avoid working in saturated soil. Wait until at least two weeks after the last spring frost in northern zones to prevent heaving that displaces edging materials.
Avoid installation during active growing season (May-August in most regions) when digging disrupts root systems of adjacent plantings. Fall installation provides six months for mulch to settle and decompose before peak garden traffic resumes.
Phases

Site Preparation: Remove existing vegetation by slicing through sod with a flat spade at a 15-degree angle, cutting roots 2 inches below the surface. Excavate the path corridor to a depth of 5 inches, creating a uniform grade with less than 2 percent slope for drainage. Compact the base by walking it three times or using a hand tamper rated for 150 pounds of force.
Pro-Tip: Inoculate the exposed soil with ectomycorrhizal fungi powder (1 tablespoon per 10 square feet) to accelerate organic matter cycling and improve cation exchange capacity at the mulch interface.
Edge Installation: Position edging along marked path boundaries, ensuring the top edge sits 1 inch above final grade. Backfill exterior edges with excavated soil, tamping every 6 inches. For curves with radii tighter than 4 feet, score steel edging at 3-inch intervals on the compression side to prevent buckling.
Pro-Tip: Drive landscape spikes at a 30-degree angle away from the path center to maximize holding power in sandy or loose soils.
Mulch Application: Unroll landscape fabric with 4-inch overlaps at seams, securing every 18 inches with 6-inch fabric staples. Distribute mulch in 2-inch lifts, raking each layer smooth before adding the next. Final settled depth should measure 3.5-4 inches at path center, tapering to 3 inches at edges.
Pro-Tip: Water mulch lightly (0.25 inch) immediately after installation to initiate decomposition and reduce wind displacement during the first two weeks.
Troubleshooting
Symptom: Weeds emerging through mulch within 60 days.
Solution: Insufficient depth or fabric gaps allow light penetration. Add 1.5 inches of fresh mulch and spot-treat gaps with additional fabric patches secured with staples every 4 inches.
Symptom: Mulch compaction creating a hydrophobic surface layer.
Solution: Aerate compacted zones with a cultivator fork to 2-inch depth every six weeks. Incorporate pine fines (particles under 0.25 inch) at 10 percent by volume to improve permeability.
Symptom: Fungal fruiting bodies (mushrooms) colonizing mulch.
Solution: Indicates active decomposition and healthy saprophytic fungi. Remove fruiting bodies before spore release if aesthetics are a concern, but preserve mycelial networks that stabilize mulch structure.
Symptom: Adjacent plants showing nitrogen deficiency (chlorosis, stunted growth).
Solution: Fresh wood mulch is immobilizing soil nitrogen. Apply blood meal (12-0-0) at 1 pound per 25 square feet along path edges, watering in with 0.5 inch irrigation.
Symptom: Edge displacement creating gaps between restraint and mulch.
Solution: Frost heaving or inadequate spike depth. Re-drive spikes to 8-inch depth and add intermediate spikes at 12-inch spacing in heave-prone sections.
Maintenance
Replenish mulch annually each spring to maintain 3.5-inch depth, adding 0.75-1 cubic yard per 100 square feet. Rake paths monthly to redistribute mulch and disrupt weed seedling establishment. Apply 1 inch of water every three weeks during droughts to sustain microbial decomposition.
Edge-trim encroaching grass every four weeks during the growing season with a half-moon edger, cutting vertically to 3-inch depth. Remove clippings to prevent nutrient loading that encourages weed colonization.
Monitor for compaction in high-traffic areas. When footprints remain visible for more than 24 hours, fluff mulch to 2-inch depth with a bow rake and add 0.5 inch of fresh material.
FAQ
How long do mulch paths last before requiring replacement?
Hardwood bark mulch decomposes 30-40 percent annually. Plan for complete mulch replacement every 3-4 years, though annual top-dressing extends functional lifespan to 5-6 years.
Can I install mulch paths directly over grass without fabric?
Yes, but only with 6-inch mulch depth. This thickness blocks light penetration for 18-24 months while grass decomposes. Fabric installation reduces required depth by 40 percent and eliminates perennial weed breakthrough.
What mulch particle size works best for paths?
Use shredded material with particles 0.5-2 inches long. Particles smaller than 0.25 inch compact readily. Chunks larger than 3 inches create trip hazards and leave gaps for weed establishment.
Do mulch paths attract termites or carpenter ants?
Subterranean termites feed on buried wood but rarely target surface mulch more than 18 inches from structures. Maintain a 24-inch mulch-free zone around building foundations. Carpenter ants colonize only rotting wood with moisture content above 20 percent.
How do I prevent mulch from washing away on slopes?
Install cross-slope check dams using 2-inch diameter logs or 4-inch stones every 8 feet on grades exceeding 5 percent. These barriers slow runoff velocity and trap displaced mulch particles.