9 Essential Steps to Medicinal Aloe Care
Turgor pressure dictates the structural integrity of a healthy Aloe vera leaf; it should feel firm and resist compression when squeezed. The scent of a freshly sliced leaf is sharp and vegetative, a result of complex aloin and polysaccharide compounds stored within the parenchyma cells. Success in these steps to medicinal aloe care requires a shift from viewing the plant as a decorative succulent to treating it as a physiological system. You are managing a reservoir of water and bioactive compounds. The root system must remain in a state of aerobic respiration to prevent cellular collapse. Neglecting the balance between transpiration and moisture uptake leads to flaccid leaves and eventual necrosis. Proper care starts with understanding the mechanical properties of the substrate and the metabolic needs of the plant. If the leaf feels soft or displays a concave surface, the plant has already begun to consume its internal moisture reserves to maintain metabolic function. Precision in environmental control ensures the plant maintains a high concentration of therapeutic gel rather than just surviving in a state of chronic stress.
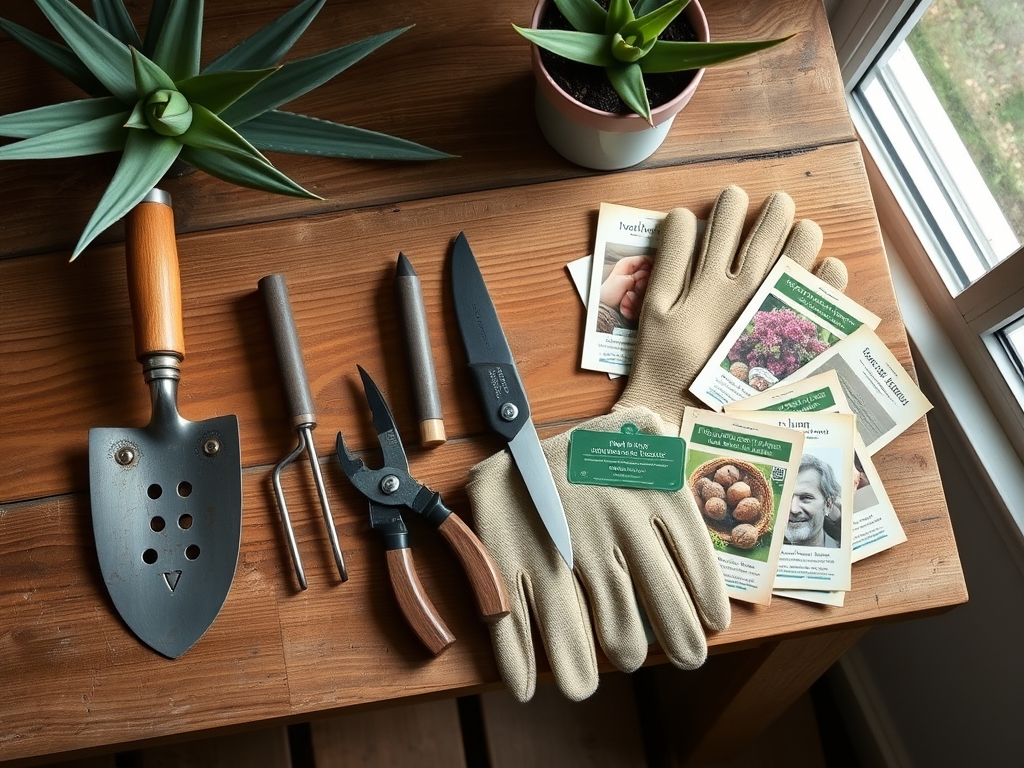
Materials:
The ideal substrate for Aloe vera is a **friable loam** with high porosity to ensure rapid drainage. You must target a **soil pH between 6.0 and 7.2**. A lower pH can lead to aluminum toxicity, while a higher pH restricts the availability of phosphorus and iron. For container growth, utilize a mixture of 40 percent coarse sand, 30 percent perlite, and 30 percent organic matter.
Fertilization requires a low-nitrogen approach to prevent leggy growth and weak cell walls. Use an NPK ratio of 10-40-10 during the active growing season. High phosphorus levels support robust root development and the synthesis of secondary metabolites. The Cation Exchange Capacity (CEC) of your soil should be moderate; this ensures the medium can hold onto essential nutrients like calcium and magnesium without causing salt buildup. Avoid heavy clays that collapse and suffocate the rhizosphere.
Timing:
Aloe vera is native to arid climates and is generally hardy in USDA Zones 9 through 11. It cannot tolerate temperatures below 32 degrees Fahrenheit for extended periods. If you are in a cooler zone, the biological clock dictates a transition to indoor dormancy when overnight lows consistently drop below 50 degrees Fahrenheit.
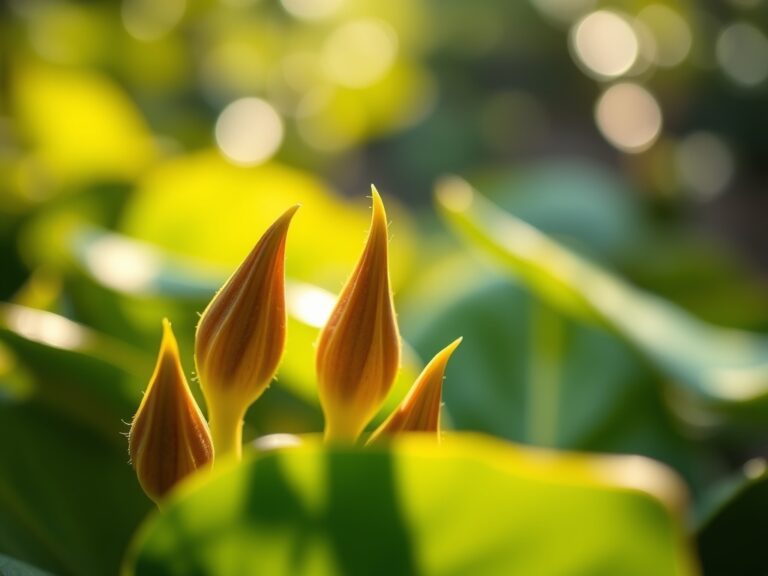
The vegetative stage is most active during the spring and summer when the photoperiod exceeds 12 hours. As the plant matures, usually after four years, it enters a reproductive stage characterized by the emergence of a terminal inflorescence. This transition is triggered by a combination of age and specific light cycles. For those cultivating for medicinal gel, the highest concentration of polysaccharides occurs just before the plant begins its flowering cycle.
Phases:
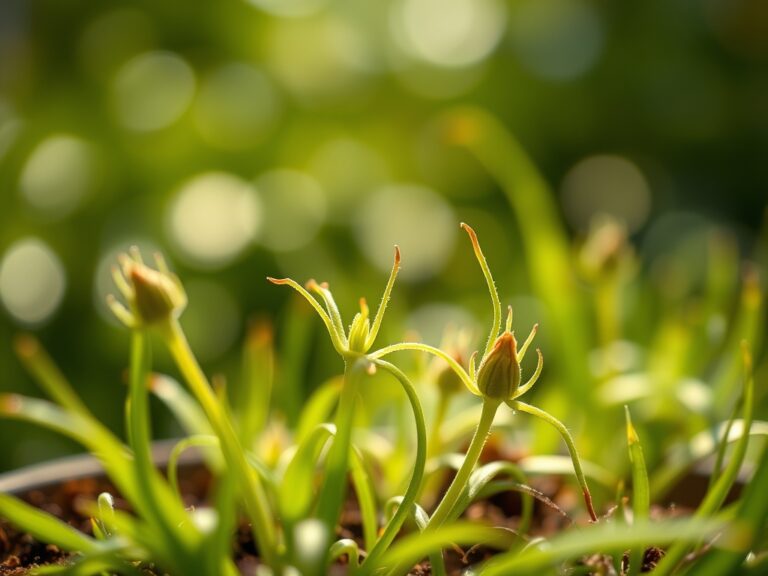
Sowing and Propagation
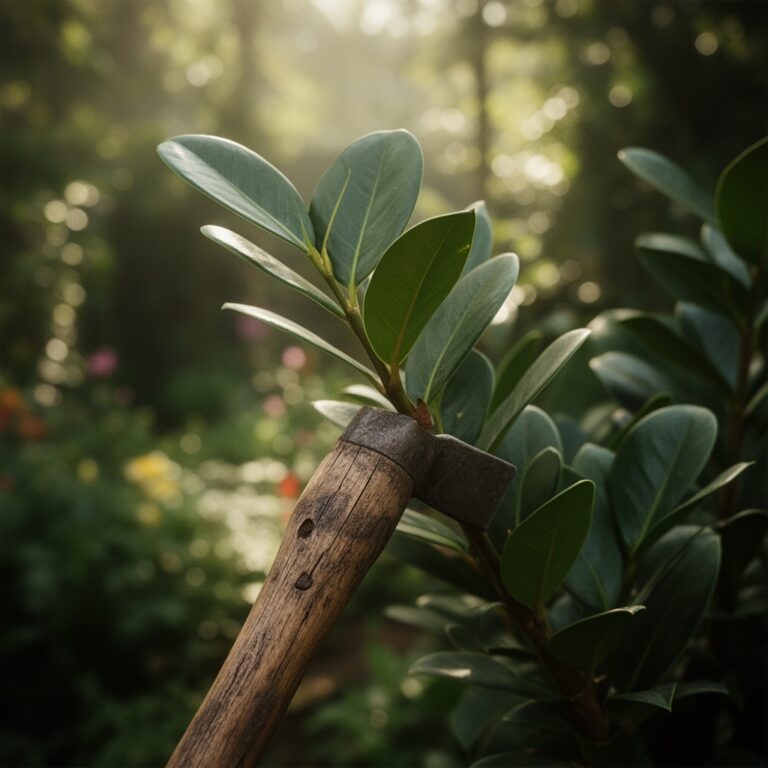
While seeds are an option, most practitioners use "pups" or offsets. These are clones that emerge from the base of the mother plant via underground rhizomes. Use a hori-hori knife to sever the connection between the pup and the parent, ensuring the pup has at least three distinct roots. Allow the wound to callus for 48 to 72 hours before placing it in soil.
Pro-Tip: Callusing is essential because it allows the plant to form a protective layer of suberin. This prevents opportunistic fungal pathogens from entering the vascular system, a process known as pathogen exclusion.
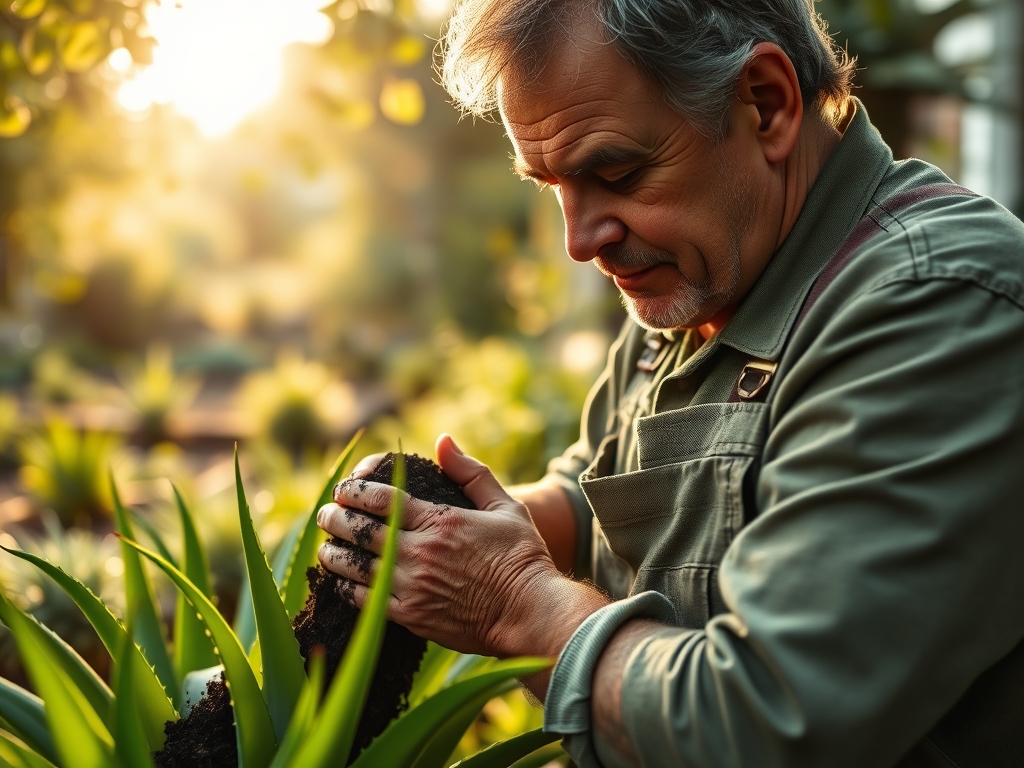
Transplanting
When moving an Aloe to a larger vessel, select a pot only 1 to 2 inches wider than the root ball. Excessive soil volume leads to "perched water tables," where the bottom of the pot remains saturated while the top is dry. Position the plant so the crown sits slightly above the soil line to prevent crown rot.
Pro-Tip: Avoid watering for the first five days after transplanting. This encourages the roots to "stretch" in search of moisture, stimulating the production of auxins, which are hormones that drive root elongation.
Establishing
An established Aloe exhibits a deep green or grey-blue hue and stands upright. During the first 90 days, maintain a consistent light schedule of at least six hours of bright, indirect sunlight. Direct afternoon sun in desert climates can cause photo-inhibition, where the chlorophyll is damaged by excessive UV radiation.
Pro-Tip: Aloe plants exhibit Crassulacean Acid Metabolism (CAM). They keep their stomata closed during the day to conserve water and open them at night to take up carbon dioxide. This unique respiratory cycle is why they require a cooling period at night to process CO2 efficiently.
The Clinic:
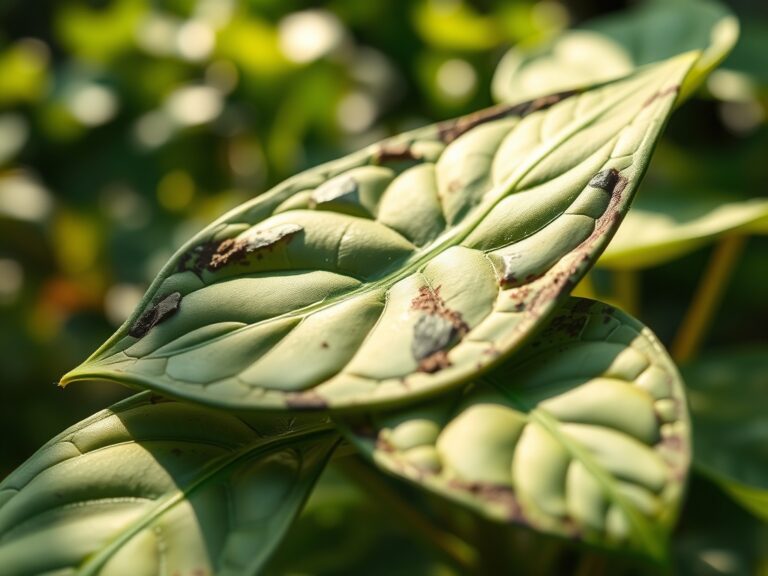
Physiological disorders in Aloe are often mistaken for pests. Accurate diagnosis requires looking at the cellular level.
- Symptom: Soft, brown mushy base.
- Solution: This is Pythium root rot. Immediately remove the plant, excise the necrotic tissue with sterilized bypass pruners, and repot in a dry, sterile medium.
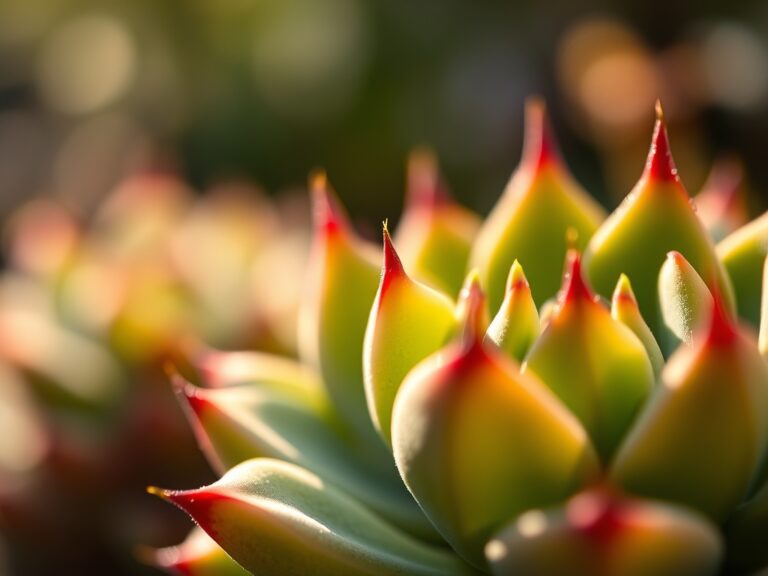
- Symptom: Reddish-orange tint on leaves.
- Solution: This is anthocyanin production, a response to environmental stress such as high light intensity or low temperatures. Move the plant to a shaded area.
- Symptom: Thin, curled leaves.
- Solution: Chronic underwatering. The plant has lost turgor pressure. Increase watering frequency slightly, ensuring the water reaches the root zone.
- Symptom: Yellowing of older leaves (Chlorosis).
- Fix-It: This indicates a Nitrogen deficiency. Apply a diluted 10-40-10 liquid fertilizer. Nitrogen is a mobile nutrient; the plant pulls it from old growth to support new leaves.
Maintenance:
Precision watering is the cornerstone of Aloe health. Apply approximately 1.5 inches of water every two weeks, or when a soil moisture meter reads "dry" at a depth of three inches. Water should be applied at the drip line, avoiding the center of the rosette where trapped moisture can cause rot.
Use a hori-hori knife to remove spent flower stalks or dead outer leaves at the base. This improves airflow and reduces the risk of senescence affecting healthy tissues. If the plant becomes "top-heavy," use a small stake to support the primary stem until the root system anchors firmly into the substrate. Do not use chemical leaf shines; these clog the stomata and interfere with CAM respiration.
The Yield:
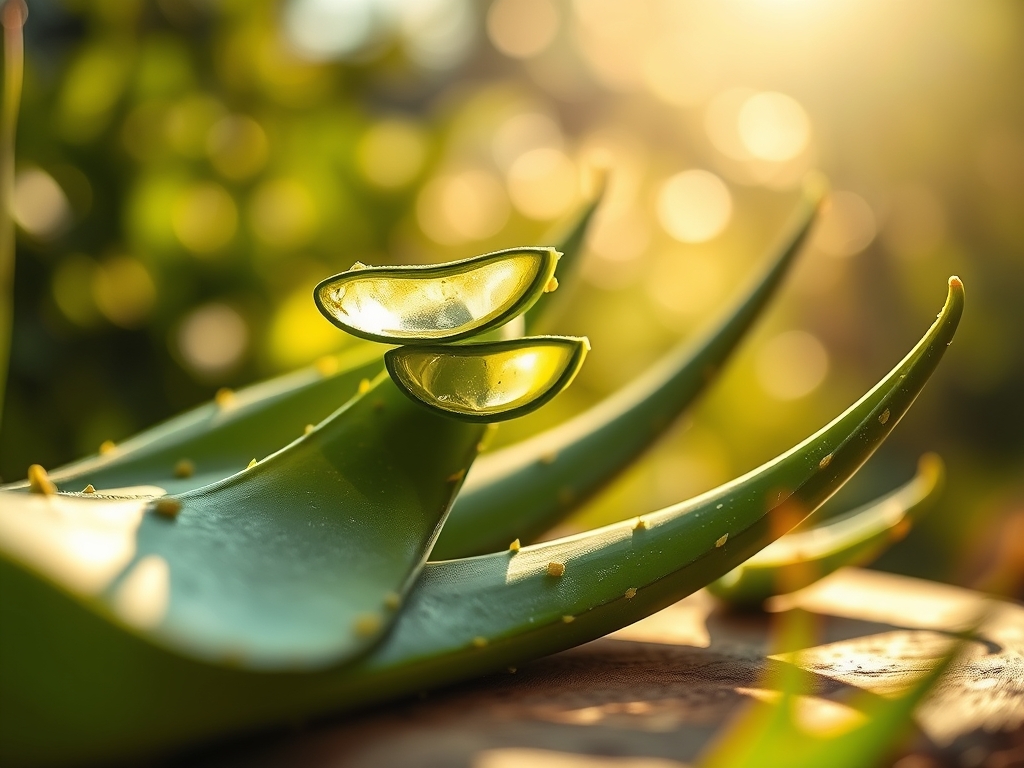
Harvesting for medicinal use should only occur on plants at least three years old. Select the outermost, lowest leaves first. These are the oldest and contain the highest concentration of aloin. Use a sterilized blade to cut the leaf as close to the main stem as possible without damaging the trunk.
Post-harvest, stand the leaf upright in a container for 15 minutes to allow the yellow sap (latex) to drain out. This latex contains high concentrations of anthraquinones and is distinct from the clear inner gel. For "day-one" freshness, wrap the harvested leaf in parchment paper and refrigerate. The gel remains biologically active for approximately two weeks if kept cool and away from UV light.
FAQ:
How much light does my Aloe need?
Aloe requires six to eight hours of bright, indirect light daily. Avoid intense, direct afternoon sun which can cause leaf scorch and trigger anthocyanin stress responses. A south-facing window with a sheer curtain is often an ideal indoor location.
Why are the leaves on my Aloe drooping?
Drooping is usually caused by insufficient light or overwatering. Low light causes the plant to stretch (etiolation), weakening the cell walls. Overwatering leads to root decay, preventing the plant from maintaining the turgor pressure necessary to stand upright.
When should I fertilize my Aloe plant?
Fertilize only during the active growing season, typically from April through September. Use a low-nitrogen, high-phosphorus fertilizer at half strength once every six weeks. Never fertilize during winter dormancy, as the plant cannot process the nutrients.
How do I know if my Aloe has root rot?
If the plant feels loose in the soil or the base appears discolored and soft, inspect the roots. Healthy roots are firm and tan or white. Rotting roots are black, slimy, and emit a foul, sulfurous odor.