10 Simple Steps to Sharpen an Edging Iron
The scent of damp, disturbed earth signals the beginning of the seasonal cycle as the soil achieves its first thaw. Maintaining a crisp line between the turfgrass and the cultivated bed requires more than just physical effort; it demands a tool with a honed, surgical edge. Following specific steps to sharpen an edging iron ensures that the blade slices through dense root mats without tearing the delicate vascular tissue of the surrounding plants. A dull blade crushes the rhizosphere, increasing the risk of pathogen entry into the turf.
Precision in the garden begins with the maintenance of the edge. When a spade or edging iron is properly maintained, it reduces the force required to penetrate the soil profile. This efficiency preserves the structural integrity of the soil aggregates. A clean cut prevents the jagged tearing of stolons and rhizomes, which can lead to localized necrosis in the grass. By prioritizing tool maintenance, the horticulturist ensures that the transition from the lawn to the garden bed remains a clear, biological boundary that supports the distinct needs of each ecosystem.
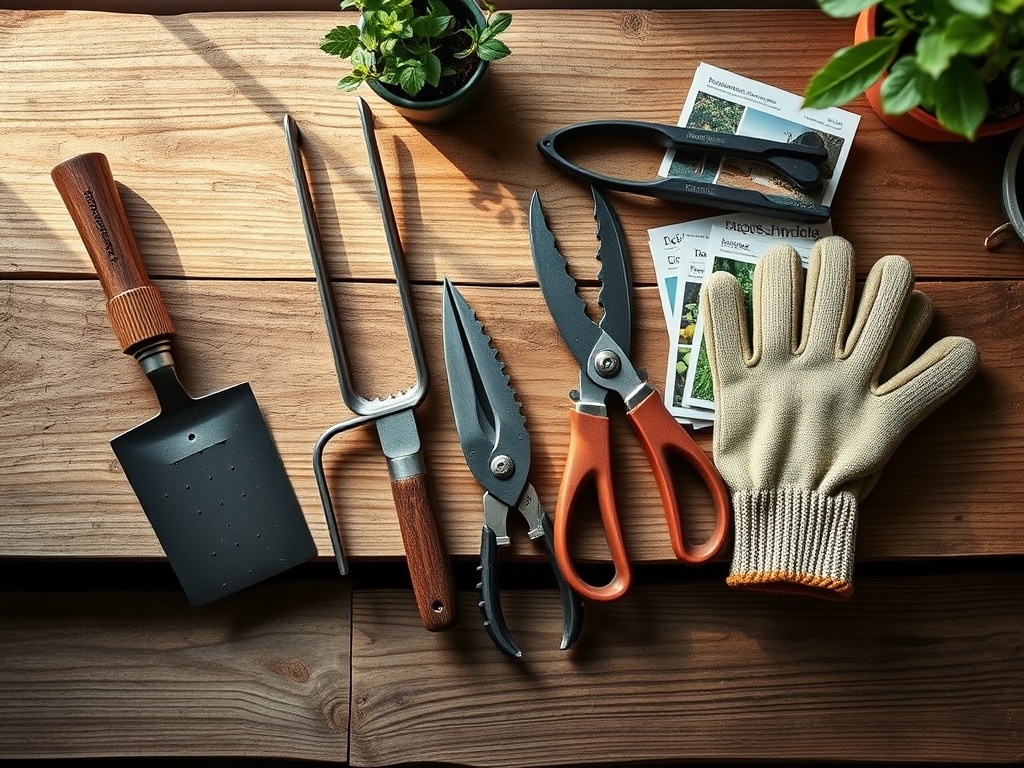
Materials:
Before addressing the tool, understand the substrate it will encounter. Ideal garden beds consist of a friable loam with a **pH between 6.0 and 7.0**. This acidity level optimizes the availability of macronutrients. For established perennial borders, an **NPK ratio of 10-10-10** provides a balanced supply of nitrogen for foliage, phosphorus for root development, and potassium for cellular turgor.
To sharpen the iron, you require a 10-inch mill bastard file, a stiff wire brush, and a lubricating oil such as mineral oil. Safety equipment must include ANSI-rated eye protection and heavy-duty leather gloves. The physical texture of the soil influences how often these materials are used; sandy soils with high silica content act as an abrasive, dulling the blade faster than a silty clay with a high Cation Exchange Capacity (CEC).
Timing:
In Hardiness Zones 4 through 7, the optimal window for sharpening and edging occurs during the dormant season or early spring, before the "Biological Clock" triggers the transition from vegetative dormancy to active growth. This period usually falls between the last hard frost and the first rise in soil temperature above 45 degrees Fahrenheit.
Sharpening should be completed before the photoperiod extends beyond 12 hours, as this light increase signals the plant to move auxin from the apical meristem to the roots. Working with a sharp tool during this transition minimizes the stress on the plant as it enters its most energy-intensive phase. If the edging iron is used during the reproductive stage (flowering), the plant may divert resources away from blossom production to repair the ragged wounds caused by a dull blade.
Phases:
Sowing the Edge
The first phase involves cleaning the tool to prevent the transfer of soil-borne pathogens. Use the wire brush to remove all desiccated organic matter. If the blade shows signs of oxidation, use a medium-grit sandpaper to reveal the base metal. A clean surface is essential for observing the existing bevel of the blade.
Pro-Tip: Maintaining tool hygiene prevents the spread of Fusarium and Phytophthora spores. This practice protects the mycorrhizal symbiosis within the soil, ensuring that beneficial fungi continue to assist the plants in phosphorus uptake.
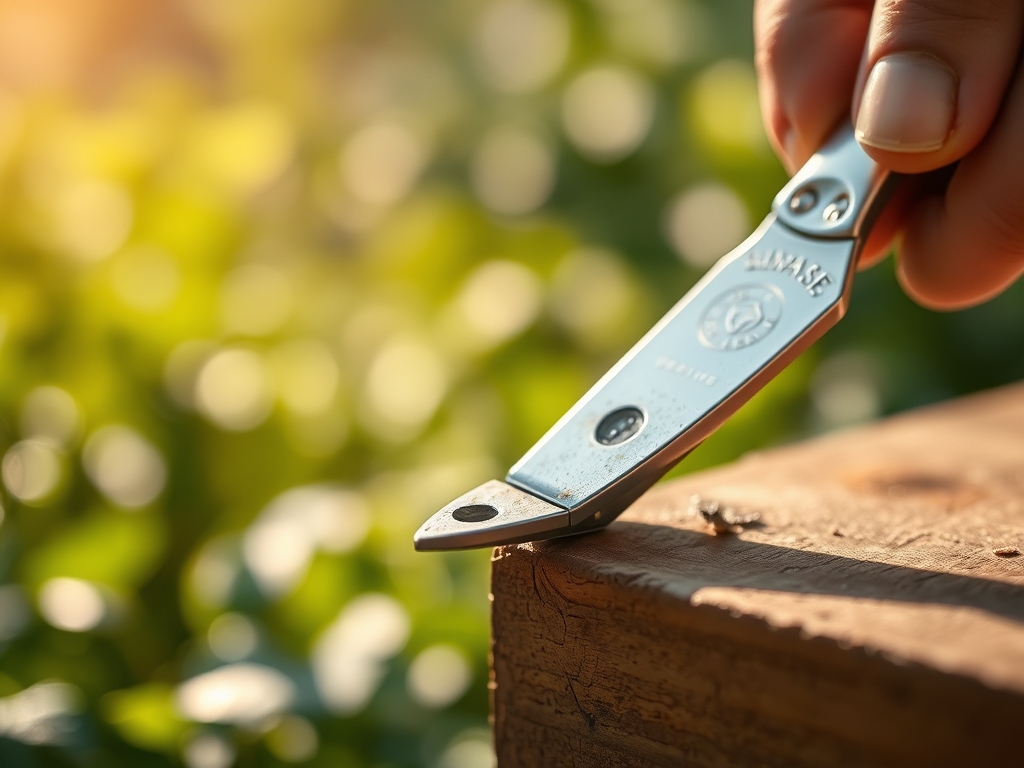
Transplanting the Bevel
Secure the edging iron in a bench vise with the blade facing upward. Identify the factory bevel, which is typically set at an angle between 20 and 30 degrees. Use the mill bastard file in long, diagonal strokes, moving away from your body. Only sharpen the side of the blade that faces away from the grass to maintain a flat back for a vertical cut.
Pro-Tip: A consistent bevel angle ensures uniform pressure distribution during use. This prevents uneven soil compaction, which can lead to auxin suppression in the roots, stunted growth, and reduced nutrient absorption.
Establishing the Finish
Once a burr forms on the flat side of the blade, use a single light pass of the file to remove it. Apply a thin layer of mineral oil to the entire metal surface. This creates a hydrophobic barrier that prevents rust and reduces friction during soil penetration.
Pro-Tip: Reducing friction minimizes the mechanical heat generated during the cut. High heat at the point of contact can cause localized senescence in delicate root hairs, slowing the plant's ability to recover from the edging process.
The Clinic:
Physiological disorders often arise from poor tool maintenance or improper soil management. Monitor the following symptoms:
- Symptom: Ragged, brown edges on turfgrass following a cut.
Solution: Sharpen the edging iron immediately. The jagged edges indicate the blade is crushing the xylem and phloem rather than severing them. - Symptom: Nitrogen Chlorosis (yellowing of older leaves).
Fix-It: Apply a quick-release nitrogen fertilizer with a 4-1-1 ratio to restore chlorophyll production and increase photosynthetic capacity. - Symptom: Iron Chlorosis (yellowing of new growth with green veins).
Fix-It: Lower the soil pH if it exceeds 7.5 by adding elemental sulfur. High pH locks iron in a form that plants cannot absorb. - Symptom: Marginal leaf burn.
Fix-It: This often indicates potassium deficiency or salt accumulation. Flush the soil with 2 inches of water to leach excess salts and improve cation exchange.
Maintenance:
Consistency is the hallmark of a professional landscape. Use a soil moisture meter to ensure the root zone maintains a consistent moisture level. Most temperate ornamentals require 1.5 inches of water per week delivered at the drip line. Use bypass pruners for precision thinning of the canopy to improve airflow and light penetration.
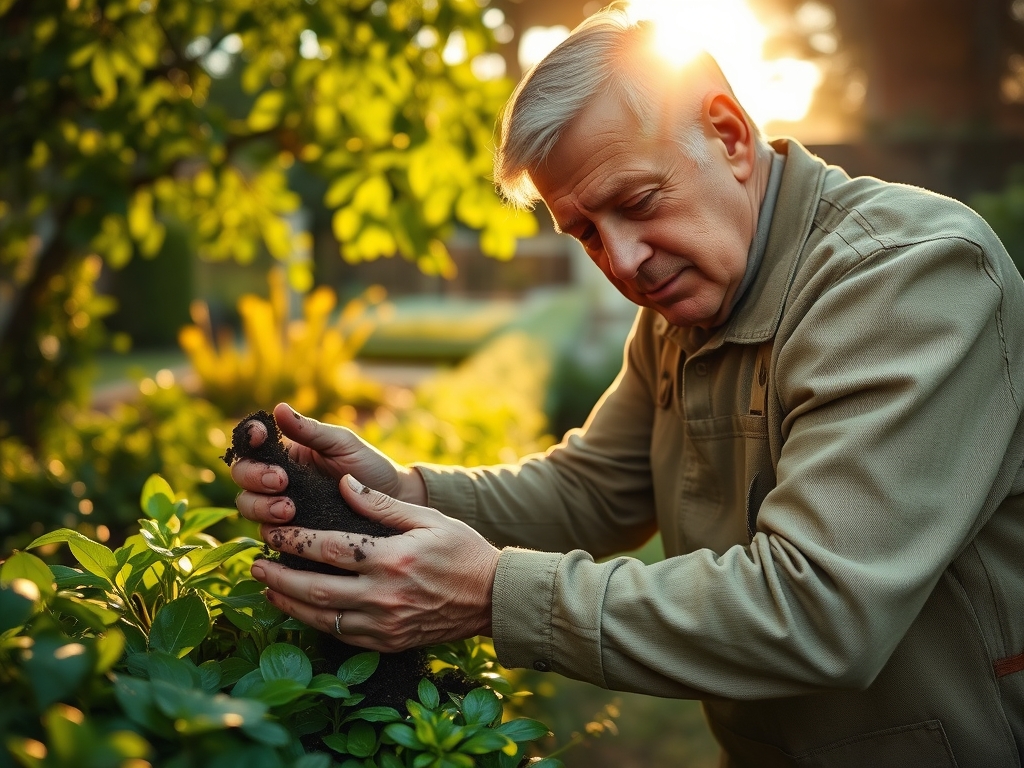
For deep soil analysis, use a hori-hori knife to take core samples. Check for compaction layers that may impede root respiration. If the soil feels dense, incorporate organic matter to improve the pore space, which facilitates the movement of oxygen and water to the rhizosphere.
The Yield:
When harvesting flowers or herbs from the edged bed, timing is critical for post-harvest longevity. Harvest in the early morning when turgor pressure is at its highest. Use a sharp knife to make a clean, slanted cut, which increases the surface area for water uptake.
Immediately plunge the stems into cool water to maintain "day-one" freshness. For woody stems, removing the lower foliage prevents bacterial growth in the water, which can block the vascular system and lead to premature wilting.
FAQ:
How often should I sharpen my edging iron?
Sharpen the blade every 10 to 15 hours of active use. If you encounter rocky soil or high-silica sand, increase the frequency. A sharp blade reduces physical strain and ensures a clean cut through the root zone.
Can I use a power grinder to sharpen the tool?
Avoid power grinders as they generate excessive heat that can ruin the steel's temper. This makes the metal brittle and prone to chipping. Use a mill bastard file for controlled, cool-metal sharpening to preserve tool integrity.
Why does my edging iron rust so quickly?
Rust occurs when moisture and oxygen react with the iron in the steel. Always wipe the blade dry after use and apply a light coat of mineral oil. Store the tool in a dry environment to prevent oxidation.
What is the best angle for sharpening an edger?
Maintain a 25-degree angle on the beveled side. This provides a balance between a sharp cutting edge and a durable blade that will not dull instantly upon contact with soil aggregates or small stones.