9 Sturdy Ways How to Maintain a Post Hole Digger
The scent of damp, anaerobic subsoil rising from a fresh excavation indicates a high organic matter content, yet it also signals the immediate onset of oxidation on your steel tools. Successful fencing or structural planting requires precision in the rhizosphere; a dull or rusted blade shears through delicate fungal networks and compacts the soil walls, inhibiting future root penetration. Learning how to maintain a post hole digger ensures that every plunge into the earth remains efficient and prevents the mechanical failure of the pivot bolts during peak planting windows.
Materials:
Maintaining the integrity of your digging tools starts with understanding the chemistry of the medium they penetrate. Ideal garden soil is a **friable loam** with a **pH between 6.0 and 7.0**. This acidity level is gentle on steel but requires high Cation Exchange Capacity (CEC) to hold nutrients. When your tool comes into contact with fertilizers, specifically those with an **NPK ratio of 10-10-10**, the high salt content can accelerate galvanic corrosion. You will need a wire brush, 80-grit sandpaper, a mill bastard file, and a penetrating lubricant such as lithium grease or mineral oil to neutralize the oxidative effects of damp, acidic earth.
Timing:
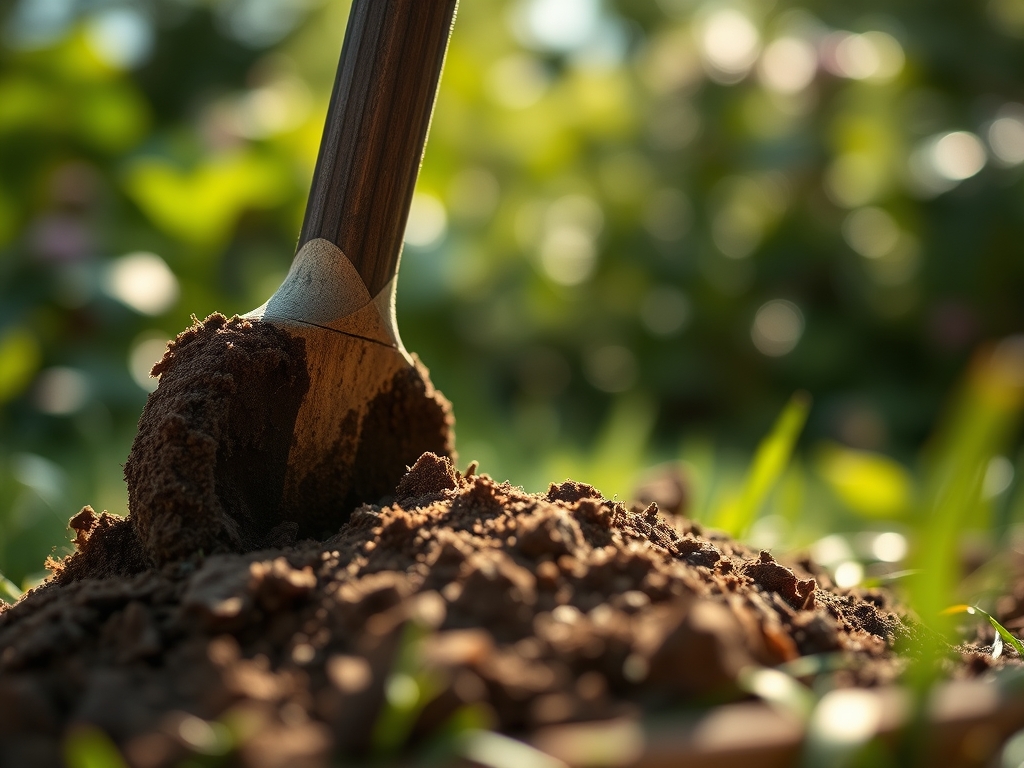
In Hardiness Zones 4 through 7, the window for post-hole digging is strictly governed by the frost line. You must perform maintenance before the spring thaw, typically when soil temperatures reach a consistent 45 degrees Fahrenheit. This coincides with the biological clock of woody perennials as they transition from winter dormancy to the early vegetative stage. Digging in waterlogged, early-spring soil increases compaction; therefore, tool maintenance should be completed while the ground is still too wet to work, ensuring readiness the moment the soil reaches the "plastic limit" where it crumbles rather than smears.
Phases:

Sowing the Foundation
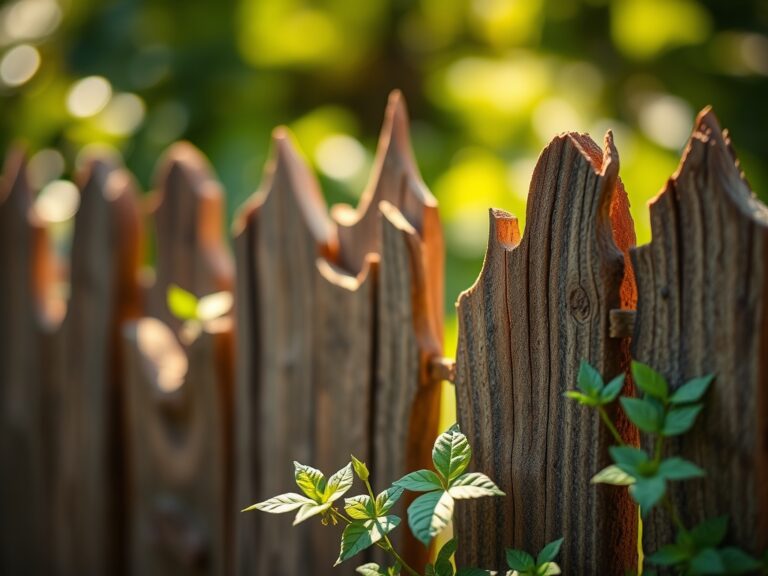
Before the first hole is dug, inspect the wooden or fiberglass handles for stress fractures. If using wooden handles, rub them with boiled linseed oil to prevent desiccation. Pro-Tip: Maintaining smooth handles prevents blisters, but more importantly, it prevents the introduction of pathogens like Fusarium or Verticillium into the soil, which can hitchhike on rough, splintered wood.
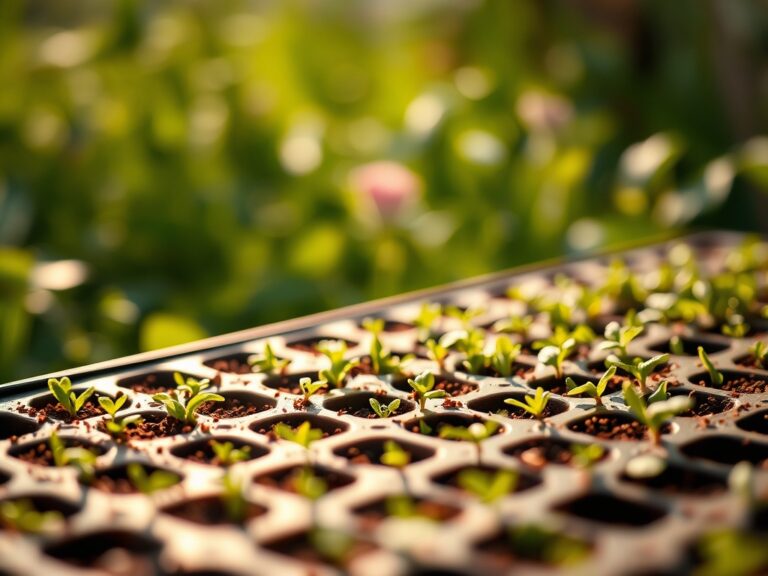
Transplanting and Depth
When using the digger to create a home for a balled-and-burlapped tree, the blades must be sharp enough to cut through peripheral roots without tearing. Tearing causes ragged wounds that invite opportunistic fungi. Pro-Tip: Sharp blades ensure a clean cut, which promotes rapid callus formation and the subsequent activation of auxins at the root tip, stimulating new lateral growth into the surrounding native soil.
Establishing Stability
Tighten the pivot bolt to a point where the handles move freely but do not wobble. A loose pivot reduces the leverage required to compress the soil "plug" for extraction. Pro-Tip: Proper mechanical tension allows for deeper holes with less sidewall glazing. Glazing creates a physical barrier that restricts mycorrhizal symbiosis, as the hardened soil prevents fungal hyphae from extending into the bulk soil for phosphorus uptake.
The Clinic:
If you notice the tool is struggling to penetrate even moist soil, the primary symptom is a "rounded" leading edge. The solution is to use a mill file at a 45-degree angle to restore the bevel. Another common physiological disorder in the garden is Nitrogen chlorosis, where leaves turn yellow due to poor drainage in holes with glazed sides. Fix this by using your hori-hori knife to scarify the walls of the hole after digging. For nutrient deficiencies like Iron deficiency, which presents as interveinal chlorosis, ensure the tool is clean of old, lime-heavy clay that could locally spike the pH and lock up micronutrients in the new planting hole.
Maintenance:
Post-digging care is non-negotiable. After each use, spray the blades with a high-pressure hose to remove all soil particles. Dry the steel completely to prevent the formation of iron oxide. Apply a thin layer of motor oil or specialized tool lubricant to the blades and the pivot point. If you are planting in an area that receives 1.5 inches of water per week, the high humidity will necessitate weekly inspections. Use a soil moisture meter to check the ground before digging; never use the tool in bone-dry, baked clay, as this can bend the steel blades and ruin the alignment of the handles.
The Yield:
While a post hole digger does not produce a harvest directly, its maintenance dictates the success of high-yield crops like hops or pole beans that require deep-set structural supports. For day-one freshness in your garden infrastructure, ensure all posts are set and backfilled immediately after digging. This prevents the "puddled" soil at the bottom of the hole from drying into a concrete-like mass, which would otherwise impede the downward geotropism of the plant's primary taproot.
FAQ:
How often should I sharpen the blades?
Sharpen the blades every 10 to 15 holes or whenever you encounter heavy clay and stones. A sharp edge reduces the physical force required and prevents the tool from glancing off roots, ensuring a vertical and precise excavation.
What is the best way to prevent rust?
Clean the tool with a wire brush after every use. Apply a light coat of WD-40 or mineral oil to the steel surfaces. Store the tool in a dry shed, hanging vertically to prevent moisture from pooling in the pivot.
Can I use a post hole digger in rocky soil?
Yes, but you must check for blade chipping frequently. Use a digging bar to dislodge large stones first. Maintaining the digger involves filing out any small nicks in the blade immediately to prevent stress fractures in the steel.
Why are my handles cracking?
Wooden handles crack due to extreme fluctuations in humidity and UV exposure. Apply boiled linseed oil twice a year. If the handles are fiberglass, check for "blooming" fibers and replace them if the structural integrity is compromised by deep gouges.