6 Quick Steps to Install a Pet Turf Area
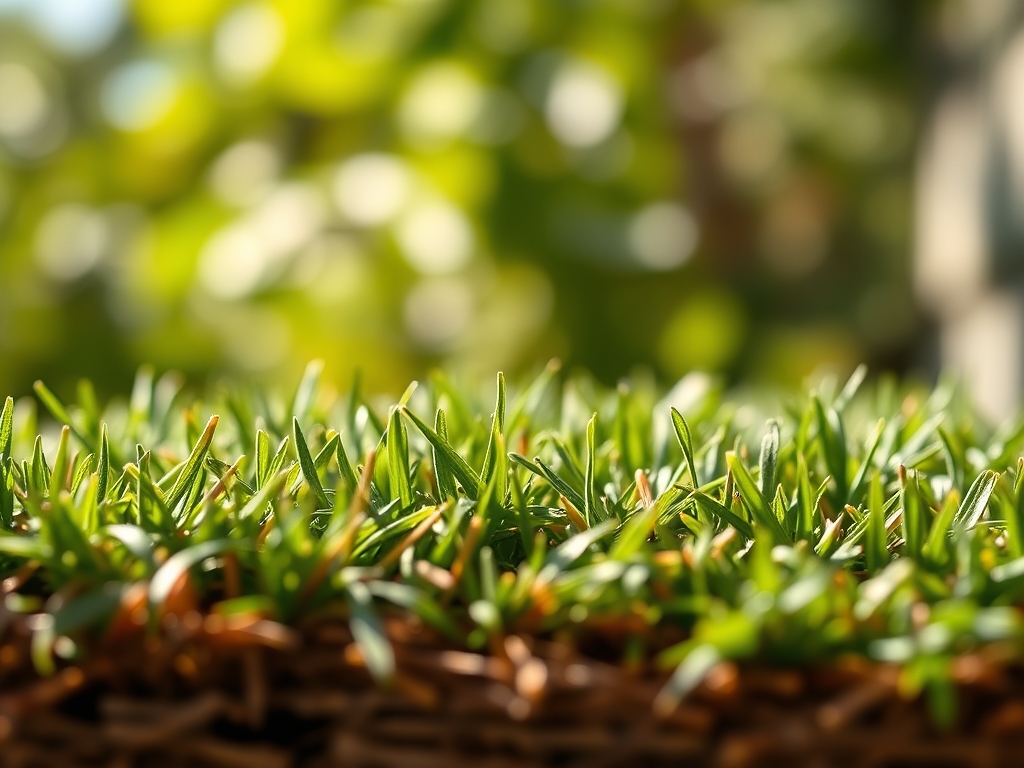
The scent of anaerobic decomposition and the sight of yellowing, nitrogen-scalded grass signify a failure in traditional turf management. For homeowners with high-traffic animals, the biological demand on a standard lawn exceeds the regenerative capacity of the rhizosphere. Transitioning to a synthetic system requires more than a simple carpet overlay; it demands a sophisticated engineering of the soil profile to manage drainage and microbial activity. Following the specific steps to install a pet turf area ensures that the substrate remains aerated and the surface maintains structural integrity under constant mechanical stress. A successful installation balances the hydraulic conductivity of the base layer with the physical durability of polyethylene fibers. You must approach this project as a civil engineering task rather than a cosmetic enhancement. The goal is a sterile, well-drained environment that prevents the accumulation of ammonia salts and pathogenic bacteria. By controlling the subgrade and selecting high-density infill, you mitigate the risk of heat retention and localized flooding. This process begins with the complete removal of existing biomass and the stabilization of the underlying mineral soil.
Materials:
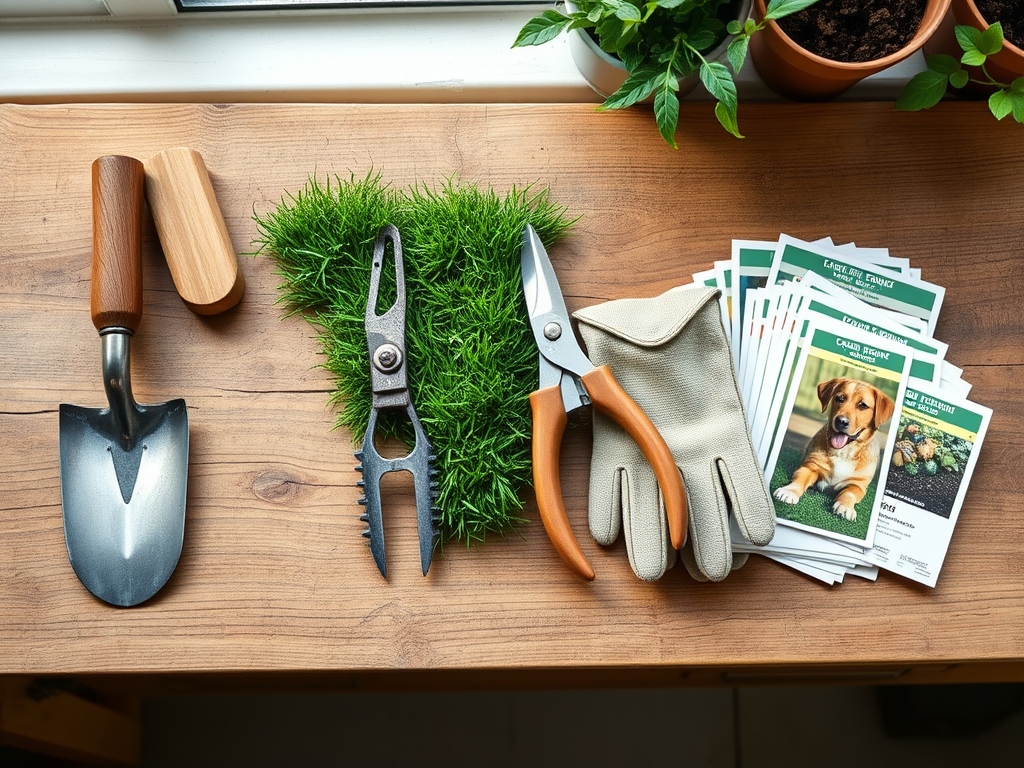
The success of the installation depends on the physical properties of the sub-base. You must clear the site of all organic matter to prevent subsidence. The ideal substrate is a **class 2 permeable base** or a crushed aggregate ranging from **0.25 to 0.75 inches** in diameter. This provides a high Cation Exchange Capacity (CEC) if zeolite is integrated, which helps capture ammonium ions. While the turf itself does not require a specific soil pH, the surrounding perimeter should maintain a **pH of 6.5 to 7.0** to support peripheral plantings.
For the base layer, use a friable loam only in transition zones where the synthetic edge meets living landscape. The primary drainage layer must be non-expansive. You will need a geotextile weed barrier with a high flow rate, typically measured in gallons per minute per square foot. The infill material should be an antimicrobial acrylic-coated sand or a volcanic zeolite. Avoid standard silica sand; it lacks the porosity required for effective odor control and can compact over time, reducing the hydraulic conductivity of the system.
Timing:
The biological clock for installation is dictated by soil moisture and temperature rather than plant phenology. In Hardiness Zones 3 through 11, the optimal window occurs when the ground is not frozen and the soil moisture is below the plastic limit. Attempting to excavate saturated soil leads to compaction and loss of soil structure, which impairs future drainage.
If you are integrating the turf with surrounding vegetation, consider the transition from vegetative to reproductive stages of your perimeter plants. Install the turf during the dormant season (late autumn or early spring) to minimize stress on the root systems of nearby trees and shrubs. Avoid installation during peak summer heat in Zones 8 to 10; synthetic materials can reach surface temperatures exceeding 150 degrees Fahrenheit, making the material difficult to handle and increasing the risk of thermal expansion after the edges are secured.
Phases:
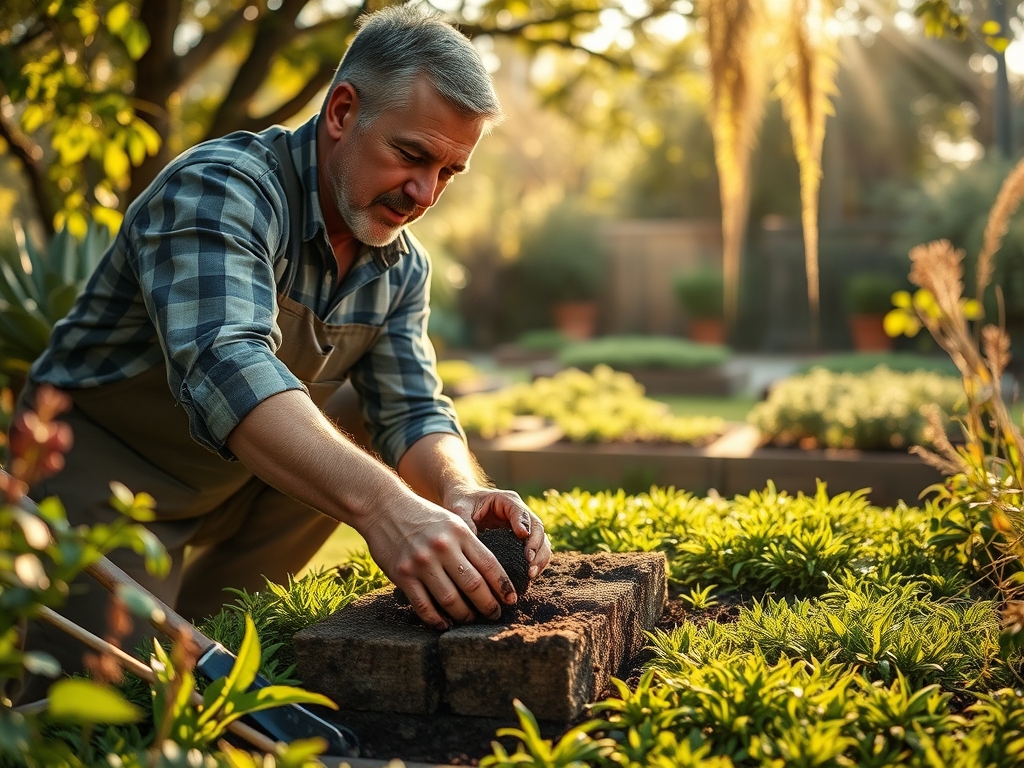
Sowing the Foundation
Excavate the area to a depth of 3 to 4 inches. Ensure a 2 percent slope away from permanent structures to facilitate gravitational drainage. Compact the native subgrade using a vibratory plate compactor until it reaches 95 percent Proctor density.
Pro-Tip: Proper compaction prevents the formation of "low spots" where water can pool. This is vital because standing water creates a hypoxic environment that encourages the growth of anaerobic bacteria, leading to foul odors.
Transplanting the Turf
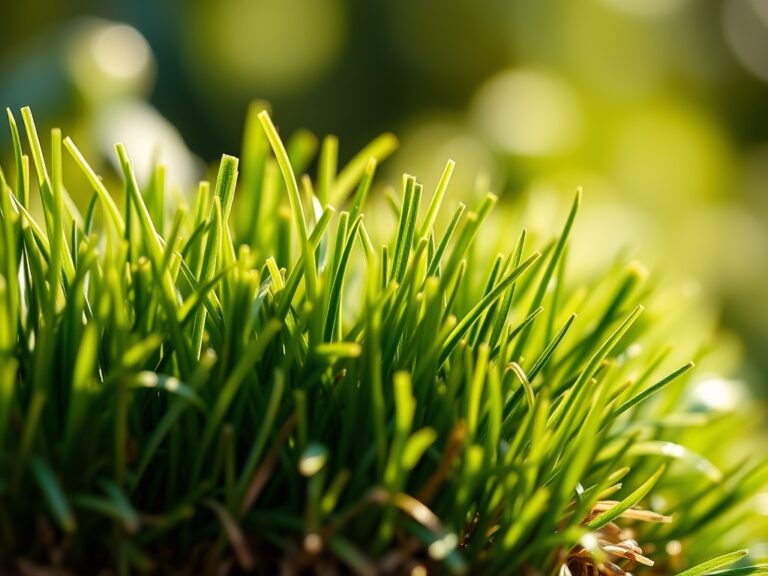
Roll out the synthetic turf and allow it to "acclimate" for at least 4 hours in direct sunlight. This allows the backing to expand and the fibers to lose their shipping memory. Trim the edges using a sharp utility knife, ensuring the blades are angled slightly inward for a seamless fit.
Pro-Tip: Understanding phototropism helps in fiber orientation. Always face the "lean" of the turf fibers toward the primary viewing angle (usually the house). This minimizes glare and ensures the most natural light refraction off the polyethylene blades.
Establishing the Perimeter
Secure the edges using 6-inch galvanized landscape staples or nails spaced every 4 to 6 inches. Apply the infill at a rate of 1.5 to 2.0 pounds per square foot. Use a power broom to work the granules deep into the thatch.
Pro-Tip: The infill acts as a mechanical ballast. By weighing down the fibers, you prevent "creeping" caused by thermal expansion and contraction. This stability protects the mycorrhizal symbiosis in the adjacent soil by preventing the turf edges from shifting and crushing the delicate fungal hyphae at the drip line.
The Clinic:
Physiological disorders in a pet turf system usually manifest as drainage failures or thermal issues.
- Symptom: Persistent ammonia odor despite rinsing.
- Solution: The infill has reached its cation exchange limit. Apply a concentrated enzymatic cleaner to break down the urea.
- Symptom: Fiber matting or "flat-spotting."
- Solution: Mechanical grooming. Use a stiff-bristled brush to restore the vertical orientation of the blades.
- Symptom: Perimeter chlorosis in nearby plants.
- Solution: This is often Nitrogen chlorosis caused by runoff or leaching from the turf area.
Fix-It: If peripheral plants show yellowing leaves with green veins, check the soil pH. High concentrations of pet waste can acidify the soil. Apply dolomitic lime to raise the pH and provide supplemental iron chelate to restore chlorophyll production.
Maintenance:
A synthetic pet area is not "maintenance-free." To maintain hygiene, apply 1.5 inches of water per week across the entire surface to flush salts through the drainage layer. Use a soil moisture meter in the adjacent garden beds to ensure that the increased runoff from the turf is not waterlogging the roots of nearby ornamentals.
For edge maintenance, use a hori-hori knife to remove any weeds that attempt to establish in the infill. If you have overhanging trees, use bypass pruners to keep branches at least 2 feet above the turf surface. This prevents the accumulation of organic debris that can decompose and clog the drainage pores of the turf backing.
The Yield:
While you are not harvesting a crop, the "yield" of a pet turf area is measured in its longevity and sanitary state. A well-installed system should provide 10 to 15 years of service. To maintain "day-one" freshness, perform a deep-clean twice annually. This involves removing the top layer of infill, power-washing the backing, and replenishing the zeolite. This prevents the buildup of biofilm and ensures the hydraulic conductivity remains at peak performance.
FAQ:
How do I prevent the turf from smelling?
Install a zeolite infill and ensure a 3-inch crushed stone base. Rinse the area weekly with water to flush urea through the permeable backing. Use enzymatic cleaners monthly to break down residual organic compounds.
Can I install pet turf over existing grass?
No. You must remove all biomass and 3 inches of topsoil. Decomposing grass creates a spongy, unstable surface and produces methane gas, which can cause the synthetic turf to bubble and trap foul odors.
Is the turf safe for paws in the summer?
Synthetic turf can reach high temperatures. On days exceeding 90 degrees Fahrenheit, use a sprinkler to cool the surface through evaporative cooling. Choosing a turf with heat-reflective technology can lower surface temps by 15 percent.
How do I handle pet waste on synthetic grass?
Remove solid waste immediately to prevent it from embedding in the fibers. For liquid waste, the permeable backing allows it to drain into the aggregate base. Use a hose to rinse the area and maintain a sanitary environment.