8 Best Echeveria Succulent Tips
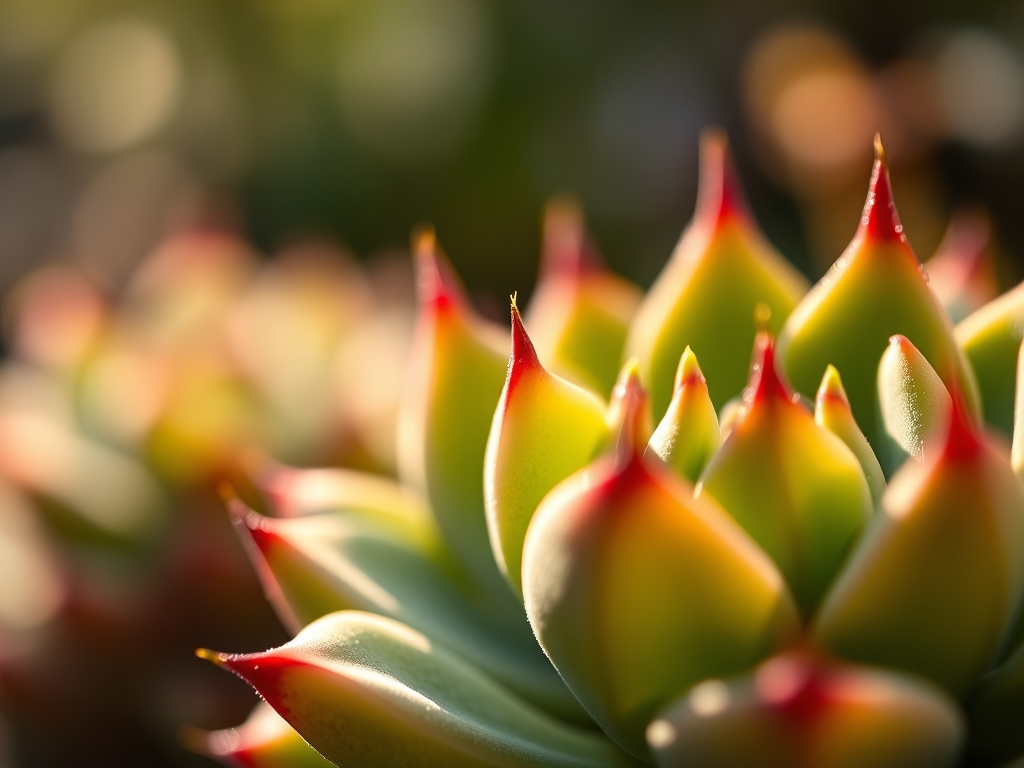
Pressing a thumb against the epidermis of a healthy Echeveria leaf should reveal immediate turgor pressure; the tissue must feel as rigid as a cold apple. If the leaf yields with a soft, rubbery texture, the cellular structure is failing due to hydraulic deficit or root senescence. Achieving this level of physiological health requires more than casual observation. Mastering the best echeveria succulent tips involves a rigorous understanding of the plant's metabolic demands and its native high-altitude Mexican habitat. Success is found in the grit of the substrate and the precision of the photoperiod. We are managing a living hydraulic system that thrives on the edge of desiccation. You must balance the Cation Exchange Capacity of your soil with the specific light intensity required to maintain the tight rosette form. Neglect the data, and the plant will etiolate, stretching its internodes in a desperate search for photons, eventually collapsing under its own weight.
Materials:
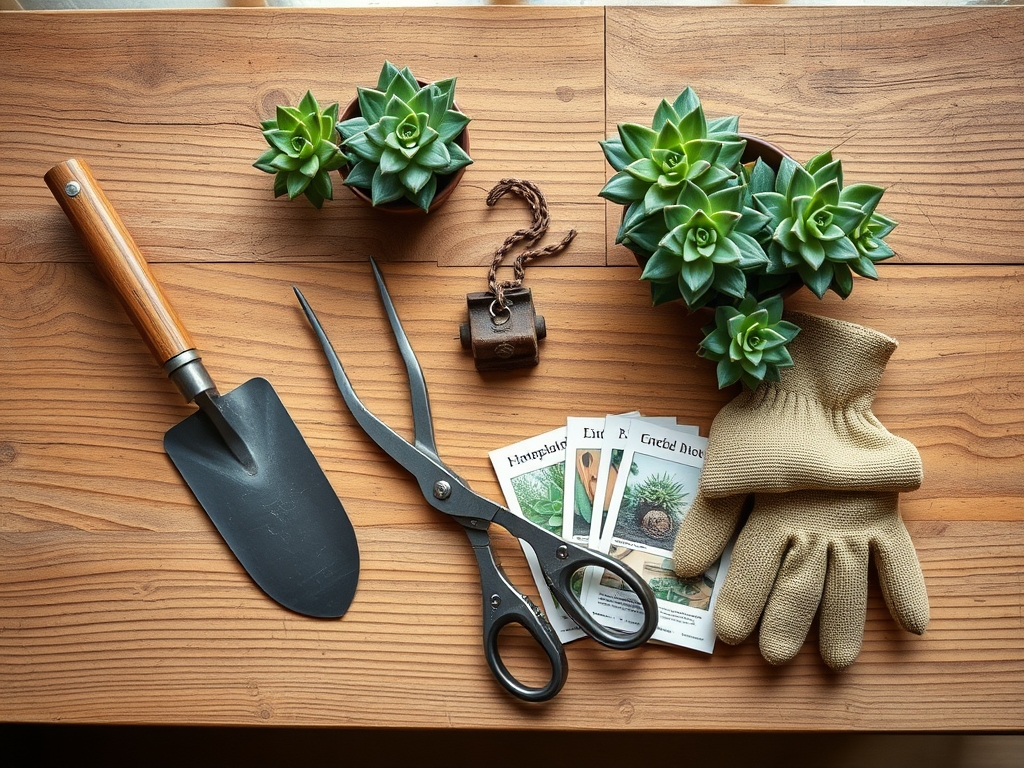
The foundation of Echeveria health is a substrate with high porosity and low organic matter. Aim for a soil pH between 5.5 and 6.5. The physical texture must be a friable loam mixed with inorganic aggregates. A standard mix includes 50% crushed expanded shale or poultry grit, 25% pumice, and 25% pine bark fines. This composition ensures rapid drainage and prevents the anaerobic conditions that trigger Pythium root rot.
For fertilization, utilize a low-nitrogen, high-potassium formula. An NPK ratio of 5-10-15 is ideal during the active growth phase. High nitrogen levels (above 10%) force rapid, weak cellular expansion, making the plant susceptible to mechanical damage and thermal stress. The goal is to provide enough phosphorus for root development and potassium for cellular water regulation without over-stimulating vegetative bulk.
Timing:
Echeveria species are primarily adapted to USDA Hardiness Zones 9 through 11. In these regions, they can remain outdoors year-round. For growers in Zones 8 and below, the plants must be moved indoors when ambient temperatures drop below 45 degrees Fahrenheit (7 degrees Celsius). While some species can survive a light frost, prolonged exposure to temperatures below 32 degrees Fahrenheit will cause the water within the vacuoles to freeze, rupturing the cell walls.
The biological clock of the Echeveria is governed by the photoperiod. Most species enter a semi-dormant state during the peak of summer when temperatures exceed 90 degrees Fahrenheit. Growth resumes in the autumn as temperatures cool and day length shortens. Flowering typically occurs in late winter or spring. This transition from vegetative to reproductive stages is triggered by a combination of cooler night temperatures and specific light cycles. Do not attempt heavy pruning or transplanting during the reproductive phase, as the plant is diverting its carbohydrate reserves toward inflorescence production.
Phases:
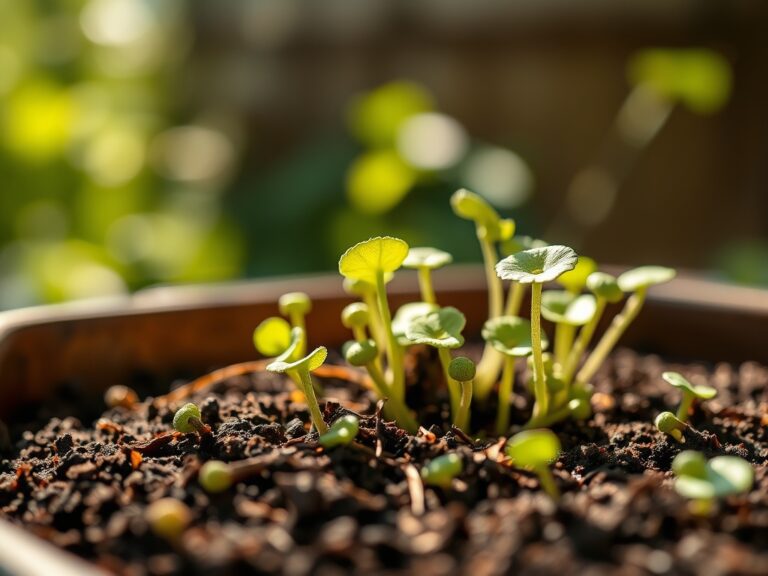
Sowing and Propagation
Echeveria can be propagated via seed, but leaf cuttings are the industry standard for clonal consistency. Detach a mature leaf from the lower third of the rosette with a clean, lateral tug. Ensure the entire petiole base is intact. Place the leaves on a dry, shaded tray for three to five days to allow a callus to form over the wound.
Pro-Tip: Callusing is essential because it prevents opportunistic pathogens from entering the vascular system. This period allows for the formation of a protective layer of suberin, a waxy substance that regulates moisture loss and acts as a biological barrier.
Transplanting
When the callus has formed and adventitious roots appear, move the specimen to its permanent container. Use a pot that is only one inch wider than the diameter of the rosette. Excess soil volume holds unnecessary moisture, increasing the risk of rhizosphere hypoxia.
Pro-Tip: Avoid burying the stem too deeply. High auxin concentrations at the base of the leaf nodes will stimulate root initiation, but if the crown is submerged in damp soil, the lack of gas exchange will lead to stem rot.
Establishing
During the first 14 to 21 days after transplanting, withhold water. The plant must rely on its internal moisture reserves to drive root elongation. Once the root system has anchored into the substrate, begin a "soak and dry" irrigation cycle.
Pro-Tip: This period of managed drought encourages the roots to seek out moisture, stimulating a more robust and expansive root architecture through a process known as hydrotropism.
The Clinic:
Physiological disorders in Echeveria are often misdiagnosed as infectious diseases. Accurate identification is critical for remediation.
Symptom: Etiolation (stretching and pale coloration).
Solution: Increase light intensity. Echeverias require at least six hours of direct solar radiation or 2,000 foot-candles of artificial light.
Fix-It: If the plant has already stretched, use a bypass pruner to decapitate the rosette, leaving two inches of stem. The base will produce new "pups" via axillary bud activation.
Symptom: Nitrogen Chlorosis (yellowing of older leaves).
Solution: Apply a balanced, water-soluble fertilizer at half-strength.
Fix-It: Ensure the soil pH has not drifted above 7.0, as high alkalinity can lock out essential micronutrients like iron and manganese, mimicking nitrogen deficiency.
Symptom: Edema (small, corky bumps on the leaf underside).
Solution: Improve air circulation and reduce humidity.
Fix-It: Edema occurs when the roots absorb water faster than the leaves can transpire it. Use a small fan to increase airflow around the base of the plant.
Maintenance:
Precision is the hallmark of professional maintenance. Use a soil moisture meter to verify that the substrate is 90% dry before adding water. When irrigating, apply water directly to the soil surface; avoid getting water trapped in the rosette crown, which can lead to fungal infections.
For outdoor plants in the ground, provide approximately 0.5 inches of water every 10 days during the growing season. In containers, water until it drains freely from the bottom holes. Use a hori-hori knife to remove spent flower stalks and dead lower leaves. This practice, known as grooming, prevents the accumulation of organic debris where pests like mealybugs might harbor. Always use sharp bypass pruners for removals to ensure clean cuts that heal rapidly.
The Yield:
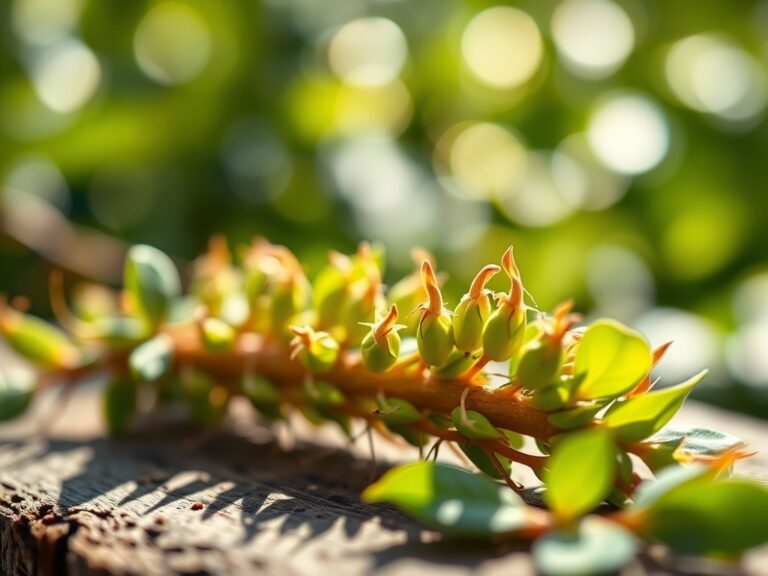
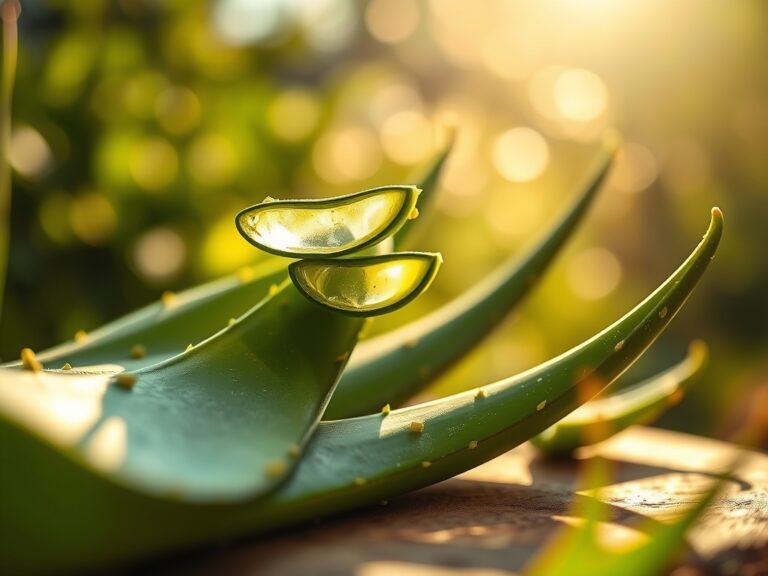
While Echeverias are not typically harvested for consumption, "harvesting" offsets or "pups" is a common practice for collection expansion. Wait until the offset is at least one-third the size of the parent plant. Sever the connecting stolon with a sterilized blade.
To maintain "day-one" freshness for shipping or gifting, keep the harvested offsets in a cool, dark location with a relative humidity of 40% to 50%. Do not mist the plants; topical moisture encourages the growth of Botrytis cinerea. A properly callused offset can remain viable without soil for several weeks by utilizing its stored water in the succulent tissue.
FAQ:
How much light does an Echeveria need?
Echeverias require a minimum of six hours of direct sunlight daily. In indoor settings, utilize full-spectrum LED grow lights positioned 6 to 12 inches above the foliage to provide approximately 2,000 to 3,000 foot-candles of light intensity.
Why are the bottom leaves of my Echeveria falling off?
If the leaves are dry and crispy, it is natural senescence; the plant is recycling nutrients for new growth. If the leaves are yellow and mushy, it indicates over-watering and potential root rot within the rhizosphere.
What is the best soil for Echeveria?
The ideal substrate is a gritty, well-draining mix with a pH of 5.5 to 6.5. Use a blend of 50% inorganic material like perlite or pumice and 50% organic matter like pine bark fines to ensure rapid drainage.
How often should I fertilize my succulent?
Apply a low-nitrogen, water-soluble fertilizer with an NPK ratio like 5-10-15 once every four weeks during the active growing seasons of spring and autumn. Avoid fertilization during the peak summer heat or mid-winter dormancy periods.