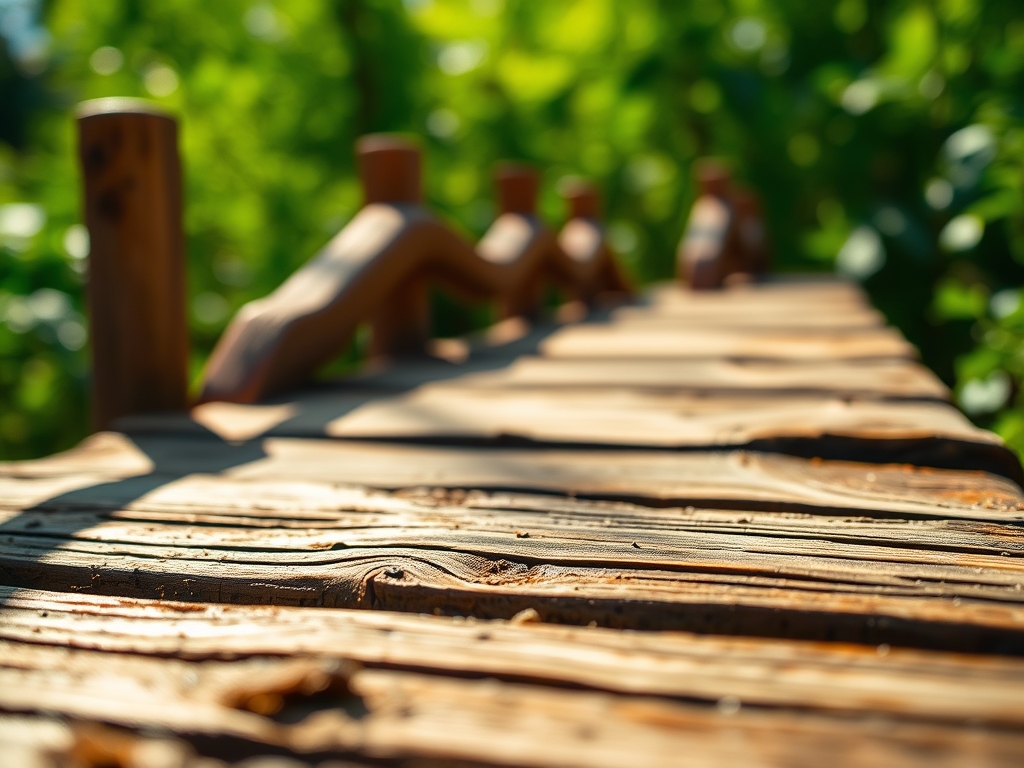
7 Best Sealants for Garden Bridges
The scent of damp humus and the sound of high turgor pressure snapping a crisp stem define the peak of the growing season. In a high-functioning landscape, structural integrity is as vital as the nutrient density of the soil. When moisture infiltrates untreated timber, it triggers fungal decay and cellular collapse. Selecting the best sealants for garden bridges is a technical necessity to prevent the structural senescence of your garden architecture. This process requires an understanding of how moisture cycles through wood fibers just as it moves through the xylem of a vascular plant.
Materials:

The performance of a sealant depends heavily on the surrounding environment, specifically the soil pH and the chemical composition of the runoff. In gardens with **acidic soil (pH 4.5 to 5.5)**, metal fasteners in bridges oxidize faster, necessitating sealants with high corrosion inhibitors. If you are fertilizing nearby beds with a high-nitrogen **NPK ratio of 21-0-0 (Ammonium Sulfate)**, the resulting acidity can etch certain acrylic coatings.
The ideal substrate for bridge footings is a friable loam with a high Cation Exchange Capacity (CEC). This ensures that moisture drains away from the timber base rather than pooling. Use a soil moisture meter to verify that the ground beneath the bridge remains below 20 percent saturation before applying any oil-based penetrant. For bridges spanning water features, ensure the sealant is labeled as "aquatic safe" to protect the delicate rhizosphere of marginal aquatic plants.
Timing:
Application timing is dictated by the Biological Clock of the surrounding flora and the specific climate of your Hardiness Zone. In Zones 4 through 7, the ideal window for sealing occurs after the final spring frost but before the summer solstice. This period aligns with the transition from the vegetative stage to the reproductive stage in many perennial species.
Wood must reach an internal moisture content of 12 percent or lower for optimal adhesion. Attempting to seal during periods of high humidity will trap moisture within the cellular structure, leading to internal rot. Monitor the photoperiod; you require at least 48 hours of direct UV exposure without precipitation to ensure the cross-linking of polymers in the sealant occurs correctly.
Phases:

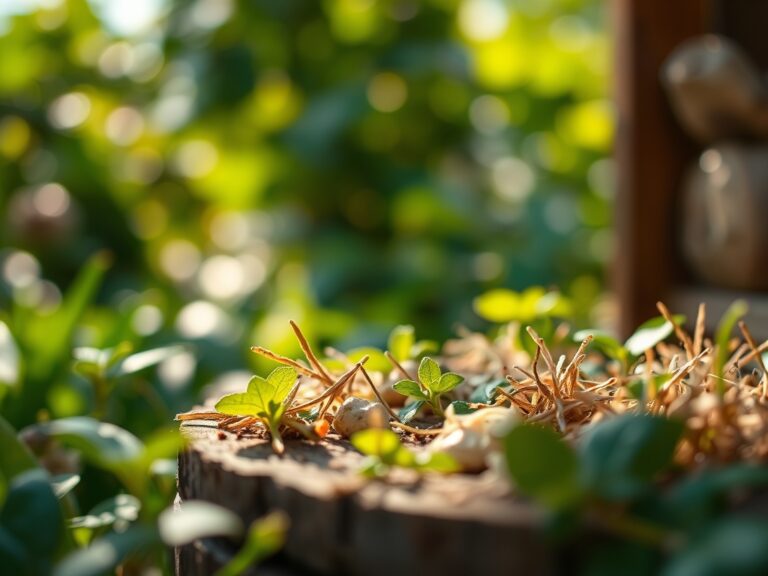
Sowing the Surface
Prepare the timber by removing any biological growth. Use a stiff brush to clear away lichen and algae. If the wood has been weathered, sand the surface with 80-grit sandpaper to open the pores. This is analogous to scarification in seed germination; you are physically altering the barrier to allow for better penetration.
Pro-Tip: Proper surface abrasion increases the surface area for molecular bonding. This mimics the way root hairs increase surface area to maximize the uptake of water and dissolved minerals through osmosis.
Transplanting the Sealant
Apply the first coat using a high-density natural bristle brush. Start at the highest point of the bridge and work downward, following the grain. For oil-based sealants, ensure the temperature remains between 50 and 85 degrees Fahrenheit. If the sealant is applied during extreme heat, the solvents evaporate too quickly, preventing deep penetration into the heartwood.
Pro-Tip: Deep penetration is essential because it creates a hydrophobic barrier within the wood. This prevents capillary action, the same process plants use to pull water from the roots to the canopy, from drawing rot-inducing moisture into the bridge frame.
Establishing the Barrier
Apply a second coat after the first has become "tack-free," usually within 4 to 6 hours. This secondary layer reinforces the UV inhibitors. For bridges in high-traffic areas, consider a slip-resistant additive. Once applied, keep the area free of debris for 24 hours to prevent organic matter from becoming embedded in the finish.
Pro-Tip: Maintaining a clean surface prevents the colonization of fungal spores. By blocking these spores, you stop the release of enzymes that break down lignin, the complex organic polymer that provides structural rigidity to both trees and timber.
The Clinic:
Physiological disorders in garden structures often mirror those in plants. Use these diagnostic markers to identify and fix issues.
Symptom: Peeling or "flaking" of the sealant.
Solution: This is often caused by hydrostatic pressure from moisture trapped behind the film. Sand the area back to raw wood and ensure the timber is dry before reapplication.
Symptom: Black spots or graying under the sealant.
Solution: This indicates a fungal infection, likely Aureobasidium pullulans. Treat the wood with a zinc or copper-based fungicide before resealing.
Fix-It for Nutrient Deficiencies:
If your surrounding plants show Nitrogen chlorosis (yellowing of older leaves), be careful with fertilizer application near the bridge. High-nitrogen runoff can stimulate the growth of surface molds on the bridge. Balance the soil with a 10-10-10 NPK slow-release pellet to maintain plant health without compromising the bridge's finish.
Maintenance:
A garden bridge requires the same precision as a prize specimen. Inspect the structure every six months using a hori-hori knife to probe for soft spots in the timber. If the knife penetrates more than 0.25 inches with minimal pressure, the wood is compromised.
Clean the bridge surface using a mild detergent and a soft-bristled brush. Avoid high-pressure washing, as this can force water deep into the grain and strip the sealant. Ensure the bridge footings are clear of leaf litter; accumulated organic matter holds moisture and creates a microclimate conducive to decay. Maintain the surrounding vegetation with bypass pruners to ensure at least 6 inches of clearance between foliage and the bridge, allowing for adequate airflow and preventing the "wicking" of moisture.
The Yield:
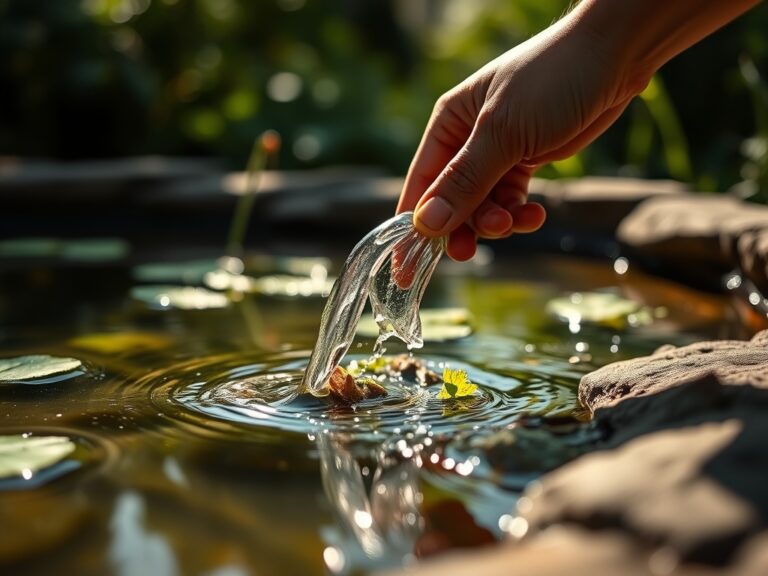
While a bridge does not produce a harvest, its "yield" is measured in longevity and structural safety. A well-sealed bridge should repel water effectively for 24 to 36 months. To test the integrity of the seal, perform a "bead test." Drop a small amount of water onto the surface. If the water beads and maintains high surface tension, the sealant is active. If the water soaks into the wood within 30 seconds, the protective barrier has reached senescence and must be replaced to prevent structural failure.
FAQ:
How often should I apply the best sealants for garden bridges?
Reapply every 2 to 3 years depending on UV exposure and precipitation. High-traffic bridges in Hardiness Zones 9 or 10 may require annual maintenance due to intense solar radiation and polymer degradation.
Can I use deck sealer on a garden bridge?
Yes, provided it contains UV inhibitors and trans-oxide pigments. These components prevent the breakdown of lignin in the wood cells. Ensure the product is non-toxic if the bridge spans a pond with active biology.
What is the best temperature for applying sealant?
Apply when ambient temperatures are between 50 and 80 degrees Fahrenheit. Avoid application in direct midday sun, as rapid evaporation prevents the sealant from achieving the necessary depth of penetration for long-term protection.
How do I know if my bridge wood is too wet to seal?
Use a digital moisture meter. The internal moisture content must be below 12 percent. Sealing wood with higher moisture levels traps water inside, leading to rapid fungal colonization and internal structural rot.