5 Creative Ways How to Build a Garden Bridge
Damp earth releases geosmin as the spade cuts through the rhizosphere. The smell is thick and metallic. Healthy plants nearby exhibit high turgor pressure; their leaves are rigid and saturated with water transported through the xylem. Integrating a structure into this living system requires more than aesthetics. Understanding how to build a garden bridge involves calculating load-bearing capacities while respecting the delicate soil biology beneath the span. A bridge is not merely a path. It is a tool for managing foot traffic to prevent soil compaction, which destroys the pore space necessary for oxygen to reach root systems.
Constructing a span over a bioswale or a dry creek bed demands an understanding of the site's hydrology. You must anchor the footings in stable substrate to prevent shifting during the freeze-thaw cycles of winter. Whether you are using pressure-treated timber or reclaimed cedar, the goal is to create a transition that feels integrated into the landscape. This guide provides the technical framework for five creative methods to bridge your garden while maintaining the health of your soil and the structural integrity of your botanical collection.
Materials:
The foundation of any garden structure begins with the soil it sits upon. For a bridge, you require a Cation Exchange Capacity (CEC) of 15 to 25 to ensure the surrounding bank is chemically stable and capable of supporting heavy riparian plantings. The ideal substrate is a friable loam consisting of 40 percent sand, 40 percent silt, and 20 percent clay. This texture allows for adequate drainage while maintaining enough structural density to hold anchor bolts.
Before construction, test the soil pH. Aim for a pH of 6.2 to 6.8 to ensure that any ornamental plants flanking the bridge can access micronutrients. If the soil is too acidic, apply pelletized lime. If it is alkaline, incorporate elemental sulfur. Use an NPK ratio of 5-10-10 for the surrounding vegetation to encourage strong root development (Phosphorus) and cellular resilience (Potassium) without triggering excessive vegetative growth (Nitrogen) that might lean over the walkway and create a slipping hazard.
Timing:
Construction should align with the dormant season of your specific Hardiness Zone. In Zones 4 through 7, the ideal window is late autumn or early spring when the ground is firm but not frozen solid. Avoid building during the peak of the "Biological Clock" when plants are transitioning from vegetative to reproductive stages. This transition usually occurs when the photoperiod shifts.
Disturbing the soil during the active growing season can cause transplant shock to nearby specimens. Aim to complete heavy footwork when the soil temperature is between 45 and 55 degrees Fahrenheit. At these temperatures, root respiration is slowed, and the risk of damaging the mycorrhizal fungal networks in the soil is minimized.
Phases:

Sowing the Foundation
The first phase involves clearing the area. Use a hori-hori knife to precision-cut through sod without tearing the surrounding root mats. Excavate for your footers to a depth of 12 inches below the frost line for your region. This prevents heaving. Fill the base with four inches of compacted crushed stone to facilitate drainage.
Pro-Tip: Proper drainage prevents anaerobic conditions in the soil. When oxygen is excluded from the rhizosphere, it triggers root senescence, where the plant's root cells die off due to a lack of aerobic respiration.
Transplanting the Structure
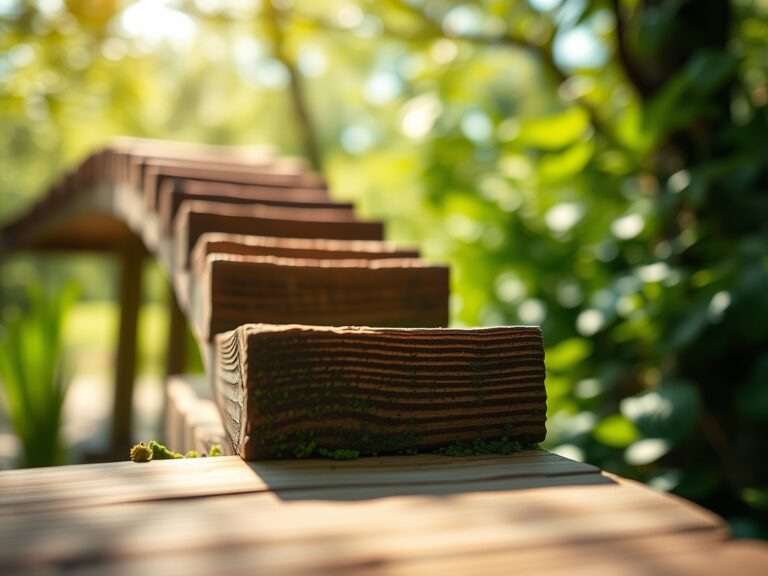
Once the footers are set, place your primary stringers. For a five-foot span, use 2×6 or 2×8 pressure-treated lumber. If you are building a curved bridge, laminating thinner strips of wood allows for flexibility. Secure the stringers to the footers using galvanized carriage bolts. Ensure the bridge has a slight 1-degree pitch from the center to the edges to allow for water runoff.
Pro-Tip: Wood surfaces should be treated with a non-toxic sealer to prevent leaching. Chemicals from some treated woods can interfere with auxin suppression, the hormonal process that regulates how plants grow toward light, potentially stunting nearby groundcovers.
Establishing the Surroundings
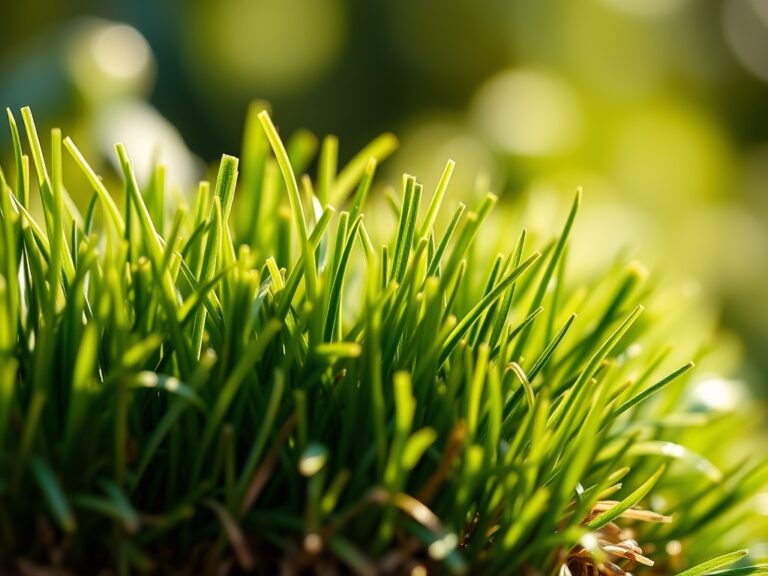
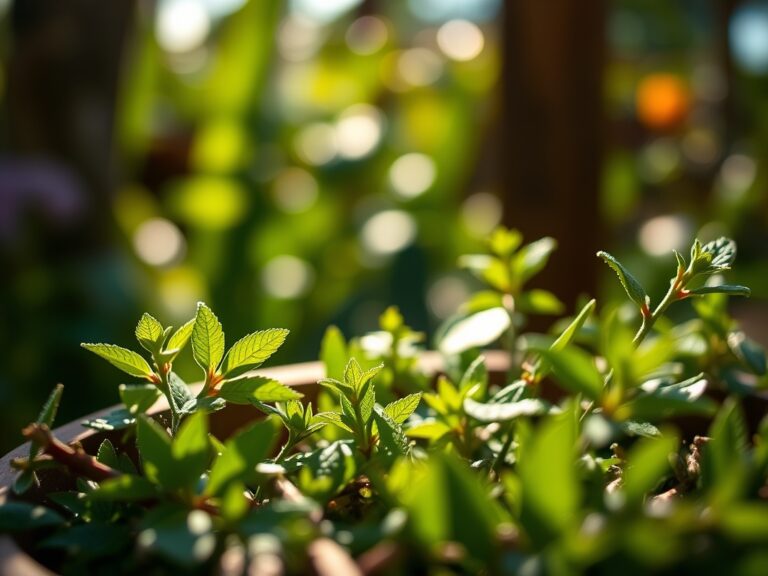
After the bridge is structurally sound, backfill the edges with the friable loam mentioned earlier. Plant low-growing species like Thymus serpyllum near the entrance. These plants benefit from the thermal mass of the bridge footings. Ensure the soil is firmed down to eliminate air pockets around the roots of new transplants.
Pro-Tip: Use a soil moisture meter to verify that the area under the bridge isn't becoming a "dry shadow." Lack of direct rainfall can lead to localized drought stress, causing a loss of turgor pressure in the plants located directly under the eaves of the structure.
The Clinic:
Physiological disorders often appear in the plants immediately surrounding a new garden bridge due to changes in light and water distribution.
- Symptom: Yellowing of older leaves while veins remain green.
- Solution: This is Magnesium deficiency. Apply Epsom salts (Magnesium Sulfate) at a rate of 1 tablespoon per gallon of water. Magnesium is the central atom in the chlorophyll molecule.
- Symptom: Stunted growth and pale green or yellow foliage across the entire plant.
- Solution: Nitrogen chlorosis. Apply a high-nitrogen organic fertilizer (NPK 10-0-0) to restore vegetative vigor.
- Symptom: Leaf margins appearing scorched or "burnt."
- Solution: Potassium deficiency. This affects the plant's ability to regulate stomatal opening. Incorporate sulfate of potash into the top two inches of soil.
Fix-It: If the bridge causes soil compaction nearby, use a garden fork to aerate the soil. This restores the pore space necessary for the exchange of gases between the atmosphere and the soil.
Maintenance:
A garden bridge requires consistent environmental monitoring. Check the wood for signs of fungal decay every six months. In the garden beds flanking the bridge, maintain 1.5 inches of water per week at the drip line. Use a soil moisture meter to check the hydration levels at a depth of six inches.
Keep your bypass pruners sharp to remove any overhanging branches that may trap moisture against the wood. If moss begins to grow on the bridge deck, scrape it away gently; while it looks aesthetic, it holds moisture that accelerates wood rot. Use a hori-hori knife to remove weeds from the crevices where the bridge meets the soil to prevent root systems from prying apart your joinery.
The Yield:
If your bridge spans a kitchen garden or a cut-flower bed, the "yield" is the ease of access to your harvest. Harvest leafy greens in the early morning when turgor pressure is at its peak. This ensures the cell walls are fully hydrated, providing a crisp texture. Use sharp shears to make clean cuts at a 45-degree angle to minimize the surface area of the wound, which reduces the plant's vulnerability to pathogens. For post-harvest longevity, immediately submerge stems in cool water (55-60 degrees Fahrenheit) to slow down the metabolic rate and delay senescence.
FAQ:
What is the best wood for a garden bridge?
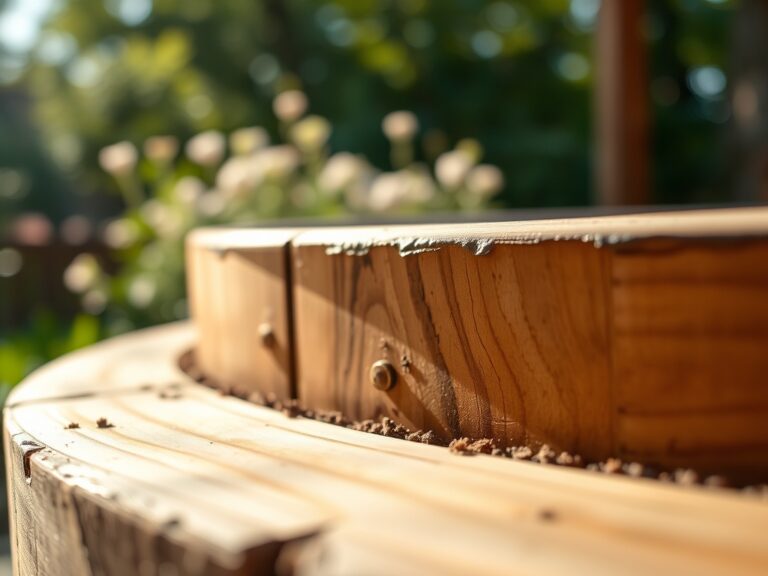
Cedar and redwood are superior due to natural tannins that resist rot. Pressure-treated lumber is a cost-effective alternative. Ensure all hardware is galvanized or stainless steel to prevent corrosion from soil moisture and high humidity.
How deep should bridge footings be?
Footings must extend 12 inches below the local frost line. This prevents the structure from shifting during freeze-thaw cycles. In areas with high clay content, use a gravel base to improve drainage and structural stability.
Can I build a bridge over a dry creek?
Yes. A dry creek bed is an ideal location for a bridge. It manages stormwater runoff and prevents soil erosion. Ensure the bridge span is high enough to allow for maximum water flow during heavy rain events.
How do I prevent the wood from becoming slippery?
Apply a clear anti-slip sealer or attach textured grip strips to the decking. Keeping the bridge clear of organic debris like fallen leaves and moss will also reduce the risk of biofilm development that causes slickness.