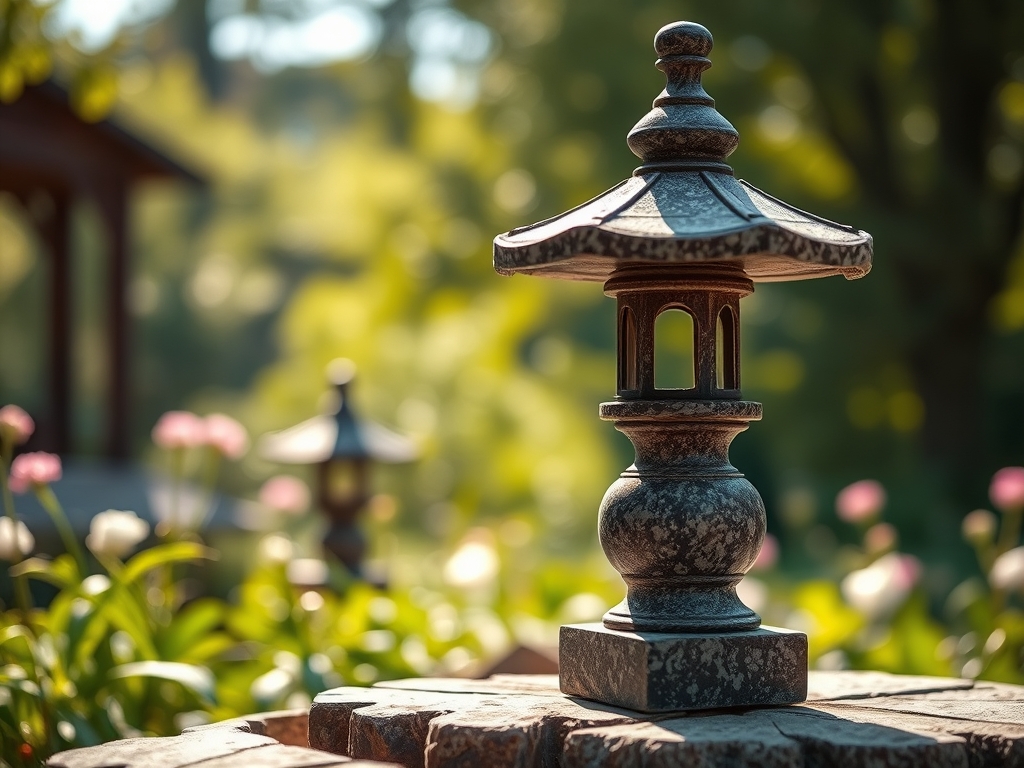
8 Best Granite Lanterns for Yards
The smell of damp, anaerobic decomposition signals a shift in the garden cycle as the autumn frost approaches. You feel the turgor of a healthy leaf between your thumb and forefinger; it is rigid, hydrated, and functioning at peak photosynthetic capacity. Integrating the best granite lanterns for yards into this landscape requires more than an eye for aesthetics. It demands an understanding of geological permanence and how stone interacts with the living rhizosphere. These lanterns provide a fixed point of reference against the seasonal senescence of deciduous perennials. Granite is a dense, igneous rock with a high compressive strength, making it the only logical choice for a landscape intended to outlast the current generation of plantings. When placing these structures, you are not merely decorating; you are anchoring the garden's architectural skeleton. The weight of a hand-carved lantern requires a stabilized substrate to prevent settling, which can disrupt the delicate root systems of nearby specimen plants. Precision in placement ensures the stone does not impede the natural drainage patterns of your topsoil.
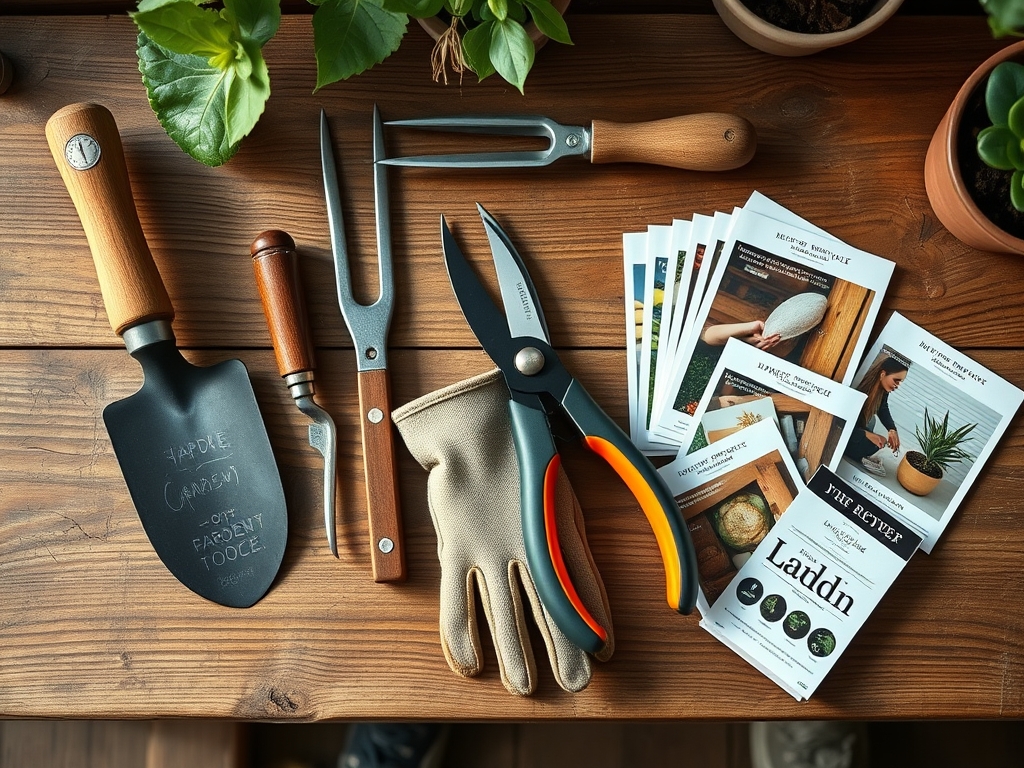
Materials:
Successful integration of the best granite lanterns for yards starts with the soil profile beneath the stone. You must prepare a foundation that accounts for the Soil Cation Exchange Capacity (CEC). A high CEC indicates a soil’s ability to hold onto essential nutrients like Potassium and Magnesium. For the surrounding flora, aim for a **friable loam** consisting of 40% sand, 40% silt, and 20% clay. This texture allows for optimal gas exchange in the root zone.
The soil pH should be maintained between 6.2 and 6.8 to ensure maximum nutrient bioavailability. If your soil is too acidic, apply pelletized lime; if too alkaline, incorporate elemental sulfur. Use a specific NPK ratio of 10-10-10 for general maintenance of the shrubs flanking the lanterns. For flowering species like Azaleas that often accompany Japanese-style lanterns, shift to a 4-3-4 organic blend to support acid-loving root systems without causing salt buildup. Granite itself is chemically inert and will not alter the pH of the runoff, unlike limestone or concrete which can leach calcium carbonate into the soil and cause iron chlorosis in sensitive species.
Timing:
Installation and surrounding planting should be dictated by your USDA Hardiness Zone. In Zones 4 through 7, the ideal window for heavy stone placement and perennial planting is early spring, at least three weeks before the last predicted frost. This timing allows the soil to settle and the plants to exit dormancy during the period of increasing day length.
Understand the Biological Clock of your landscape. As plants transition from the vegetative stage to the reproductive stage, their metabolic demands shift. Installing heavy granite during the peak of the reproductive stage can cause mechanical stress to the root systems. Aim to have all structural work completed before the photoperiod exceeds 12 hours of light. This ensures that the mycorrhizal networks in the soil have time to re-establish before the high-transpiration demands of mid-summer. If you are in a southern climate like Zone 9, late autumn is the preferred window to avoid the thermal stress of 90 degree Fahrenheit temperatures on newly disturbed root zones.
Phases:

Sowing and Site Prep
Before placing the granite lantern, excavate a hole 8 inches deeper than the base of the stone. Fill this with a compacted layer of 3/4 inch crushed gravel to facilitate drainage. This prevents the "frost heave" phenomenon where freezing groundwater expands and tilts the lantern.
Pro-Tip: Proper drainage prevents the accumulation of stagnant water which can lead to Phytophthora root rot. By maintaining aerobic conditions in the substrate, you support mycorrhizal symbiosis, where beneficial fungi extend the reach of plant roots to scavenge for phosphorus.
Transplanting
When planting around the best granite lanterns for yards, use a hori-hori knife to score the root balls of container-grown plants. This breaks the "circling root" pattern and encourages outward growth into the native soil. Ensure the crown of the plant is exactly level with the soil surface.
Pro-Tip: Scoring the roots triggers a hormonal response involving auxins. These plant hormones stimulate the growth of new lateral roots, ensuring the plant anchors itself quickly next to the heavy stone base.
Establishing
During the first growing season, the plants surrounding your granite features require consistent moisture to overcome transplant shock. Use a soil moisture meter to verify that the root zone stays between 60% and 80% field capacity.
Pro-Tip: Consistent moisture prevents the loss of turgor pressure. When a plant loses turgor, the stomata close to conserve water, which halts photosynthesis and stunts the plant's ability to establish a robust cellular structure near the heat-retaining granite.
The Clinic:
Physiological disorders often manifest when stone structures change the microclimate of a garden bed.
- Symptom: Yellowing of new leaves with green veins (Interveinal Chlorosis).
- Solution: This is typically an Iron deficiency. Check the pH. If the pH is above 7.0, the iron is locked in the soil. Apply chelated iron and lower the pH with aluminum sulfate.
- Symptom: Marginal leaf burn or browning edges.
- Solution: This indicates Salt Stress or Potassium deficiency. Flush the area with 2 inches of water to leach out excess fertilizer salts.
- Symptom: Stunted growth and purple-tinted undersides of leaves.
- Solution: Phosphorus deficiency. This often occurs in cold, wet soils. Ensure the drainage layer beneath your granite lantern is not backing up into the planting bed.
Fix-It: For Nitrogen chlorosis (general yellowing of older leaves), apply a quick-release high-nitrogen liquid feed at a rate of 1 pound of actual nitrogen per 1,000 square feet.
Maintenance:
Precision maintenance preserves the integrity of both the stone and the biology. Apply exactly 1.5 inches of water per week at the drip line of the plants. Do not spray the granite lanterns directly with high-pressure hoses, as this can encourage the growth of invasive crustose lichens that may eventually pit the stone surface.
Use bypass pruners to maintain a 3-inch gap between any foliage and the granite. This air gap prevents the buildup of humidity, which is a primary driver for fungal pathogens like powdery mildew. Every two years, use a soil moisture meter and a soil probe to check for compaction around the base of the lantern. If the soil is too dense, use a garden fork to provide vertical aeration, being careful not to destabilize the stone's foundation.
The Yield:
While granite lanterns are non-biological, the "yield" is the health of the mosses and lichens that may be intentionally cultivated on them. To encourage bryophyte growth, maintain a surface pH of 5.0 to 5.5 on the stone. You can apply a slurry of organic matter to the granite to jumpstart the colonization. Harvest any surrounding medicinal or edible herbs, such as Thyme or Creeping Rosemary, when the essential oil concentration is highest. This is typically just before the plant flowers, in the early morning after the dew has evaporated but before the sun reaches its zenith. Use sharp shears to ensure a clean cut that heals quickly, preventing the entry of opportunistic pathogens.
FAQ:
How do I prevent my granite lantern from sinking?
Excavate a base 8 to 12 inches deep. Fill with compacted crushed stone or gravel. This creates a stable, well-draining foundation that resists soil compression and frost heaving during winter temperature fluctuations.
Will granite lanterns affect my soil pH?
No. Granite is an igneous rock composed mainly of quartz and feldspar. It is chemically stable and will not leach minerals into the soil, unlike limestone or concrete which can raise pH levels over time.
What is the best way to clean lichen off granite?
Use a soft-bristled brush and plain water. Avoid acidic cleaners or bleach, which can alter the soil chemistry in the rhizosphere of surrounding plants and cause chemical burns to delicate root systems.
Can I place a lantern directly on top of mulch?
No. Mulch decomposes and shifts, leading to instability. Always place the lantern on a compacted mineral substrate to ensure it remains level and does not crush the organic layer required for nutrient cycling.