5 Simple Ways How to Grow Aloe Vera Plants
Turgor pressure defines the life of a succulent. When you press a thumb against a healthy leaf, the resistance should feel like a dense, water-filled rubber hose; this is the result of cellular vacuoles operating at maximum hydraulic capacity. Learning how to grow aloe vera plants requires a shift from traditional gardening to managing a specialized biological reservoir. The scent of a healthy aloe patch is clean and metallic, devoid of the sulfurous odor that signals root rot or anaerobic soil conditions.
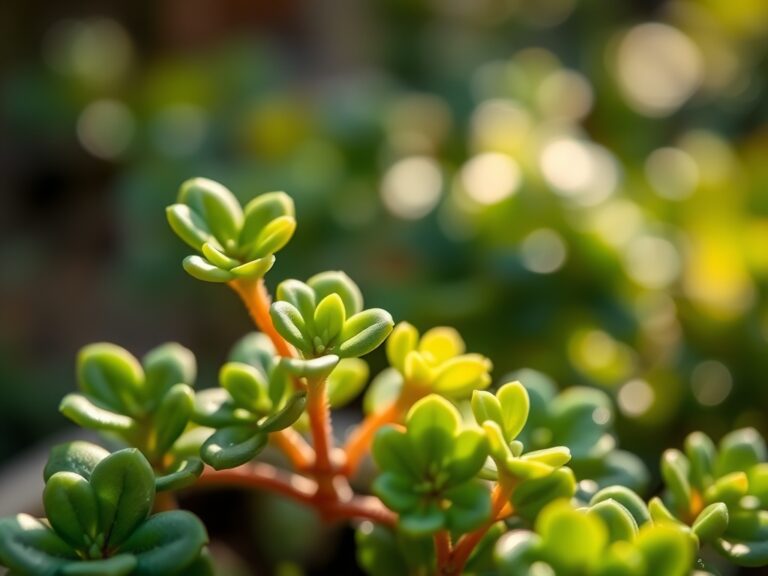
Successful cultivation hinges on the precise management of the rhizosphere. Aloe vera (Aloe barbadensis miller) is not a plant of the swamp or the deep forest. It is a calcicole species that thrives in alkaline environments where drainage is instantaneous. To master how to grow aloe vera plants, you must simulate the arid, rocky slopes of the Arabian Peninsula. This means prioritizing gas exchange in the root zone over moisture retention. A plant with high turgidity and thick, glaucous leaves is the direct result of a controlled cycle of saturation and total desiccation.
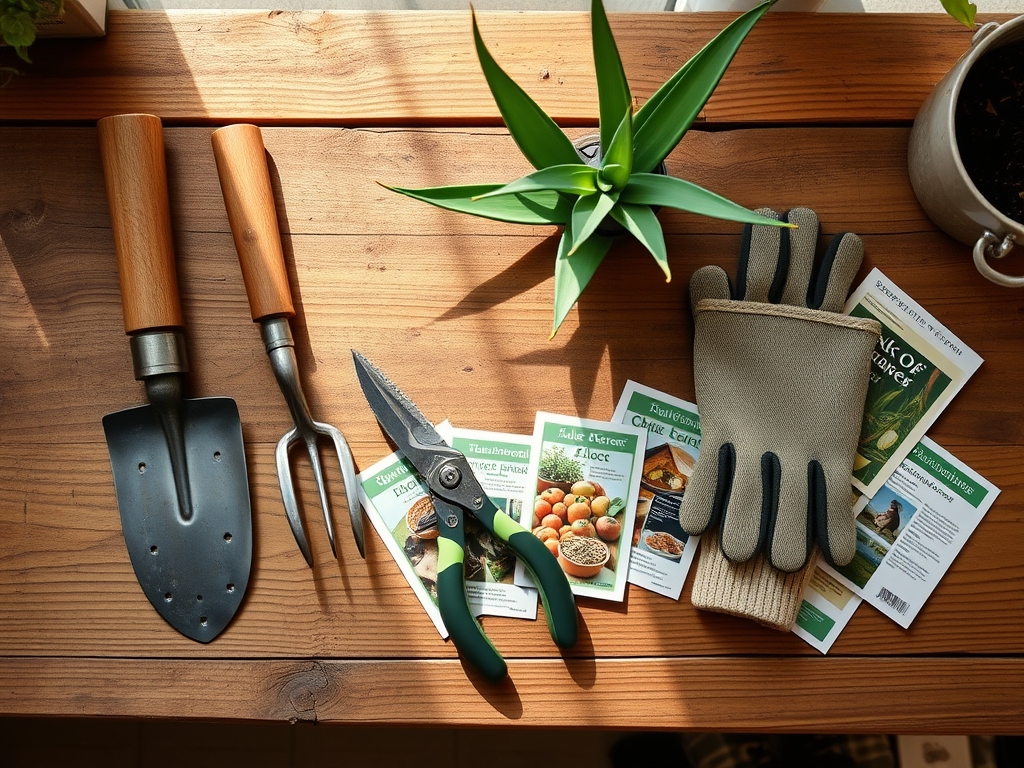
Materials:
The foundation of aloe health is the substrate. Avoid standard potting soils which contain high percentages of peat moss; these retain too much moisture and have a low Cation Exchange Capacity (CEC) for succulents. Instead, construct a friable loam using a ratio of 1:1:1 coarse sand, perlite, and sterilized compost.
The chemical profile must be strictly monitored. Aim for a soil pH between 7.0 and 8.5. Aloe vera prefers slightly alkaline conditions to facilitate the uptake of calcium and magnesium. Regarding nutrition, use a low-nitrogen fertilizer to prevent weak, leggy growth. An NPK ratio of 10-40-10 or 15-30-15 is ideal during the active growing season. High phosphorus levels encourage robust root development and the eventual production of offsets. Ensure your containers are unglazed terracotta; the porous walls allow for lateral evaporation, which prevents the "perched water table" effect that leads to fungal pathogens.
Timing:
Aloe vera is hardy in USDA Zones 8 through 11. In these regions, the plant can remain outdoors year-round. However, if ambient temperatures drop below 40 degrees Fahrenheit (4.4 Celsius), the plant enters a state of semi-dormancy. Exposure to temperatures below 32 degrees Fahrenheit will cause cellular rupture as the water stored in the leaves freezes and expands, leading to rapid tissue necrosis.
The biological clock of the aloe is governed by the photoperiod. While they are technically day-neutral, they transition from the vegetative stage to the reproductive stage (flowering) during the late winter and early spring. This transition requires a distinct cooling period where night temperatures hover around 55 degrees Fahrenheit. If you are growing indoors, place the plant near a south-facing window to ensure it receives at least six to eight hours of direct solar radiation daily.
Phases:
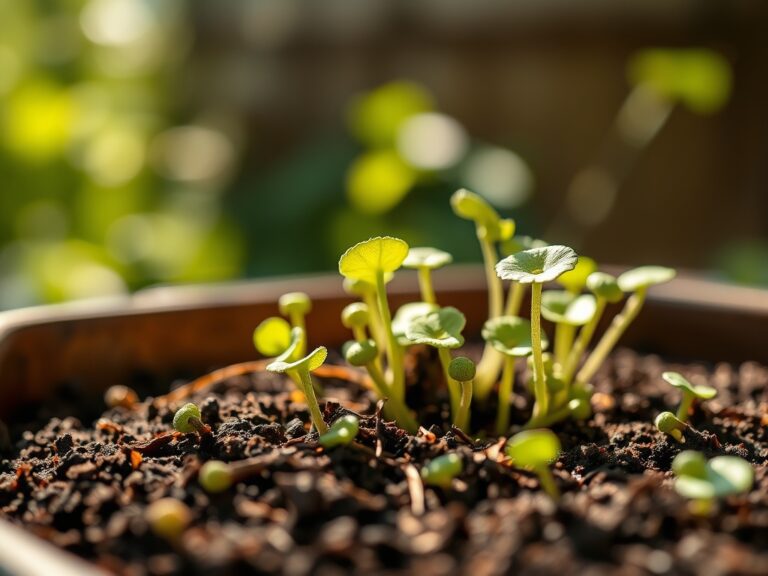
Sowing and Propagation
While seeds are an option, most horticulturists propagate via offsets, commonly known as pups. These clones emerge from the base of the mother plant once it reaches maturity. Use a hori-hori knife to sever the connecting rhizome, ensuring the pup has at least three distinct root nodules.
Pro-Tip: Allow the severed offset to callus in a dry, shaded area for 48 to 72 hours before planting. This prevents opportunistic fungi from entering the vascular system through the open wound, a process known as suberization.
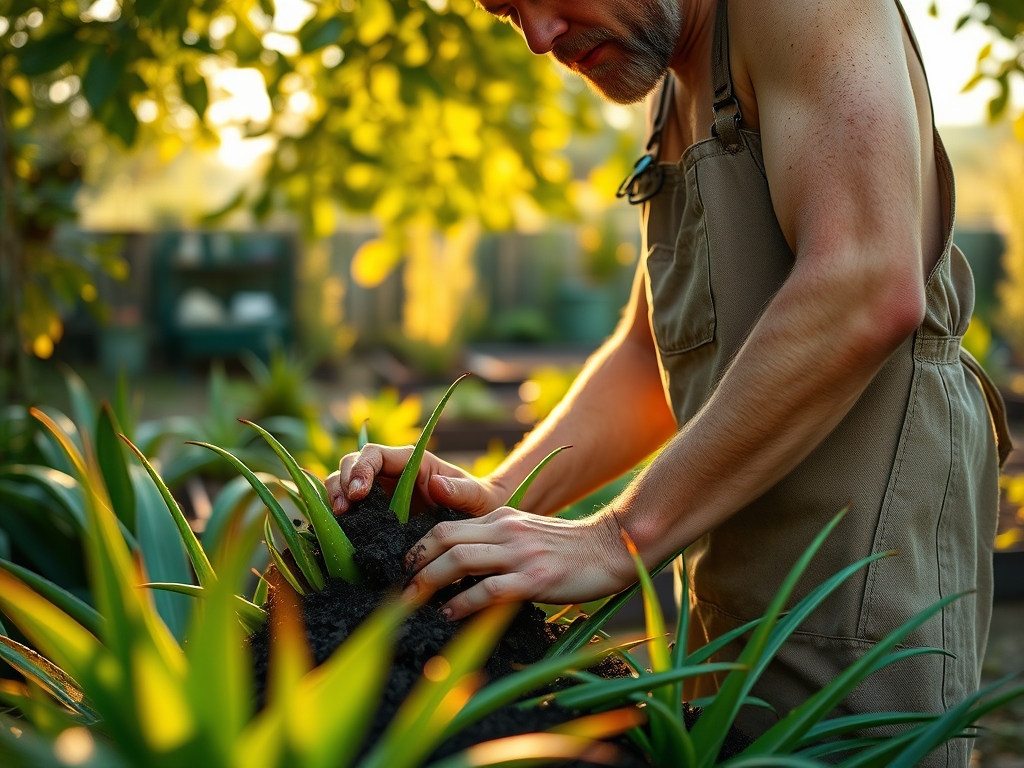
Transplanting
When moving a callused offset or a root-bound adult, ensure the crown of the plant sits exactly at the soil line. Deep planting leads to crown rot; shallow planting leads to instability. Use a soil moisture meter to confirm the substrate is completely dry before the initial transplant.
Pro-Tip: Do not water the plant for the first seven days after transplanting. This encourages the roots to "stretch" in search of moisture, stimulating the production of lateral root hairs through auxin-driven growth responses.
Establishing
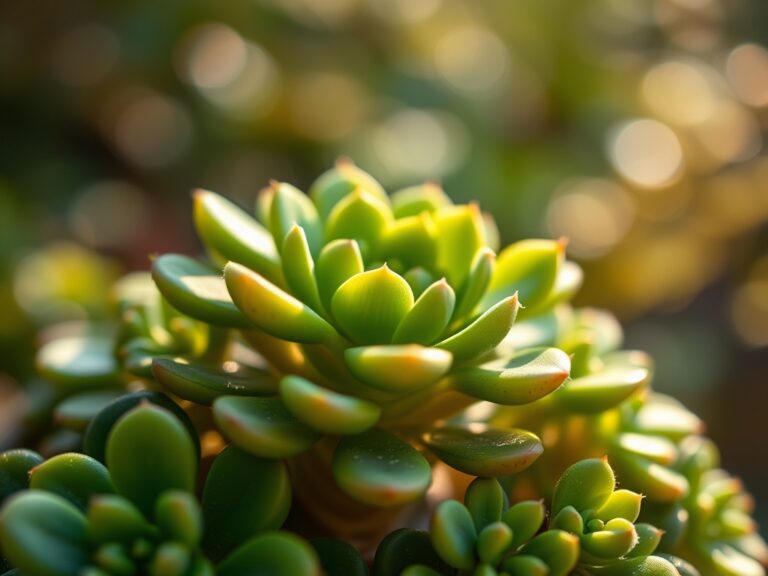
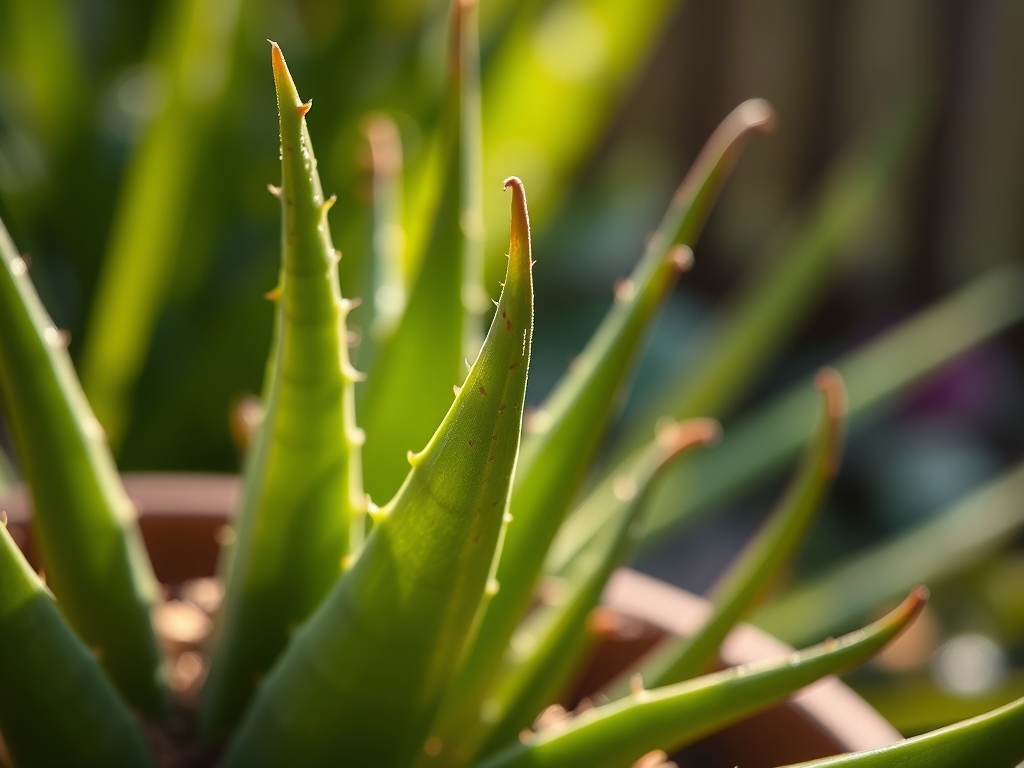
An established aloe vera plant will exhibit a deep green or grey-green hue with firm marginal teeth. During this phase, the plant focuses on building its mucilaginous gel. Maintain a consistent light cycle to prevent etiolation, where the plant stretches and weakens due to insufficient photons.
Pro-Tip: Rotate the pot 90 degrees every week. This prevents phototropism, where the plant leans toward the light source, and ensures even distribution of photosynthetic activity across all leaf surfaces.
The Clinic:
Symptom: Soft, Brown Leaves (Root Rot)
Solution: This is typically caused by Phytophthora or Pythium fungi. Remove the plant from the pot and excise all slimy, black roots using bypass pruners sterilized with isopropyl alcohol. Replant in fresh, dry substrate and reduce irrigation frequency.
Symptom: Thin, Curled Leaves
Solution: This indicates a lack of turgor pressure due to dehydration. While aloe is drought-tolerant, prolonged desiccation causes the plant to consume its own stored water. Increase watering frequency until the leaves plump back to their original thickness.
Symptom: Yellowing Leaves (Nitrogen Chlorosis)
Solution: If the older, lower leaves turn yellow while the new growth remains green, the plant is scavenging nitrogen. Apply a balanced, water-soluble fertilizer at half-strength to restore the nutrient balance in the rhizosphere.
Fix-It: Tip Burn
This is often a result of salt accumulation from tap water or over-fertilization. Flush the soil with distilled water until it runs clear from the drainage holes to leach out excess sodium and minerals.
Maintenance:
Precision is the hallmark of a master gardener. For an adult aloe in a 12-inch pot, apply approximately 1.5 cups of water every two to three weeks during the summer. In winter, reduce this to once every six weeks. Always apply water directly to the soil at the drip line; avoid getting water into the central rosette, as trapped moisture promotes bacterial soft rot.
Use a soil moisture meter to verify that the bottom two-thirds of the pot are dry before adding more water. If the meter reads above 20 percent moisture, delay irrigation. Pruning should be minimal. Only remove leaves that have reached full senescence (dried and turned papery). Use a sharp, sterile blade to cut as close to the main stem as possible without nicking the healthy tissue.
The Yield:
Harvesting aloe vera is a surgical process. Select the outermost, largest leaves first; these are the oldest and contain the highest concentration of aloin and complex polysaccharides. Slice the leaf at the base using a sterile knife.
Post-harvest, stand the leaf upright in a container for 15 to 30 minutes to allow the yellow sap (latex) to drain out. This substance can be irritating to the skin and is separate from the clear inner gel. For day-one freshness, wrap the harvested leaf in plastic and refrigerate; it will maintain its chemical integrity for up to two weeks.
FAQ:
How much sun does an aloe vera plant need?
Aloe vera requires six to eight hours of bright, direct sunlight daily. Insufficient light causes etiolation, where leaves become thin, weak, and pale. A south-facing or west-facing window is the most effective indoor location for maintaining proper turgor.
Why are my aloe vera leaves turning brown?
Brown leaves usually signal overwatering or poor drainage, leading to root rot. If the brown spots are "mushy," the plant is drowning. If the tips are brown and crispy, it may be a sign of chemical burn from tap water minerals.
How often should I water my aloe vera?
Water only when the soil is 100 percent dry throughout the entire pot. Typically, this occurs every two to three weeks in summer and every six weeks in winter. Use a moisture meter to confirm the absence of water before irrigating.
What is the best soil for aloe vera?
The ideal substrate is a well-draining, gritty mix with a pH between 7.0 and 8.5. Combine equal parts coarse sand, perlite, and compost. Avoid standard potting mixes that contain high amounts of peat moss, as they retain excessive moisture.