7 Best Isopropyl Alcohol for Tools
The sharp metallic scent of a freshly sharpened hori-hori knife cutting through damp, friable loam signals the start of a productive season. When a plant possesses high turgor pressure, its cells are taut with water; however, this hydraulic strength makes it vulnerable to the transmission of pathogens through open vascular wounds. Using the best isopropyl alcohol for tools is the primary defense against systemic infections that can decimate a greenhouse. Pathogens like Fusarium oxysporum or Botrytis cinerea hitchhike on bypass pruners, moving from one host to the next in seconds. A 70 percent concentration of isopropyl alcohol provides the necessary contact time to penetrate the lipid membranes of these microbes before the solution evaporates. Clean steel ensures that the xylem and phloem remain unobstructed by necrotic tissue. Every cut is a surgical event. Maintaining a sterile edge is not a suggestion; it is a foundational requirement for any horticulturist managing a high-value rhizosphere.
Materials:

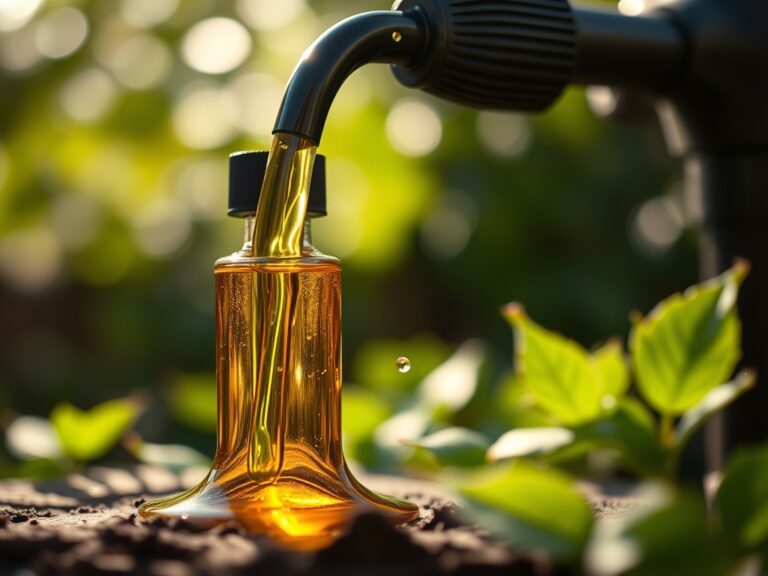
Soil health dictates the resilience of the plant, but the tools used to manage it must be chemically decontaminated. For a high-performance garden, the substrate should be a friable loam with a **pH between 6.2 and 6.8**. This range optimizes the Cation Exchange Capacity (CEC), allowing the plant to readily access essential macronutrients. When preparing your workspace, ensure you have a dedicated station for tool maintenance. You will need a **70 percent isopropyl alcohol solution**, as higher concentrations (91 or 99 percent) evaporate too quickly to achieve a full microbial kill.
For the soil itself, maintain an NPK ratio of 10-10-10 for general maintenance, or a 5-10-10 ratio if you are encouraging root development over leaf mass. The physical texture of the soil must allow for oxygen diffusion; compacted clay suffocates the roots and increases the likelihood of root rot, which is often spread by unsterilized trowels. Keep a steady supply of microfiber cloths and a spray bottle dedicated to your alcohol solution.
Timing:
Successful cultivation depends on the Hardiness Zone and the precise window between the last spring frost and the first autumn freeze. In Zones 5 through 7, the transition from vegetative to reproductive stages is governed by the photoperiod. As daylight hours shift, the plant's internal biological clock triggers the production of florigen.
Pruning should occur during the dormant phase, typically late winter or early spring, to minimize stress on the vascular system. However, any mid-season "deadheading" or removal of diseased foliage requires immediate tool sterilization. If you prune a plant during its peak vegetative growth, the high sap flow can gum up your shears. This organic residue acts as a shield for bacteria, making the use of high-quality isopropyl alcohol even more critical to dissolve the resins and kill the underlying spores.
Phases:
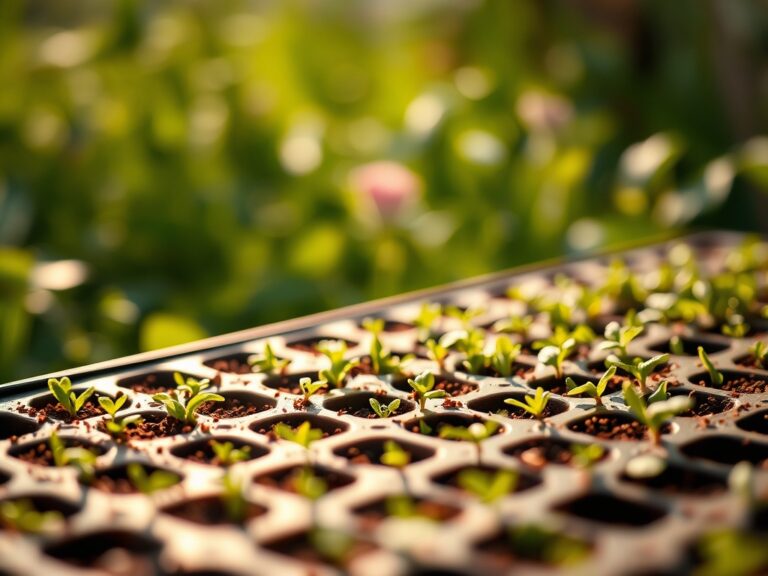
Sowing
Begin with sterile trays and a seed-starting mix that is light and well-aerated. The goal is to maximize oxygen availability to the germinating embryo. Ensure your hands and any small dibbers are wiped down with alcohol to prevent "damping off," a fungal condition caused by Pythium species.
Pro-Tip: Maintaining a consistent soil temperature of 70 to 75 degrees Fahrenheit speeds up germination because it optimizes the metabolic enzymes within the seed. This rapid emergence reduces the window of time that the seed is vulnerable to soil-borne pathogens.
Transplanting
When the first true leaves appear and the root ball has filled its container, move the plant to its permanent location. Dig a hole twice as wide as the root ball but no deeper. This prevents the "settling" that can lead to crown rot.
Pro-Tip: Dusting the root zone with mycorrhizal fungi during this phase enhances the rhizosphere. These fungi form a symbiotic relationship with the roots, effectively increasing the surface area for water and phosphorus absorption through a network of hyphae.
Establishing
During the first 14 to 21 days post-transplant, the plant is focused on root expansion. Monitor the soil moisture meter daily to ensure the root zone does not dry out. Avoid heavy fertilization during this period to prevent salt burn on the delicate new root hairs.
Pro-Tip: Suppress apical dominance by pinching off the lead terminal bud on certain species. This redirects auxins to the lateral buds, encouraging a bushier growth habit and a more robust structural framework.
The Clinic:
Physiological disorders often mimic infectious diseases. Proper diagnosis is essential before intervention.
Symptom: Interveinal chlorosis (yellowing between green veins) on new leaves.
Solution: This indicates an Iron deficiency, often caused by a pH above 7.0, which locks out micronutrients. Lower the pH using elemental sulfur.
Symptom: Blossom end rot on fruit.
Solution: This is a Calcium deficiency, but it is usually caused by inconsistent moisture levels rather than a lack of Calcium in the soil. Maintain steady irrigation to ensure Calcium transport through the xylem.
Symptom: Purple tinting on the underside of older leaves.
Solution: Phosphorus deficiency. This often occurs in cold soils where microbial activity is low. Apply a water-soluble high-phosphorus fertilizer (e.g., 10-30-10).
Fix-It for Nitrogen Chlorosis: If the entire plant is pale green and growth is stunted, apply a quick-release nitrogen source like blood meal or a 20-0-0 liquid feed to restore chlorophyll production.
Maintenance:
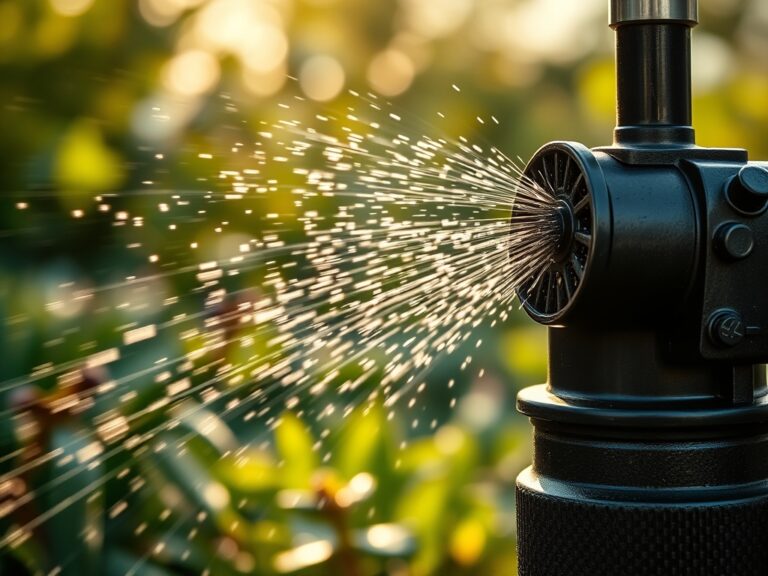
Precision is the hallmark of a master gardener. Provide exactly 1.5 inches of water per week, delivered at the drip line rather than the base of the stem to encourage outward root growth. Use a soil moisture meter to verify that the water is penetrating at least 6 inches deep.
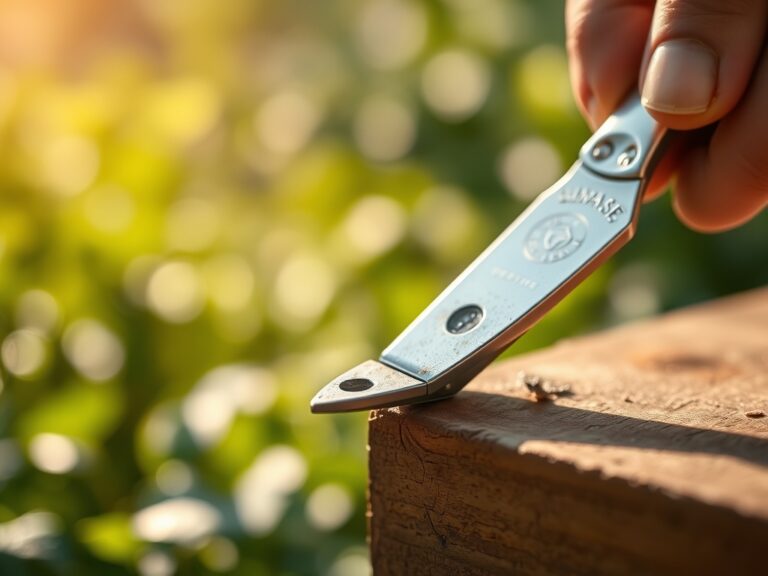
Every Sunday, perform a "tool audit." Inspect your bypass pruners for nicks. Use a whetstone to maintain a 20-degree bevel on the blade. After sharpening, wipe the metal with a 70 percent isopropyl alcohol solution to remove metal filings and ensure the surface is sterile. This prevents the cross-contamination of viral loads between different plant families.
The Yield:
Harvesting is the culmination of the plant's life cycle. For most leafy greens, harvest in the early morning when turgor pressure is at its peak. This ensures the leaves are crisp and have a longer shelf life. For fruiting plants, look for "ground color" changes—the shift from green to the fruit's mature hue.
Use a sterilized hori-hori knife to make clean cuts, leaving as much of the parent plant intact as possible. Post-harvest, immediately move the produce to a cool, shaded area to remove field heat. This slows down the rate of respiration and senescence, preserving the sugars and nutrients within the plant tissue for "day-one" freshness.
FAQ:
What is the best isopropyl alcohol for tools?
A 70 percent isopropyl alcohol solution is the industry standard. It contains enough water to slow evaporation, allowing the alcohol to penetrate the cell walls of bacteria and fungi effectively, whereas 91 percent evaporates too quickly for total disinfection.
How often should I sterilize my pruning shears?
Sterilize your shears between every single plant to prevent the spread of systemic pathogens. If you are pruning a known diseased plant, wipe the blades with alcohol between every individual cut to ensure no spores are moved to healthy tissue.
Can I use rubbing alcohol instead of isopropyl?
Most "rubbing alcohol" is isopropyl-based, but check the label. Ensure it contains at least 70 percent isopropyl alcohol and no added oils or scents, which can leave a residue on your tools that might harm sensitive plant tissues.
Why does my soil pH matter for tool care?
High-acid or high-alkaline soils can accelerate the corrosion of metal tools. While alcohol sterilizes the surface, you must also wash off soil residues and dry the tools thoroughly to prevent pitting and rust that can harbor dormant pathogens.