6 Vital Steps to Sterilize Seed Trays
The smell of damp earth and the firm turgor of a healthy seedling are the rewards of a disciplined nursery. Pathogens like Pythium and Rhizoctonia lurk in the microscopic crevices of used plastic; they cause damping-off that can liquefy a tray of expensive F1 hybrids in forty-eight hours. Learning the precise steps to sterilize seed trays is the only way to ensure the rhizosphere remains uncontaminated. Clean equipment prevents the horizontal transmission of fungal spores and bacterial cankers. A successful season begins with chemical sanitation and physical scrubbing to remove biofilm. Neglecting this protocol risks the entire investment of seeds and professional-grade substrate. We operate on a zero-tolerance policy for soil-borne pathogens.
Materials:
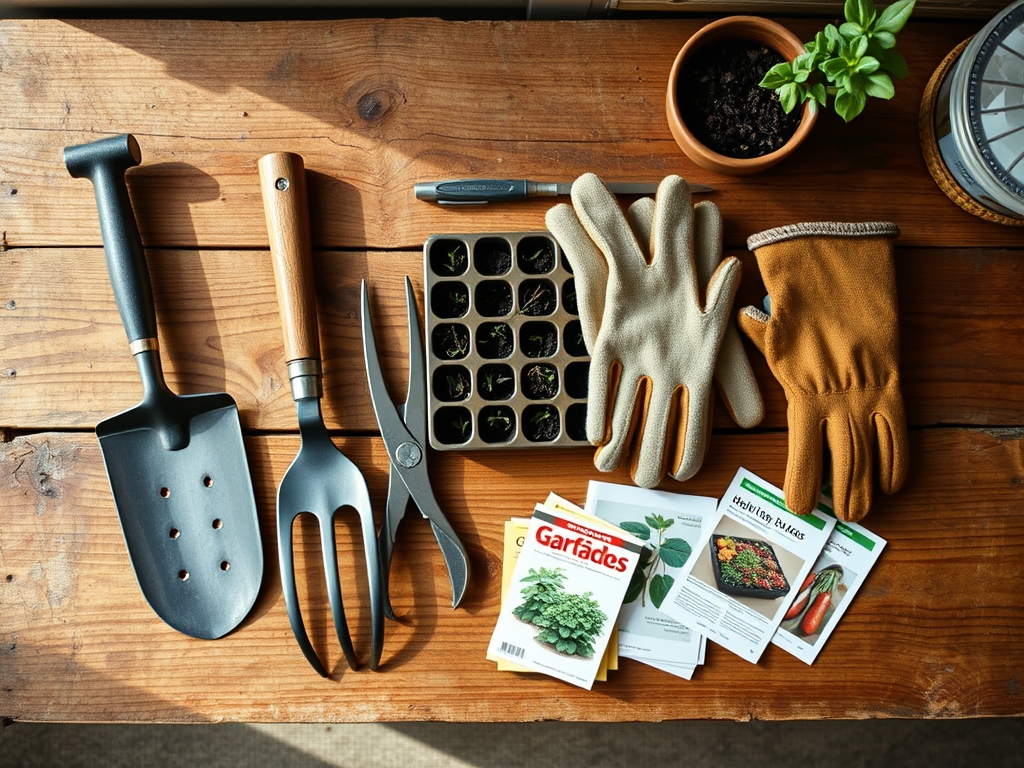
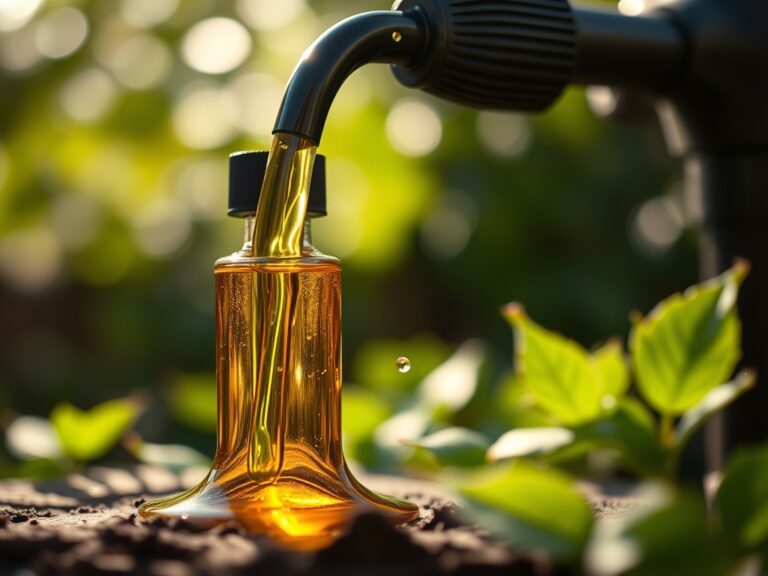
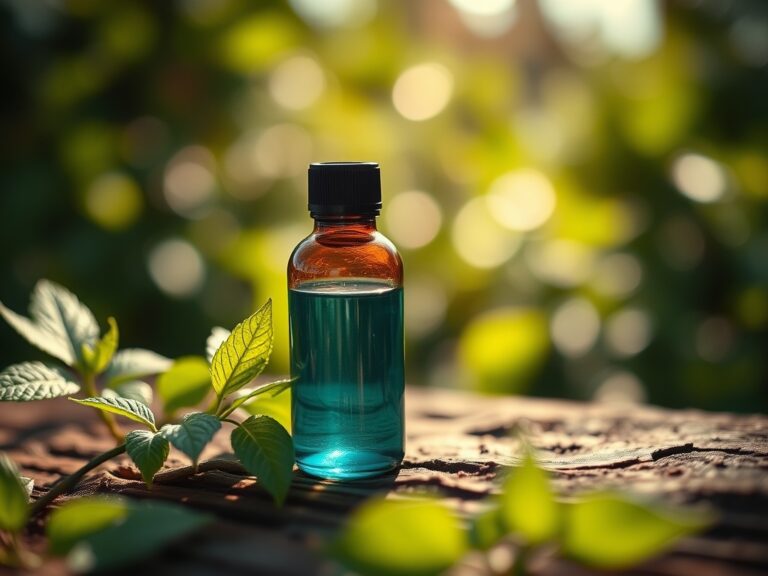
Effective sterilization requires specific chemical agents and a high-quality growing medium. You need a **10 percent bleach solution** (sodium hypochlorite) or a professional-grade **peroxyacetic acid** disinfectant. For the substrate, use a sterile, soilless mix with a **pH between 5.8 and 6.2**. This range optimizes nutrient availability by maintaining a high Cation Exchange Capacity (CEC).
The ideal substrate is a friable loam or a peat-perlite blend. It must have an initial NPK ratio of 0.5-0.5-0.5 to provide a gentle start without burning delicate radicles. Avoid heavy field soils that compact easily and lack the porosity required for oxygen diffusion to the roots. Ensure you have a stiff-bristled nylon brush to remove desiccated root fragments and mineral deposits from previous cycles.
Timing:
Timing is dictated by the hardiness zones of the USDA map and the internal biological clock of the plant species. In Zones 5 through 7, sterilization should occur in late January or early February; this allows for a six to eight week head start before the last frost date. The biological clock of a seedling is a transition from the vegetative stage to the reproductive stage, often triggered by the photoperiod.
Sterilization must be completed at least 24 hours before sowing to allow any residual chlorine gas to dissipate. If you are working with cold-hardy crops like Brassica oleracea, your window for tray preparation opens when soil temperatures consistently reach 40 degrees Fahrenheit. For heat-loving Solanaceae, wait until the ambient nursery temperature can be maintained at 70 degrees Fahrenheit.
Phases:
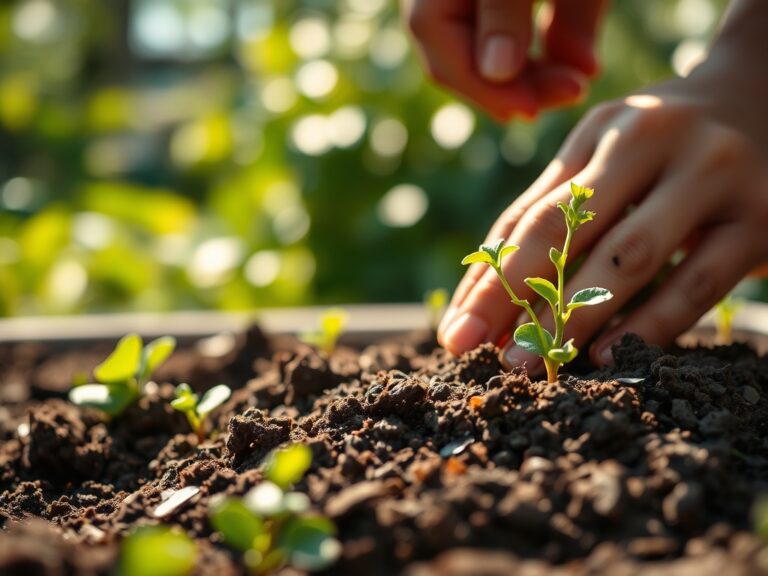
Sowing
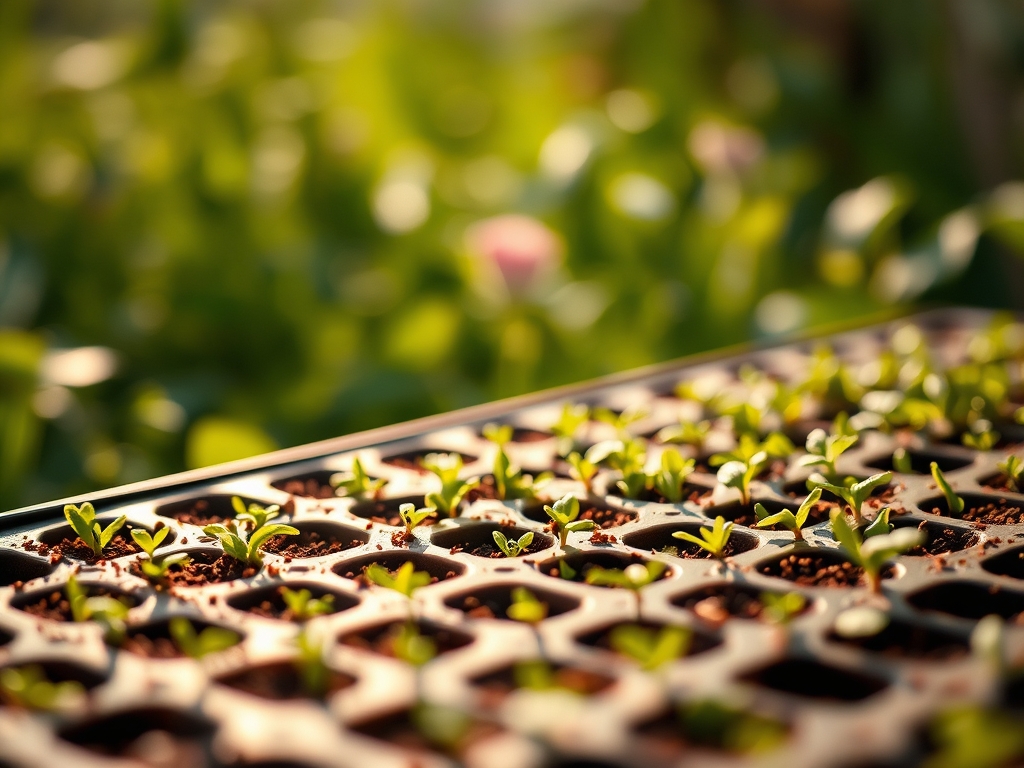
The first phase involves the mechanical removal of debris followed by a 20-minute soak in the disinfectant solution. Once dry, fill trays with the sterile substrate, ensuring no air pockets remain. Sow seeds at a depth of two to three times their diameter. Maintain a consistent temperature of 75 degrees Fahrenheit for most species to maximize germination rates.
Pro-Tip: Monitor turgor pressure by keeping humidity at 80 percent during the first 72 hours. Biological Why: High humidity prevents the desiccation of the emerging hypocotyl before the root system can establish hydraulic conductance.
Transplanting
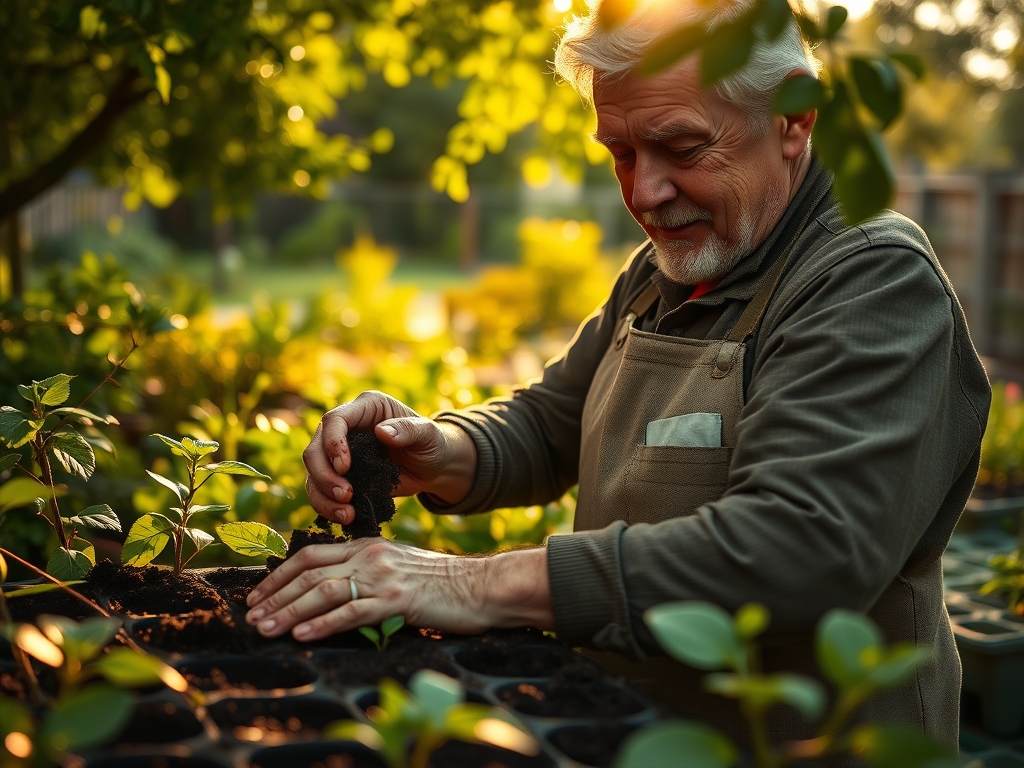
When the first set of true leaves appears, the plant has transitioned from relying on endosperm energy to active photosynthesis. Use a hori-hori knife to gently lift the root ball. Inspect for white, fuzzy root hairs, which indicate a healthy rhizosphere. Move the seedling to a larger vessel with a slightly higher NPK ratio, such as 10-10-10, to support rapid cellular expansion.
Pro-Tip: Avoid touching the stem to prevent auxin suppression. Biological Why: Bruising the stem tissue triggers ethylene production, which can stunt vertical growth and delay the onset of the reproductive phase.
Establishing
The final phase involves hardening off the plants. Gradually increase their exposure to UV light and wind over a 7-to-10-day period. This process thickens the cuticle and strengthens the cell walls through the deposition of lignin. Check the soil moisture meter daily; the substrate should never drop below 20 percent volumetric water content.
Pro-Tip: Introduce a diluted kelp meal solution to encourage mycorrhizal symbiosis. Biological Why: Beneficial fungi colonize the root cortex, extending the reach of the root system and improving the uptake of immobile phosphorus.
The Clinic:
Physiological disorders often mimic infectious diseases. Accurate diagnosis is required before intervention.
- Symptom: Interveinal chlorosis on older leaves.
- Solution: This indicates Magnesium deficiency. Apply a foliar spray of Epsom salts (magnesium sulfate) at a rate of 1 tablespoon per gallon.
- Symptom: Purple tinting on the underside of leaves.
- Solution: This is a sign of Phosphorus deficiency, often caused by soil temperatures below 55 degrees Fahrenheit which inhibits uptake.
- Symptom: Yellowing of the youngest leaves (Nitrogen chlorosis).
- Fix-It: Apply a high-nitrogen liquid fertilizer with a 5-1-1 NPK ratio to restore chlorophyll production.
- Symptom: Tip burn on new growth.
- Solution: This is usually Calcium localized deficiency caused by inconsistent transpiration. Increase airflow with a fan to improve the transpiration stream.
Maintenance:
Precision maintenance prevents the return of pathogens. Apply 1.5 inches of water per week at the drip line rather than overhead to keep foliage dry. Use bypass pruners that have been wiped with 70 percent isopropyl alcohol between every plant to prevent cross-contamination.
Monitor the soil with a soil moisture meter and a pH probe weekly. If the pH drifts above 7.0, the availability of iron and manganese will plummet. Maintain a clean workspace by removing any fallen leaf litter immediately, as decaying organic matter is a primary vector for Botrytis.
The Yield:
For fruiting crops, harvest when the fruit reaches its "breaker stage" or full color maturity. Use a sharp blade to make a clean cut, leaving a small portion of the pedicel attached. This technique reduces the rate of senescence by maintaining the integrity of the fruit's vascular seal.
Post-harvest, move the produce to a cooling area with a temperature of 45 to 55 degrees Fahrenheit and high humidity. This preserves the "day-one" freshness by slowing down the metabolic respiration of the plant tissue. For flowers, sear the stems in hot water or use a floral preservative to maintain hydraulic turgor in the petals.
FAQ:
How long should I soak trays in bleach?
Trays must be submerged in a 1:9 bleach-to-water ratio for at least 20 minutes. This duration ensures the solution penetrates the biofilm and neutralizes dormant fungal spores and bacterial colonies. Rinse thoroughly with clean water afterward to prevent phytotoxicity.
Can I reuse potting soil if I sterilize the trays?
No. Potting soil loses its structure and accumulates mineral salts and pathogens over time. Always use fresh, sterile substrate with a known CEC and NPK profile to ensure the chemical and physical requirements of the seedlings are met.
What is the best temperature for seed germination?
Most temperate species require a consistent soil temperature between 65 and 75 degrees Fahrenheit. Use a waterproof heat mat and a digital thermostat to maintain this range, as fluctuations can trigger dormancy or lead to uneven germination across the tray.
How do I know if my trays are truly sterile?
While you cannot see microbes, a tray is considered sterile after the mechanical removal of all visible debris followed by a complete chemical soak. If previous crops suffered from damping-off, increase the soak time to 30 minutes for extra security.