9 Simple Steps to Replace a Rake Head
Damp earth exudes a sharp scent of geosmin as the soil warms to 55 degrees Fahrenheit. A healthy plant maintains high turgor pressure; its cellular walls are rigid and functional. Your tools must match this structural integrity. When a tool fails, knowing the steps to replace a rake head ensures your work continues without interruption. This mechanical repair is as vital as monitoring the rhizosphere for nutrient uptake. Precision in maintenance reflects precision in the field.
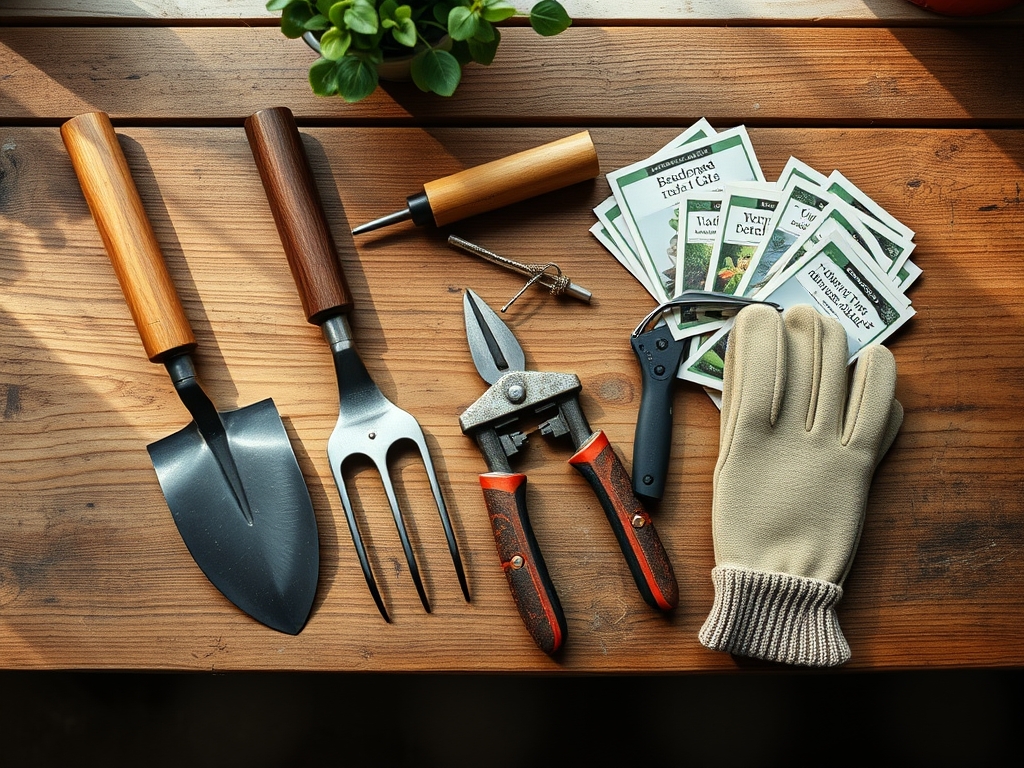
Materials:
The environment where you perform this repair should be a clean, dry workbench. While the tool interacts with friable loam; a soil texture consisting of roughly 40 percent sand, 40 percent silt, and 20 percent clay; the repair itself requires dry conditions to prevent oxidation. If you are managing a high-production plot, your soil likely maintains a pH of 6.5. This acidity level is ideal for nutrient availability but can accelerate the corrosion of low-grade steel.
Ensure your replacement head is forged carbon steel. You will need a replacement handle made of straight-grain ash or hickory. These woods offer high shock resistance. Have a drill with a 1/8-inch cobalt bit, a hammer, and a replacement screw or rivet. If you are working in high-fertility areas where you apply a 10-10-10 NPK ratio, ensure the metal is coated to resist the corrosive salts found in synthetic fertilizers.
Timing:
Hardiness Zones 4 through 8 experience significant seasonal shifts. Perform tool maintenance during the dormant season, typically between the first killing frost and the spring thaw. This window prevents the interruption of the biological clock of your perennials. In Zone 7, this window usually occurs between late November and early March.
Repairing equipment before the transition from the vegetative stage to the reproductive stage is critical. Once the photoperiod increases and plants begin rapid cell division, your labor must be focused on the soil, not the shed. Replacing a rake head during the winter ensures you are ready for the precise moment the soil temperature reaches the 60-degree threshold required for many warm-season crops.
Phases:

Sowing the Foundation: Removal
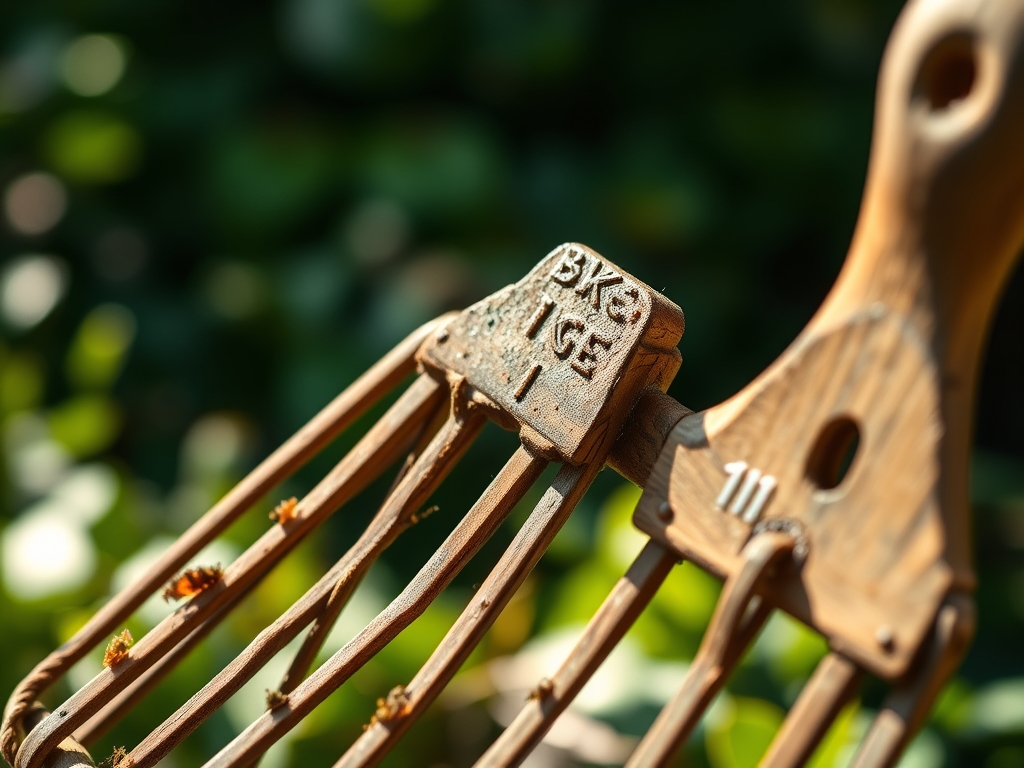
Secure the rake handle in a vise. Remove the existing fastener using a screwdriver or by drilling out the old rivet. If the wood has swollen due to high humidity, use a heat gun to reduce moisture content and shrink the fibers. Slide the old head off the neck.
Pro-Tip: Clean the wood surface to remove any fungal spores or pathogens. This prevents the transfer of soil-borne diseases like Fusarium wilt between different sections of the garden.
Transplanting the New Head: Fitting
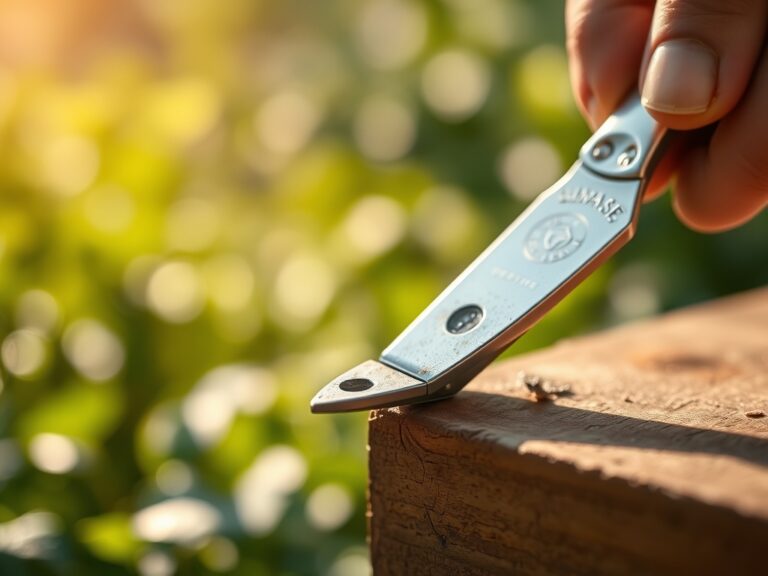
Slide the new head onto the tapered end of the handle. If the fit is loose, do not use shims. Instead, trim the handle slightly with a hori-hori knife to create a fresh, snug taper. The head must sit flush against the shoulder of the wood to distribute mechanical stress evenly during use.
Pro-Tip: A tight fit prevents micro-vibrations. These vibrations can cause repetitive strain to the user and damage the delicate mycorrhizal symbiosis in the top two inches of soil by causing uneven pressure during raking.
Establishing the Connection: Fastening
Drill a pilot hole through the pre-drilled hole in the rake head into the wood. Drive a galvanized screw or a steel rivet through the assembly. Ensure the head is perpendicular to the handle alignment. Sand any rough edges on the wood to prevent skin abrasions.
Pro-Tip: Coat the connection point with linseed oil. This creates a hydrophobic barrier, preventing moisture from entering the wood grain and causing rot, which is a form of lignin degradation caused by specialized fungi.
The Clinic:
Physiological disorders in the garden often mirror mechanical failures in tools. Use this diagnostic guide to maintain your system.
Symptom: Leaf chlorosis (yellowing) between veins.
Solution: This indicates Magnesium deficiency. Apply Epsom salts at a rate of 1 tablespoon per gallon of water to restore chlorophyll production.
Symptom: Blossom end rot in Solanaceae crops.
Solution: This is a Calcium transport issue, often caused by inconsistent moisture. Maintain a steady 1.5 inches of water per week to ensure steady transpiration.
Symptom: Stunted growth and purple undersides on leaves.
Solution: Phosphorus deficiency. This often occurs in cold soils where Cation Exchange Capacity is low. Incorporate bone meal or a 0-20-0 fertilizer into the root zone.
Fix-It: If your rake head feels "spongy" during use, the wood is likely experiencing internal decay. Replace the handle immediately. A failing tool leads to uneven soil grading, which creates "puddling" and localized anaerobic conditions that suffocate roots.
Maintenance:
Precision tools require a rigorous maintenance schedule. Use a soil moisture meter to determine when the ground is dry enough to rake without destroying soil structure. Raking wet soil leads to compaction, which reduces the pore space necessary for oxygen exchange.
After every use, wipe the rake head with an oily rag. Store tools vertically in a dry environment. Use bypass pruners to clear any woody debris caught in the tines. If you encounter heavy clay, clean the tines every 20 minutes to prevent weight buildup. Check the fastener for tightness every 40 hours of use. Maintaining a sharp edge on a garden rake is unnecessary; focus instead on the structural integrity of the tines and the handle-to-head connection.
The Yield:
A well-maintained rake is essential for the harvest of root crops and the preparation of seedbeds. For greens, harvest when the dew has evaporated but before the sun reaches its zenith to ensure maximum turgor pressure.
For woody herbs, use a hori-hori knife to cut stems at a 45-degree angle. This increases the surface area for water uptake if the plants are placed in a vase. Post-harvest, keep produce at a constant 40 degrees Fahrenheit to slow the rate of respiration and senescence. A properly raked seedbed ensures even seed-to-soil contact, which is the primary factor in high germination rates and a uniform yield.
FAQ:
How do I know if the rake handle is too damaged to reuse?
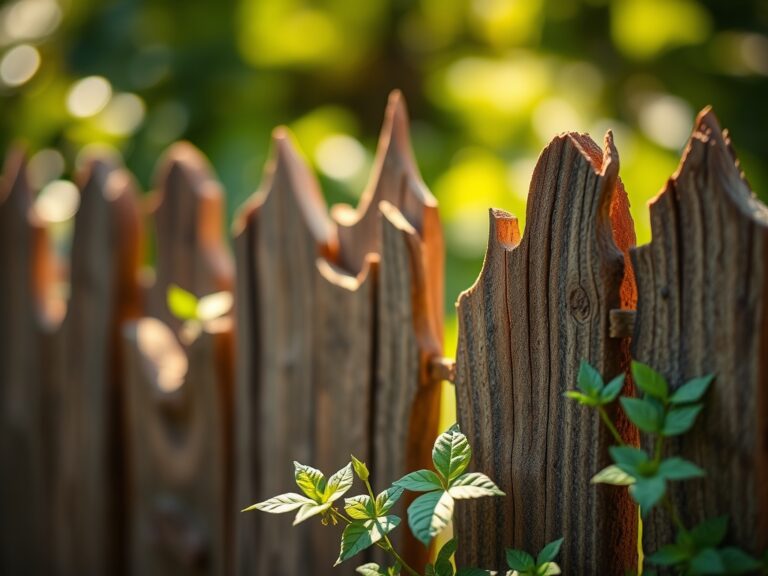
Inspect the wood for longitudinal cracks or grey discoloration. These signs indicate lignin failure and fungal decay. If the wood splinters under moderate pressure, it cannot safely support a new rake head.
What is the best way to prevent the rake head from rusting?
Clean the metal after each use to remove acidic soil particles. Apply a thin layer of mineral oil. This creates an oxygen barrier that prevents the oxidation of iron, especially in soils with high salt content.
Can I use a screw instead of a rivet for the rake head?
Yes, a #8 or #10 galvanized wood screw is often superior for repairs. It allows for future tightening if the wood shrinks. Ensure the pilot hole is slightly smaller than the screw diameter to maintain grip.
Why does my rake head keep coming loose in the summer?
Low humidity causes the wood fibers to lose moisture and shrink. This reduces the friction between the handle and the head. Apply linseed oil to the wood to stabilize its internal moisture content and prevent significant shrinkage.