9 Strong Ways How to Build a Privacy Fence
Crushed limestone grit and the sharp, metallic scent of damp cedar dust signal the start of a structural installation. When you learn how to build a privacy fence, you are not merely erecting a barrier; you are manipulating the microclimate of your property by altering wind patterns and light exposure. Maintaining high turgor pressure in your surrounding flora requires a windbreak that reduces transpiration rates. This project demands a foundation in soil mechanics and structural engineering to ensure the final product withstands the lateral force of wind and the constant pressure of soil moisture.
Materials:

The success of a privacy fence begins below the surface in the rhizosphere. You must assess your soil texture. A **friable loam** with a **pH between 6.0 and 7.0** is ideal for post stability and the health of adjacent plantings. If your soil is heavy clay, the Cation Exchange Capacity (CEC) will be high, but drainage will be poor; this leads to anaerobic conditions that rot wooden posts.
For the vegetation flanking your fence, specify a balanced NPK ratio of 10-10-10 for general establishment. If you are planting nitrogen-heavy screens like Thuja occidentalis, shift to a 12-4-8 ratio to support rapid vegetative growth. Ensure you have ASTM C33 compliant sand and Type II Portland cement for post footings. Use G90 galvanized fasteners to prevent corrosion from the acetic acid found in western red cedar or the alkaline salts in pressure-treated pine.
Timing:
Installation windows are dictated by the frost line and the biological clock of your landscape. In Hardiness Zones 4 through 7, construction should occur when the ground is not frozen to allow for proper excavation of the 36-inch deep post holes required to bypass the frost heave zone. The ideal window is late autumn or early spring when deciduous plants are in dormancy. This prevents mechanical damage to root systems during their metabolic rest phase.
Avoid construction during the peak reproductive stage of your garden. High heat increases the transpiration rate of disturbed roots. If you must build during the summer, ensure the soil moisture remains at a tension of 20 to 30 centibars to prevent cellular collapse in nearby specimens.
Phases:

Sowing the Perimeter
Before the first post is set, map the utility lines. Clear a 24-inch wide path of all competitive weeds. If you are integrating a living screen into your privacy fence, sow seeds or install plugs at a depth of 0.5 inches in pre-moistened furrows.
Pro-Tip: Utilize mycorrhizal symbiosis by inoculating the backfill soil with Glomus intraradices. This fungus extends the root surface area, allowing plants to access phosphorus that is otherwise chemically bound in the soil.
Transplanting and Post Setting
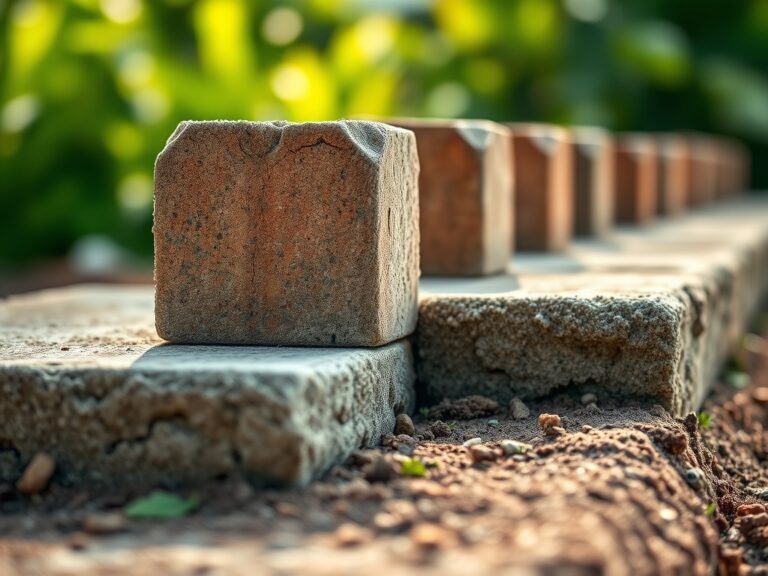
Excavate holes to a diameter three times the width of the post. For a standard 6-foot fence, the post must be buried 24 to 36 inches deep. Set the post on a 4-inch bed of gravel to facilitate drainage away from the end grain.
Pro-Tip: When backfilling with concrete, taper the top of the footing away from the post. This utilizes gravity to prevent water pooling, which inhibits fungal hyphae from colonizing the wood fibers and causing premature decay.
Establishing the Structure
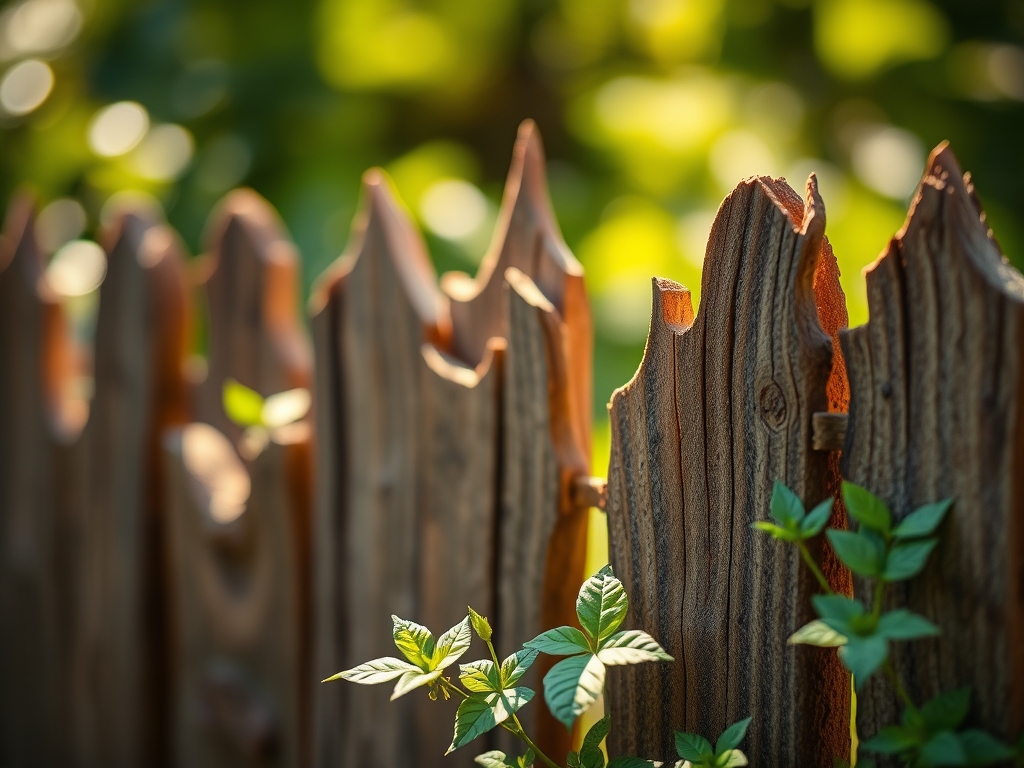
Attach the stringers (horizontal rails) using three-inch stainless steel screws. Space the pickets with a 1/8-inch gap to allow for hygroscopic expansion and contraction. Wood is a biological material that breathes; it absorbs and releases moisture based on atmospheric humidity.
Pro-Tip: If using a living fence, practice auxin suppression by pruning the terminal buds of your screening shrubs. This redirects growth hormones to lateral buds, creating a denser, more opaque privacy screen through increased branching.
The Clinic:
Physiological disorders often manifest when a fence alters the light or water distribution of a site.
-
Symptom: Interveinal chlorosis (yellowing leaves with green veins) on plants near the fence.
-
Solution: This indicates Nitrogen chlorosis or a pH imbalance. Test the soil. If the pH is above 7.5, the plant cannot uptake iron. Apply chelated iron or sulfur to lower the pH.
-
Symptom: Powdery mildew on the leeward side of the fence.
-
Solution: Reduced airflow creates high humidity microclimates. Thin the foliage of the plants using bypass pruners to increase air circulation and decrease fungal spore germination.
-
Symptom: Post leaning or "heaving" after winter.
-
Solution: This is caused by ice lenses forming in the soil. Re-set posts below the frost line and ensure the drainage gravel is not clogged with fine silt.
Maintenance:
A privacy fence requires precise moisture management for the surrounding ecosystem. Deliver 1.5 inches of water per week at the drip line of any screening plants. Use a soil moisture meter to verify that the moisture has penetrated 8 inches deep.
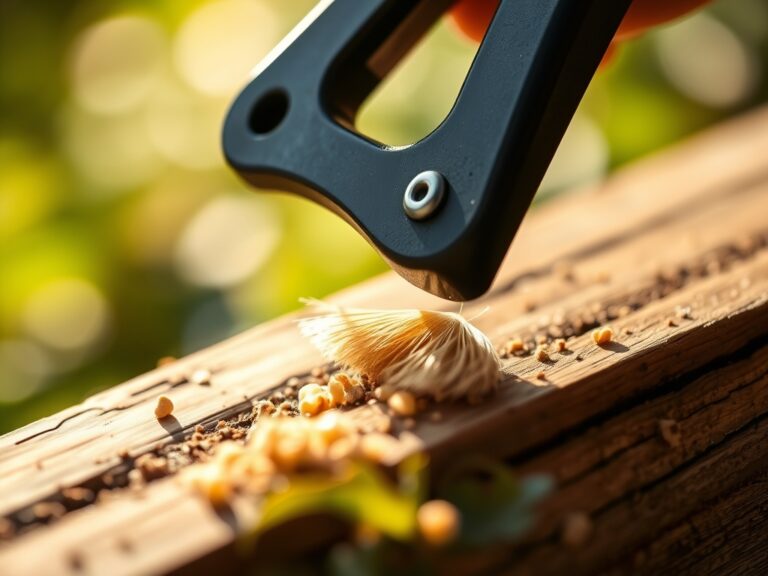
Annually, inspect the base of the posts with a hori-hori knife to check for soft spots or wood-boring insects. Use bypass pruners to keep vegetation at least 6 inches away from the fence boards. This gap prevents trapped moisture from inducing rot and allows for the natural expansion of the wood. Clean the wood surface with a specialized oxygen bleach solution every two years to remove biofilm without damaging the cellular structure of the timber.
The Yield:
If your privacy fence serves as a backdrop for espaliered fruit trees or climbing hops, timing the harvest is critical. For pome fruits, monitor the Brix level using a refractometer. A reading of 12% to 15% indicates peak sugar accumulation.
Harvest during the cool morning hours when field heat is lowest. Use sharp snips to avoid tearing the vascular tissue. Post-harvest, hydro-cool the produce by submerging it in 40-degree Fahrenheit water for ten minutes. This slows the respiration rate and preserves the crispness of the cell walls for "day-one" freshness.
FAQ:
How deep should fence posts be buried?
Posts must be buried at least one-third of their total length. In regions with freezing temperatures, the base of the post must sit 6 inches below the local frost line to prevent soil heaving from displacing the structure.
What is the best wood for a privacy fence?
Western Red Cedar and Black Locust are superior choices due to their high concentration of natural oils and tannins. These biological compounds act as natural fungicides, resisting rot and insect infestation without the need for heavy chemical treatments.
How do I stop my fence from rotting at the bottom?
Ensure the wood does not make direct contact with the soil. Maintain a 2-inch clearance between the bottom of the pickets and the ground. Use a gravel base under posts to prevent water from saturating the wood fibers.
Can I build a fence over tree roots?
Avoid cutting roots larger than 2 inches in diameter, as this compromises the tree's structural integrity and water uptake. Use a "bridge" framing technique or cantilever the fence sections to span over major root flare zones.