10 Basic Steps to Clean Greenhouse Benches
The smell of damp earth and the sharp tang of algae signify a greenhouse in desperate need of a reset. When the turgor pressure of your seedlings begins to fail despite adequate hydration, the culprit is often a buildup of pathogens on your staging. Learning how to clean greenhouse benches is not merely a matter of aesthetics; it is a critical intervention in the plant life cycle to prevent the spread of Pythium and Rhizoctonia. A sterile environment ensures that the rhizosphere remains colonized only by beneficial microbes rather than opportunistic fungi. Clean surfaces allow for maximum light reflectance and precise control over the microclimate. You must strip the benches to the frame to eliminate the reservoirs of infection that thrive in the humid, 75-degree environment of a working glasshouse. Success starts with a mechanical purge of organic debris followed by a rigorous chemical sterilization.
Materials:

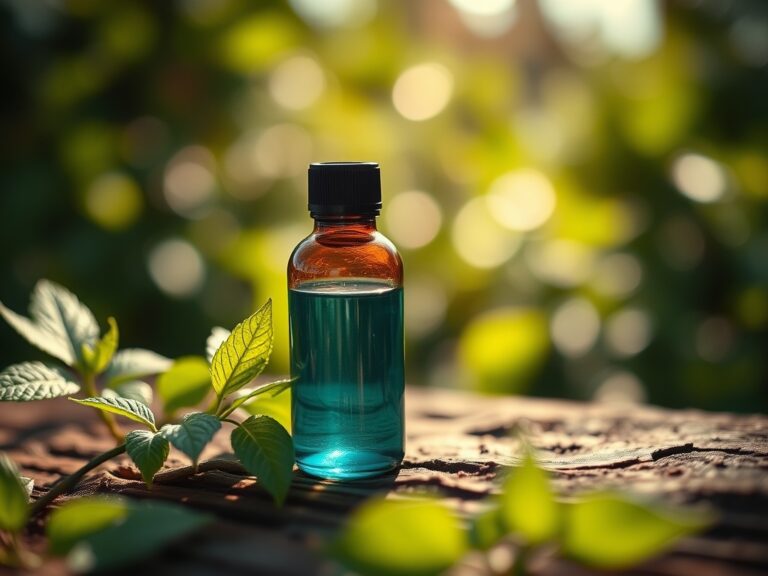
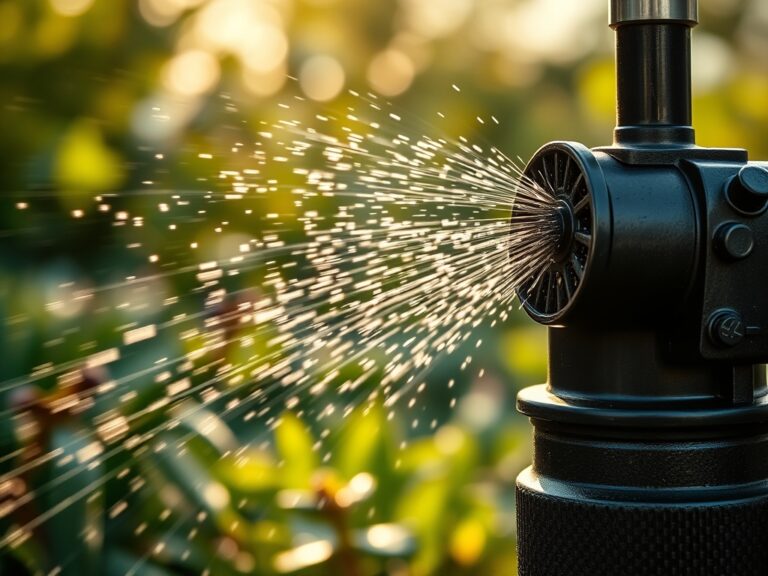
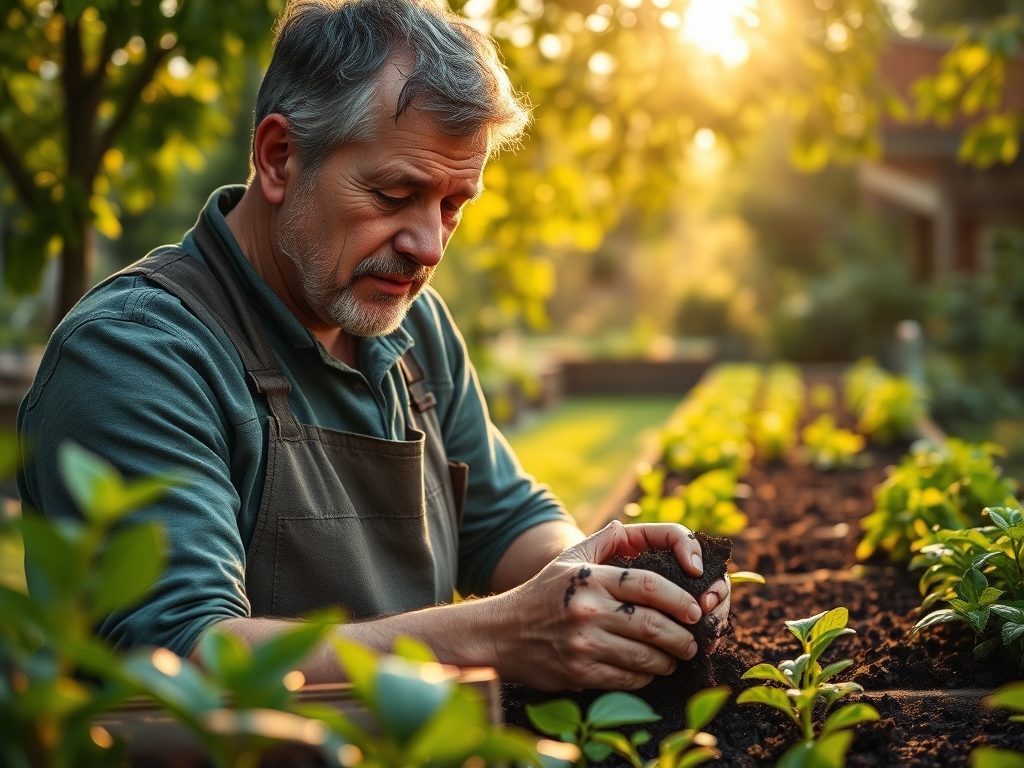
Effective sanitation requires specific chemical agents and physical tools. You need a **10 percent bleach solution** or a specialized quaternary ammonium compound to kill persistent spores. For the substrate that will eventually return to these benches, aim for a **friable loam** with a high Cation Exchange Capacity (CEC) of **20 to 30 meq/100g**. This ensures the soil can hold onto essential nutrients. The ideal potting mix for the upcoming season should maintain a **pH between 5.8 and 6.2** to optimize nutrient availability. Prepare a balanced **NPK ratio of 10-10-10** for general vegetative growth, or a **5-10-15 ratio** if you are transitioning to flowering stages. Use a stiff-bristled nylon brush for mechanical scrubbing and a high-pressure sprayer to reach into the expanded metal mesh of the benching.
Timing:
The optimal window for deep cleaning occurs during the transition between the late autumn harvest and the early spring sowing. In Hardiness Zones 5 through 7, this typically falls between December and February when the greenhouse is at its lowest occupancy. You must complete the sanitation process at least two weeks before the first seeds are sown to allow any residual fumes from cleaning agents to dissipate. This timing aligns with the "Biological Clock" of most temperate species; plants are currently in a state of senescence or dormancy, meaning the disruption of moving them to temporary quarters is minimized. Aligning your cleaning schedule with the photoperiod ensures that as day lengths increase, your plants return to a sterile environment just as their metabolic rates begin to accelerate for the spring surge.
Phases:
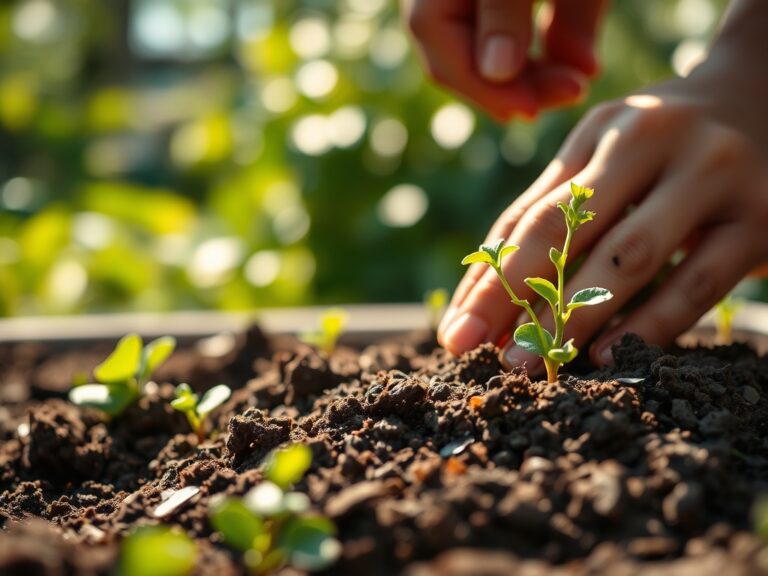
Sowing
Begin by clearing all pots, trays, and spent growing media from the benches. Sweep away any spilled soil, as even a small amount of organic matter can neutralize disinfectants. Use a hori-hori knife to scrape away stubborn mineral deposits or "salt crusts" caused by fertilizer runoff. Scrub every square inch of the bench surface with soapy water to remove the biofilm.
Pro-Tip: Removing the biofilm is essential because bacteria create a protective extracellular matrix. If this layer remains, disinfectants cannot reach the underlying pathogens, leading to a failure in systemic sanitation.
Transplanting
Once the surfaces are mechanically clean, apply your chosen disinfectant. If using a bleach solution, ensure a contact time of at least 10 minutes before rinsing. This is the stage where you also inspect the bench supports and irrigation lines. Flush the lines with a citric acid solution to remove calcium buildup that can clog emitters and cause uneven hydration.
Pro-Tip: Maintaining clear irrigation lines ensures uniform turgor pressure across the entire crop. Uneven watering triggers auxin suppression in drier plants, leading to stunted growth and apical dominance issues.
Establishing
After the benches are dry and the greenhouse has been vented, reintroduce your sterilized trays and fresh media. If you are using wooden benches, consider a copper-based preservative to prevent rot. Set up your soil moisture meter to monitor the new pots. Ensure that the benches are perfectly level to prevent water pooling, which creates localized zones of high humidity and fungal risk.
Pro-Tip: Level benches prevent the "edge effect" where plants on one side receive more runoff. This uniformity supports mycorrhizal symbiosis by providing a stable, predictable moisture gradient for fungal hyphae to colonize the root zone.
The Clinic:
Physiological disorders often arise from poor bench hygiene or environmental stress.
- Symptom: Damping Off. Seedlings collapse at the base. Solution: This is caused by Pythium fungi. Increase airflow and ensure benches were treated with a fungicidal wash during the cleaning phase.
- Symptom: Edema. Small bumps or blisters on the underside of leaves. Solution: This occurs when the plant absorbs water faster than it can transpire. Lower the humidity and ensure the bench mesh allows for 360-degree air circulation around the pots.
- Symptom: Algae Growth. Green film on bench surfaces or pot tops. Solution: Algae compete for oxygen and harbor shore flies. Treat surfaces with a peroxyacetic acid solution to oxidize the organic matter.
Fix-It for Nutrient Deficiencies:
If you notice Nitrogen chlorosis (yellowing of older leaves), the bench cleaning might have coincided with a flush of the irrigation system. Supplement with a water-soluble 20-0-0 fertilizer at a rate of 150 ppm to rapidly restore leaf color and photosynthetic capacity.
Maintenance:
Post-cleaning maintenance requires a disciplined approach to prevent re-contamination. Use bypass pruners to remove any necrotic tissue immediately; do not let it fall onto the clean benches. Monitor the moisture levels daily; most greenhouse crops require approximately 1.5 inches of water per week delivered directly at the drip line. Avoid overhead watering to keep the foliage dry and the bench surfaces free of standing water. Check the electrical conductivity (EC) of the runoff weekly to ensure that salts are not accumulating on your freshly cleaned surfaces. Use a soil moisture meter to verify that the core of the root ball is at 60 to 70 percent field capacity.
The Yield:
When your crop reaches the harvest window, timing is dictated by the specific "Brix level" or visual maturity indicators. For leafy greens, harvest in the early morning when turgor pressure is at its peak. Use a sharp, sterilized blade to make clean cuts, preventing jagged wounds that invite pathogens. For flowering crops, harvest when the first two florets are fully open. Post-harvest, immediately move the produce to a cooling area at 34 to 38 degrees Fahrenheit. This rapid "pre-cooling" slows down the respiration rate and preserves the cellular integrity for "day-one" freshness.
FAQ:
How often should I clean my greenhouse benches?
Perform a deep clean twice per year, typically during the seasonal transitions in spring and autumn. Spot-clean spills and remove necrotic debris weekly to prevent the buildup of biofilms and pathogen reservoirs in the rhizosphere.
What is the best disinfectant for greenhouse surfaces?
A 10 percent bleach solution is effective and accessible. However, quaternary ammonium products are often preferred because they are less corrosive to metal benches and provide longer residual activity against algae and fungal spores.
Can I clean benches while plants are still inside?
It is not recommended. Many disinfectants release volatile organic compounds that can cause phytotoxicity. Move plants to a temporary holding area to ensure thorough coverage of the bench frames and to protect sensitive foliage from chemical drift.
How do I remove hard water scale from metal benches?
Use an acidic cleaner or a vinegar-based solution to dissolve calcium and magnesium carbonates. Scrub with a stiff brush and rinse thoroughly. Removing scale is vital as these deposits provide a porous surface where bacteria can hide.