7 Vital Steps to Set Fence Posts in Concrete
The smell of damp, disturbed earth signals the beginning of a structural intervention in the landscape. When the soil reaches a specific turgor, resisting compression but retaining enough moisture to hold a clean edge, conditions are optimal for installation. Mastering the steps to set fence posts in concrete requires understanding the mechanical interaction between rigid timber and the surrounding rhizosphere. A post that fails does so because the gardener ignored the physics of soil heave and the biological reality of wood decay.
Materials:

The substrate must be a **friable loam** with a high Cation Exchange Capacity (CEC) to ensure proper drainage around the concrete footing. If your soil pH is below **5.5**, the acidity will accelerate the corrosion of galvanized fasteners and degrade the integrity of the concrete over a decade. For the surrounding vegetation, maintain an NPK ratio of **10-10-10** to support root recovery after the trauma of excavation. You will need pressure treated 4×4 posts rated for ground contact, **80-pound bags** of high strength concrete mix, and crushed aggregate for the base layer.
Timing:
Installation must occur within the specific window of your Hardiness Zone. In Zones 5 through 7, wait until the final frost has passed and the soil temperature at a 6-inch depth remains consistently above 45 degrees Fahrenheit. This timing respects the biological clock of nearby perennials; digging during the transition from vegetative to reproductive stages can cause irreversible transplant shock. Avoid the peak of summer heat to prevent the concrete from curing too rapidly, which results in a brittle matrix with a low PSI rating.
Phases:

Sowing the Foundation
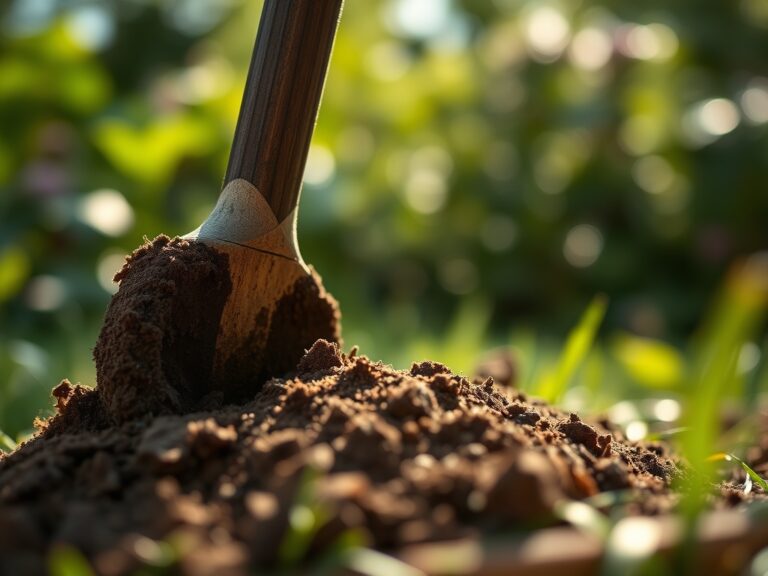
Excavate a hole three times the width of the post. For a standard 4×4 post, the diameter must be 12 inches. The depth must reach below the local frost line, typically 36 to 48 inches, to prevent frost heave from ejecting the post.
Pro-Tip: Add 6 inches of crushed stone to the bottom of the hole. This facilitates drainage and prevents the "pool effect," where water collects at the base of the timber. This is critical for preventing anaerobic conditions that favor fungal pathogens.
Transplanting the Post
Position the post in the center of the hole. Use a level to ensure vertical accuracy on two adjacent sides. Pour the dry concrete mix into the hole, leaving 3 inches of space at the top for soil coverage. Slowly add water according to the manufacturer's ratio, usually 2.5 to 3 quarts per 80-pound bag.
Pro-Tip: Use a scrap piece of rebar to "puddle" the wet concrete. This eliminates air pockets and ensures the slurry makes full contact with the wood. This maximizes the friction bond and prevents the post from twisting due to phototropism as the surrounding canopy changes.
Establishing Stability
Slope the top of the concrete away from the post to create a "crown." This shed-roof effect prevents water from sitting against the wood grain. Allow the concrete to cure for a minimum of 48 hours before attaching rails or pickets.
Pro-Tip: Apply a copper-naphthenate solution to the cut ends of the posts before installation. This chemical barrier suppresses the auxin-driven growth of wood-decay fungi and extends the structural life of the timber by decades.
The Clinic:
Physiological disorders in the landscape often stem from improper post installation.
- Symptom: Leaf chlorosis in nearby shrubs.
- Symptom: Post leaning after a freeze-thaw cycle.
- Solution: The footing was likely "bell-shaped" with a wider top than bottom. Dig out the perimeter and pour a new collar that is wider at the base than the surface to resist upward pressure.
- Symptom: Premature rot at the soil line.
- Solution: The concrete crown was missing or recessed. Use a hori-hori knife to clear debris from the post base and apply a bead of exterior grade silicone sealant at the wood-concrete interface.
Fix-It for Nitrogen Chlorosis: If the excavation damaged the root systems of prized specimens, apply a quick release 20-0-0 liquid fertilizer. This provides the immediate nitrogen necessary for the plant to rebuild its chlorophyll density and recover from mechanical stress.
Maintenance:
A fence is a static object in a dynamic biological system. Monitor the soil moisture around the posts using a soil moisture meter. During dry spells, provide 1.5 inches of water per week at the drip line of nearby plants to prevent the soil from shrinking away from the concrete footings. Use bypass pruners to keep climbing vines like ivy or wisteria away from the wood; their adventitious roots can penetrate the grain and accelerate senescence of the structural fibers. Every two years, inspect the base for "heaving" where the concrete has risen above the grade.
The Yield:
While a fence does not produce a caloric yield, its "harvest" is the protection of the microclimate it creates. A well-placed fence acts as a windbreak, reducing the transpiration rate of delicate understory plants. This allows for "day-one" freshness in leafy greens and ornamentals that would otherwise wilt under high wind desiccation. By controlling the airflow, you are effectively managing the turgor pressure of every plant in the enclosure.
FAQ:
How deep should I dig the post hole?
Dig the hole to a depth equal to one-third to one-half the height of the post above ground. Ensure the base extends at least 6 inches below the local frost line to prevent seasonal soil movement and structural failure.
Can I pour dry concrete mix into the hole?
Yes, this is known as the dry-set method. The concrete absorbs moisture from the surrounding soil and the water you add on top. However, for maximum PSI strength, pre-mixing in a wheelbarrow ensures a more homogenous chemical bond.
What type of gravel is best for the base?
Use 3/4-inch crushed angular stone. Unlike rounded pea gravel, angular stone interlocks under pressure, providing a stable, non-shifting foundation that allows water to move freely away from the bottom of the wooden post.
How do I prevent the post from rotting in concrete?
Ensure the concrete extends above the soil line and is sloped downward. This prevents water from pooling. Using pressure-treated lumber rated for "Ground Contact" or "UC4B" is mandatory for long-term resistance against soil-borne decomposers and moisture.