9 Healthy Ways How to Prep Raised Bed Soil
Crushing a handful of moist earth should reveal a crumbly, dark structure that smells of geosmin and holds its shape without becoming a muddy paste. This structural integrity is the foundation of turgor pressure; the internal force that keeps stems rigid and leaves expanded. To maximize crop yield and plant health, understanding how to prep raised bed soil requires a transition from viewing dirt as a filler to treating it as a complex biological engine. You are building a rhizosphere, the narrow region of soil where root secretions and microorganisms interact. A poorly prepared bed leads to compaction and anaerobic conditions, suffocating the root hairs that drive nutrient uptake. High-performing soil must facilitate gas exchange while maintaining a consistent water film around soil particles. By focusing on pore space and mineral balance, you ensure that every seedling has the hydraulic support and chemical access needed to reach its genetic potential.
Materials:
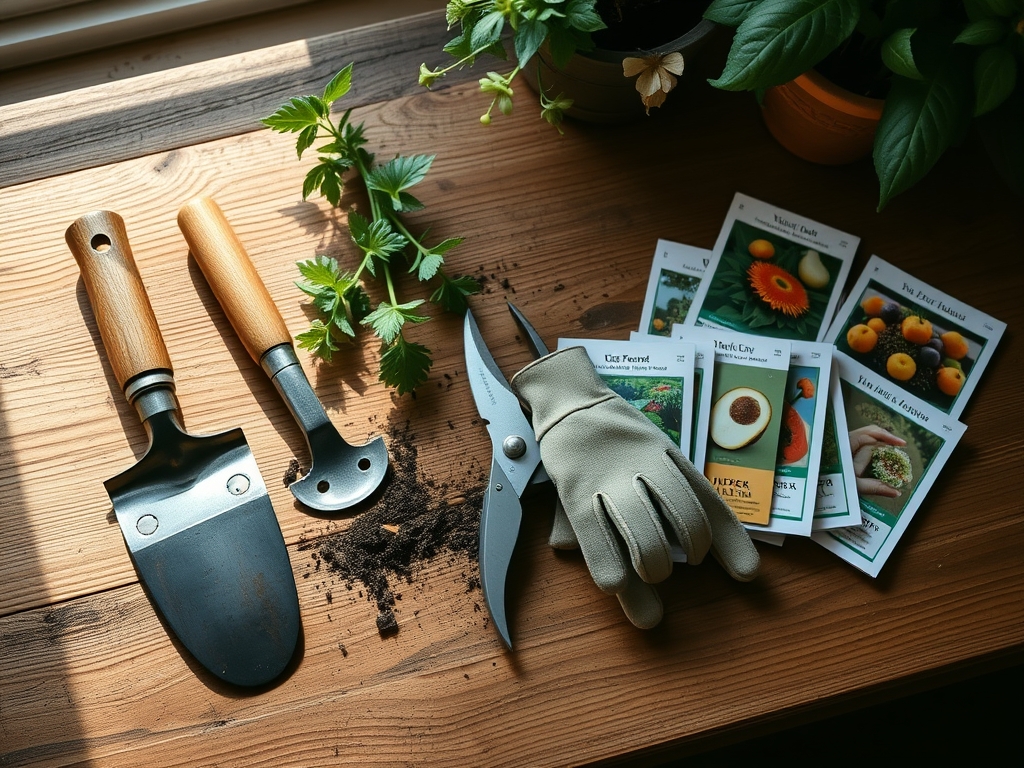
The ideal substrate for a raised bed is a friable loam consisting of 40 percent sand, 40 percent silt, and 20 percent clay, amended heavily with organic matter. For most horticultural crops, aim for a pH range of 6.2 to 6.8. This range ensures maximum bioavailability of macronutrients.
Your base mix should adhere to specific nutrient benchmarks. A standard "starter" NPK ratio of 5-10-5 is preferable for initial bed preparation. This lower nitrogen level prevents excessive vegetative growth at the expense of root development, while the higher phosphorus content supports cellular division.
Incorporate materials with a high Cation Exchange Capacity (CEC), such as well-aged compost or vermiculite. A high CEC value (typically above 15 meq/100g) indicates the soil can effectively hold onto positively charged ions like potassium (K+), calcium (Ca2+), and magnesium (Mg2+), preventing them from leaching out during heavy irrigation. Avoid using "topsoil" from unknown sources, as it often contains weed seeds and lacks the necessary drainage porosity for confined raised structures.
Timing:
Timing is dictated by your local USDA Hardiness Zone and the thermal mass of your raised beds. Because raised beds sit above the grade, they shed frost faster than the surrounding ground. In Zones 5 through 7, begin your soil preparation 21 to 30 days before the average last frost date. This window allows the soil microbiome to stabilize after the disturbance of mixing and ensures that any added organic fertilizers have begun the mineralization process.
The "Biological Clock" of your plants is governed by the photoperiod (day length) and cumulative heat units. Prepping soil in early spring allows the soil temperature to reach a consistent 60 degrees Fahrenheit (15.5 Celsius), which is the threshold for active microbial metabolism. If you prep too late, you miss the vegetative window where the plant establishes the leaf area index required to support the later reproductive (flowering and fruiting) stages.
Phases:

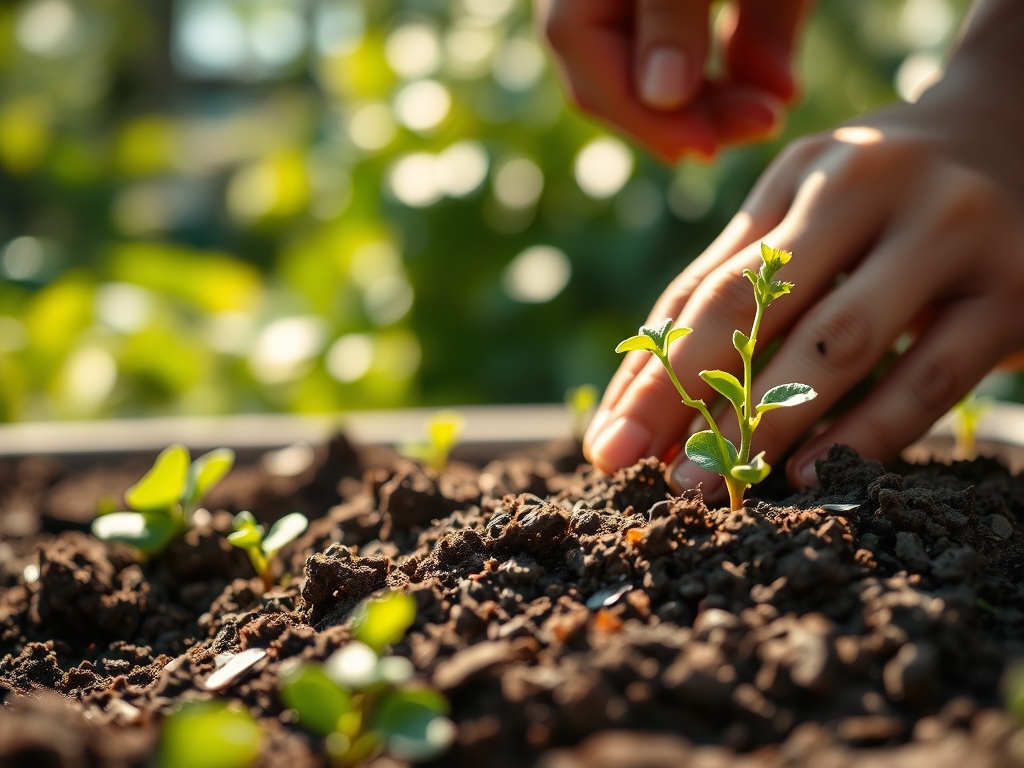
Sowing
When sowing seeds directly into the bed, the top 2 inches of soil must be finely screened to ensure seed-to-soil contact. Large clumps of bark or rocks create air pockets that dehydrate emerging radicles. Maintain a consistent moisture level to prevent the soil surface from "crusting," which can physically block a seedling from breaking through the surface.
Pro-Tip: Utilize the concept of thigmotropism. Gently firming the soil over the seeds provides the tactile pressure necessary to trigger robust hypocotyl development. This ensures the seedling has the structural strength to support its first true leaves.
Transplanting
When moving starts from nursery pots to the raised bed, dig a hole twice as wide as the root ball. This creates a zone of "low resistance" for new roots to penetrate. Ensure the soil is pre-moistened to prevent the dry substrate from wicking moisture away from the transplant's root plug via capillary action.
Pro-Tip: Inoculate the planting hole with mycorrhizal fungi. This creates a mycorrhizal symbiosis where the fungi extend the reach of the root system by hundreds of times, significantly increasing the uptake of phosphorus and water in exchange for plant sugars.
Establishing
During the first 14 to 21 days, the focus is on root expansion rather than upward growth. Avoid high-nitrogen fertilizers during this phase to prevent auxin suppression in the roots; too much nitrogen signals the plant to prioritize the canopy, leading to a weak, unstable root system.
Pro-Tip: Monitor the transpiration rate. If leaves show signs of flagging during the heat of the day but recover by evening, the root system is still establishing its hydraulic connection to the soil. Do not overwater; allow the top 1 inch of soil to dry to encourage roots to grow deeper in search of moisture.
The Clinic:
Physiological disorders often stem from soil imbalances rather than pathogens. Observe the foliage closely to diagnose these common issues.
-
Blossom End Rot: This appears as a sunken, leathery black spot on the base of fruits like tomatoes or peppers.
- Symptom: Calcium deficiency in the fruit tissue.
- Solution: This is rarely a lack of calcium in the soil and usually a water management issue. Ensure consistent soil moisture to allow the plant to transport calcium via the xylem.
-
Nitrogen Chlorosis:
- Symptom: Older leaves at the bottom of the plant turn pale yellow while the rest of the plant remains green.
- Fix-It: Apply a fast-acting liquid fertilizer with an NPK of 10-0-0 or blood meal. Nitrogen is a mobile nutrient; the plant is "robbing" the old leaves to feed new growth.
-
Interveinal Chlorosis:
- Symptom: Leaves turn yellow between the veins, which remain dark green. This often indicates a Magnesium or Iron deficiency.
- Fix-It: Check the soil pH. If the pH is above 7.5, iron becomes locked and unavailable. Lower the pH using elemental sulfur or apply chelated iron as a foliar spray for immediate relief.
Maintenance:
Precision is the hallmark of professional maintenance. Most raised bed crops require 1.5 inches of water per week delivered at the drip line, not the foliage. Wet foliage encourages fungal spores to germinate. Use a soil moisture meter to verify that moisture is reaching a depth of 6 to 8 inches.
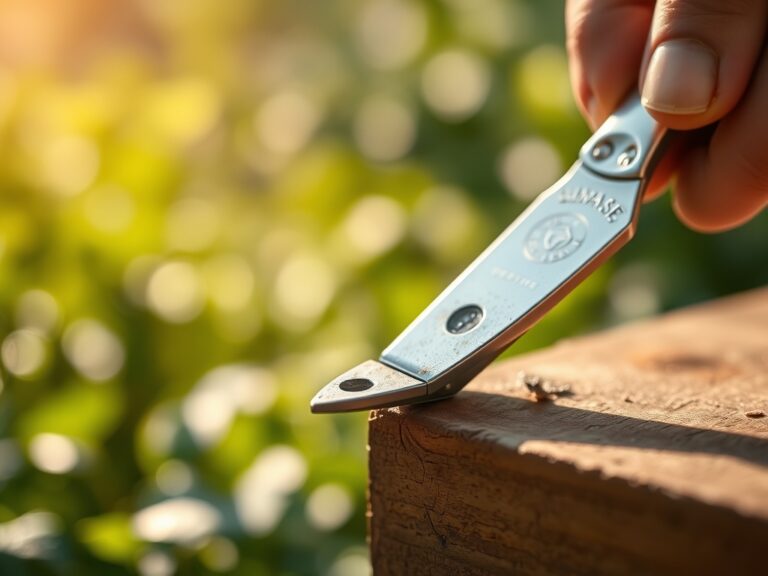
Keep a hori-hori knife sharpened for weeding; its serrated edge allows you to cut taproots deep below the surface without disturbing the shallow feeder roots of your crops. Use bypass pruners for clean cuts on any dead or diseased tissue to prevent senescence (cell death) from spreading to healthy stems. Every autumn, top-dress the bed with 2 inches of fresh organic compost to replace the carbon consumed by soil microbes over the growing season.
The Yield:
Harvesting is a biological calculation. For leafy greens, harvest in the early morning when turgor pressure is at its peak; this ensures the crispest texture. For fruiting crops, look for "color break," the moment the fruit begins its final ripening stage.
To maintain "day-one" freshness, immediately remove the "field heat" by placing harvested produce in a cool, shaded area or a cold water bath. This slows the metabolic rate of the plant tissue, preserving sugars and preventing the rapid breakdown of cellular structures. For herbs, use sharp snips to avoid crushing the vascular bundles, which can lead to rapid wilting.
FAQ:
How deep should my raised bed soil be?
Most vegetables require a minimum depth of 12 to 18 inches. This provides sufficient volume for root expansion and water retention. Deep-rooted crops like carrots or parsnips may require 24 inches of friable soil to prevent forking and stunted growth.
Can I reuse last year's raised bed soil?
Yes, but it must be rejuvenated. Soil loses volume as organic matter decomposes. Add 20 to 30 percent new compost and a balanced slow-release fertilizer to replenish nutrients and restore the soil structure and cation exchange capacity for the new season.
Why is my raised bed soil drying out so fast?
Raised beds have increased surface area exposure, leading to higher evaporation rates. If soil contains too much sand or uncomposted wood chips, it lacks water-holding capacity. Incorporate sphagnum peat moss or coconut coir to improve moisture retention and hydraulic conductivity.
Should I use a liner in my raised bed?
Use a breathable liner like landscape fabric only if you need to prevent invasive tree roots or burrowing rodents from entering the bed. Never use plastic, as it prevents drainage and creates anaerobic conditions that kill beneficial aerobic bacteria and fungi.