6 Best Pond Vacuums for Sludge
The smell of anaerobic decomposition is unmistakable; it is the scent of stagnant hydrogen sulfide gas trapped within a thick layer of benthic detritus. When organic matter like fallen leaves and fish waste settles at the bottom of a water feature, it creates a dense, oxygen-depleted muck that chokes the aquatic ecosystem. Maintaining a healthy pond requires the physical removal of this material to prevent nutrient spikes that lead to eutrophication. Selecting the best pond vacuums for sludge is a technical necessity for any horticulturist managing a closed hydrological system where natural filtration cannot keep pace with biomass accumulation.
Effective sludge management ensures that the water column remains clear and that the dissolved oxygen levels stay high enough to support aerobic bacteria. Without intervention, the buildup of organic silt increases the biological oxygen demand (BOD), causing stress to both flora and fauna. A high-performance vacuum allows for the extraction of this sediment without draining the entire pond, preserving the established microbial colonies within the substrate. Professional-grade units utilize a dual-chamber system to provide continuous suction, ensuring that the maintenance window is minimized and the physical structure of the pond remains undisturbed.
Materials:
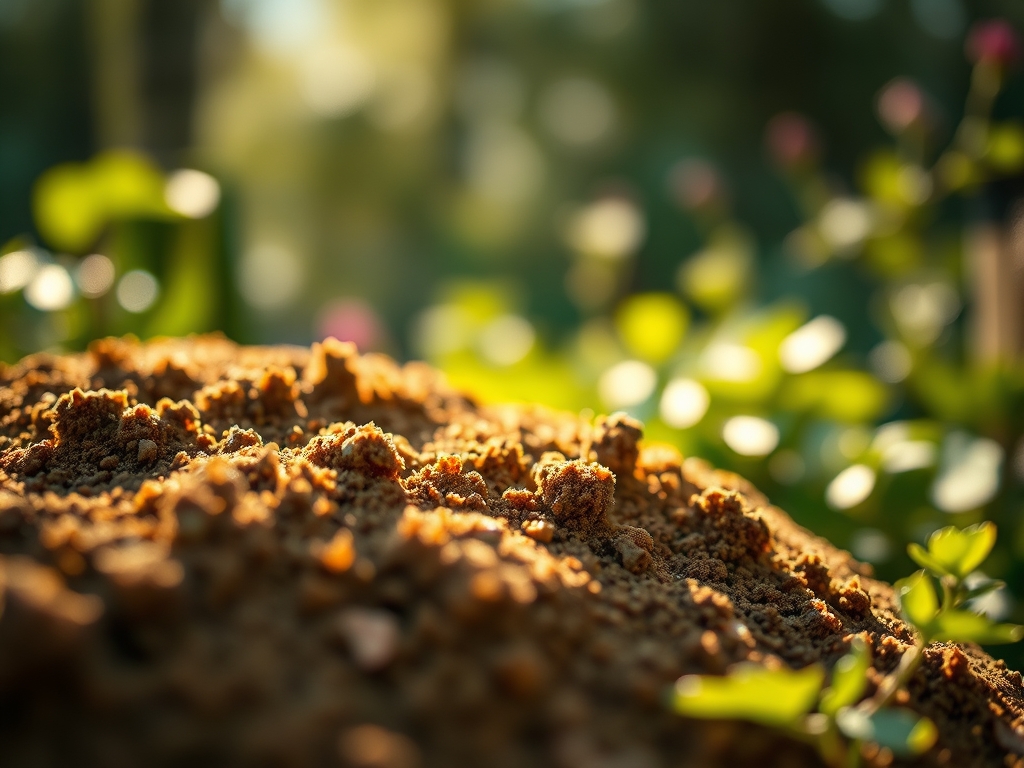
The success of an aquatic garden begins with the substrate. For ponds with heavy planting, a **friable loam** mixed with aquatic clay is ideal. This substrate should maintain a **pH between 6.5 and 7.5** to ensure nutrient availability. In the surrounding terrestrial zones, the soil Cation Exchange Capacity (CEC) should ideally fall between **15 and 25 meq/100g** to retain essential minerals.
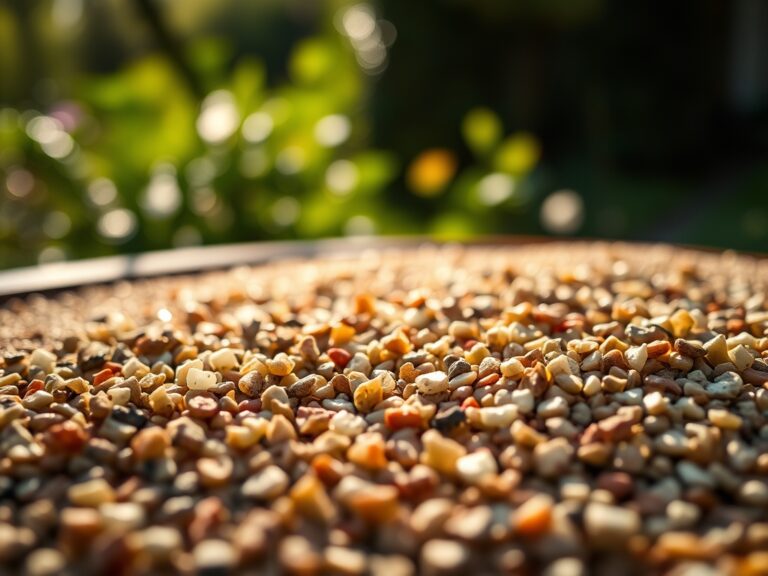
Nutrient management requires specific NPK ratios depending on the plant species. For floating lilies and marginals, a controlled-release fertilizer with an NPK ratio of 10-14-8 provides the necessary phosphorus for rhizome health. Submerged oxygenators require a leaner profile, often benefiting from a 5-10-5 ratio to prevent excessive soft tissue growth that becomes susceptible to pathogens. The physical texture of the pond floor should consist of washed 3/8-inch pea gravel over a liner to allow the vacuum head to glide without snagging the underlying membrane.
Timing:
Pond maintenance and planting schedules are dictated by Hardiness Zones. In Zones 5 through 7, the primary cleaning window occurs when water temperatures rise above 50 degrees Fahrenheit (10 degrees Celsius) but before the spring algal bloom. This timing aligns with the "Biological Clock" of aquatic perennials as they transition from winter dormancy to the vegetative stage.
During the vegetative stage, plants focus energy on leaf production and root expansion. As the photoperiod increases to 12 to 14 hours of light, the plants enter the reproductive stage, shifting resources toward flowering. Heavy vacuuming should be completed before this transition to avoid disturbing the delicate hormonal balance of the plants. In warmer Zones 8 through 10, maintenance can be performed year-round, though it is most efficient in late autumn when the senescence of marginal plants is complete.
Phases:
Sowing and Germination
Aquatic seeds should be started in shallow, 2-inch deep trays filled with sterile aquatic compost. Maintain a consistent water temperature of 72 degrees Fahrenheit.
Pro-Tip: Ensure seeds receive adequate light to trigger phototropism, the directional growth toward a light source. This ensures the first plumule reaches the water surface quickly to begin efficient gas exchange.
Transplanting to the Pond
Move seedlings once they have developed three true leaves. Secure them into mesh pots using heavy clay-based soil to prevent buoyancy. Submerge the pots at a depth where the crown is 2 inches below the surface.
Pro-Tip: Introduce mycorrhizal symbiosis by inoculating the root zone during transplanting. These beneficial fungi extend the root system's reach, improving the uptake of phosphorus and micronutrients from the silt.
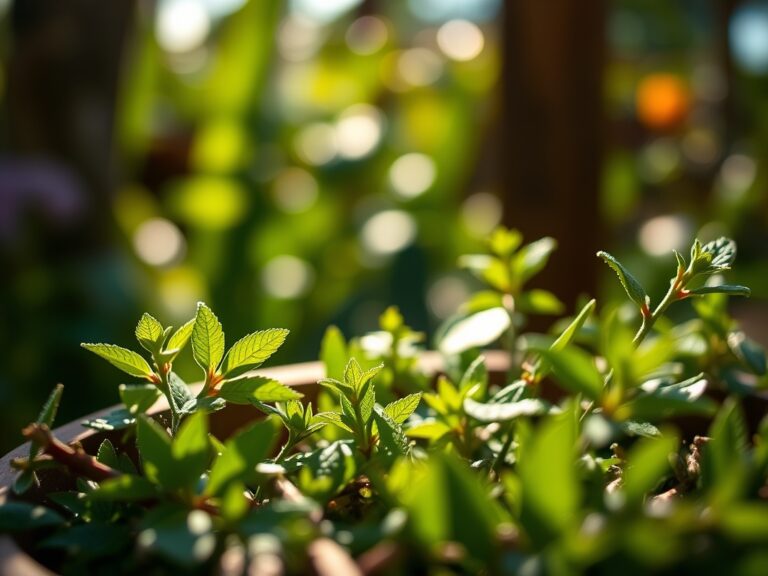
Establishing the Rhizosphere
As the plant matures, the root zone or rhizosphere becomes a hub for microbial activity. Maintain a steady water flow to prevent the accumulation of toxins around the roots.
Pro-Tip: Practice auxin suppression by pinching back early terminal buds on marginal plants. This redirects the plant's growth hormones to the lateral buds, creating a bushier, more stable plant structure that can withstand water movement.
The Clinic:
Monitoring the physiological health of aquatic plants is essential for a balanced pond. Use the following diagnostic guide to identify and correct common issues.
- Symptom: Interveinal Chlorosis. Older leaves turn yellow while veins remain green.
- Solution: This indicates a Magnesium deficiency. Apply a specialized aquatic supplement to raise magnesium levels without altering the pH.
- Symptom: Marginal Necrosis. The edges of the leaves turn brown and brittle.
- Solution: This is typically a sign of Potassium deficiency. Check the NPK balance and increase the K-value in your fertilizer tabs.
- Symptom: Stunted Growth and Dark Purple Foliage.
- Solution: This points to Phosphorus deficiency, often caused by water temperatures falling below 55 degrees Fahrenheit, which inhibits uptake. Insulate the pond or wait for seasonal warming.
- Fix-It for Nitrogen Chlorosis: If the entire leaf turns a pale lime green, the plant lacks Nitrogen. Add 10-0-0 blood meal in small, contained doses to the root zone to restore protein synthesis and chlorophyll production.
Maintenance:
Precision is the hallmark of a master gardener. For marginal plants in the splash zone, ensure they receive the equivalent of 1.5 inches of water per week during dry spells. Use a soil moisture meter to verify that the terrestrial transition zone remains at 60% saturation.
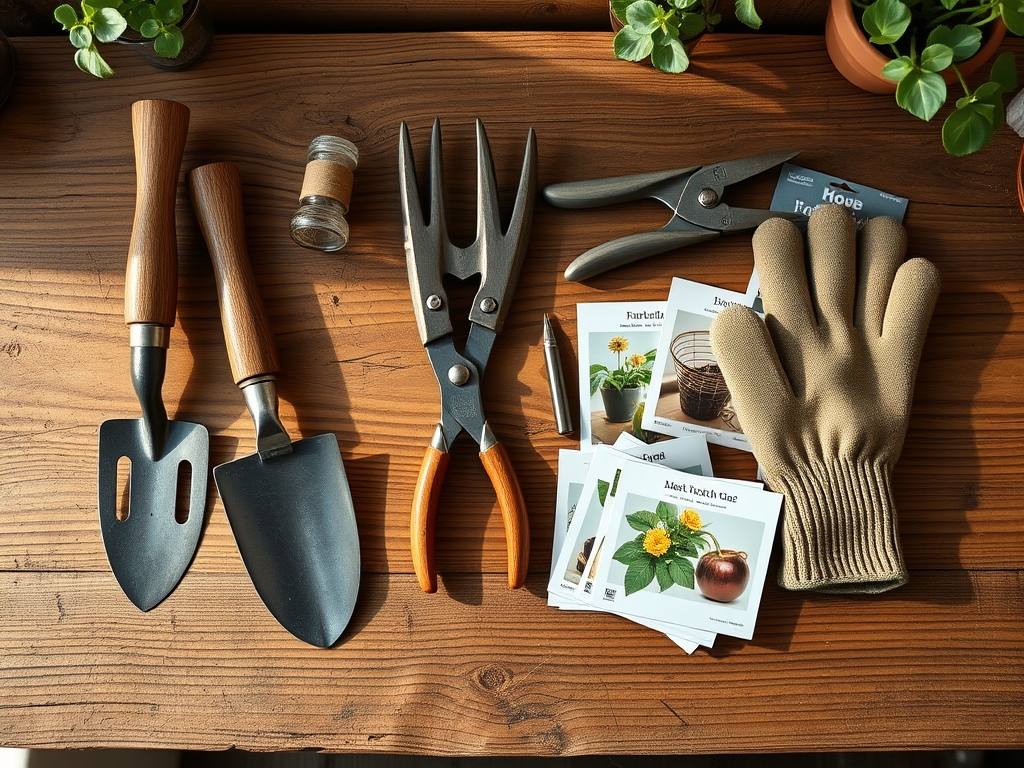
Pruning is a constant task. Use bypass pruners to remove spent flowers and yellowing leaves before they fall into the water and contribute to the sludge layer. For dividing overgrown lilies, a hori-hori knife is the superior tool for slicing through dense, fibrous rhizomes. Every six months, calibrate your water testing kit to ensure the ammonia and nitrite levels remain at 0 ppm, while nitrates should stay below 20 ppm to discourage opportunistic algae.
The Yield:
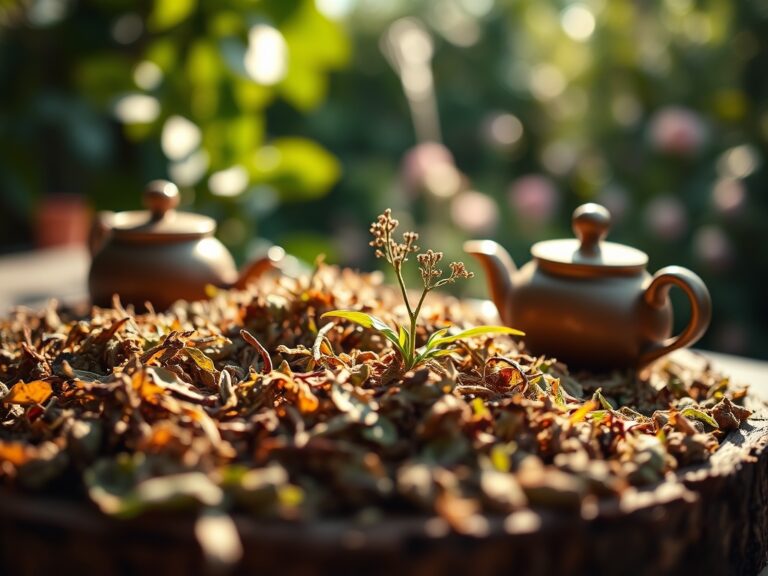
When harvesting aquatic herbs or flowers like Water Hawthorn, timing is critical. Harvest in the early morning when turgor pressure is at its peak; this ensures the stems are rigid and the cells are fully hydrated. Use a sharp, sterilized blade to make a clean 45-degree cut.
Post-harvest handling determines the longevity of the yield. Immediately submerge the stems in 60-degree Fahrenheit water and store them in a cool, dark location for two hours. This process, known as "hardening off," reduces the rate of respiration and preserves the aesthetic and structural integrity of the plant for maximum freshness.
FAQ:
How often should I use a pond vacuum for sludge?
Perform a deep clean twice annually, once in spring and once in autumn. Regular spot cleaning every 30 days prevents the buildup of thick anaerobic layers and maintains high dissolved oxygen levels for the pond's biological filter.
Can I use the vacuumed sludge as fertilizer?
Yes, pond sludge is rich in organic nitrogen and minerals. Spread it thinly over garden beds as a top-dressing. The nutrient-dense profile improves soil structure and provides a slow-release source of energy for terrestrial plants.
What is the best motor strength for a pond vacuum?
Look for a motor with at least 1200 to 1400 watts. This power level provides the necessary lift to move heavy debris and water up a discharge hose, especially if the vacuum unit is placed above the pond's water level.
Will vacuuming hurt my pond fish?
Professional vacuums are safe if used with a mesh intake guard. This prevents small fish or fry from being suctioned into the chamber. Always move the vacuum head slowly to allow larger fish time to swim away from the disturbance.