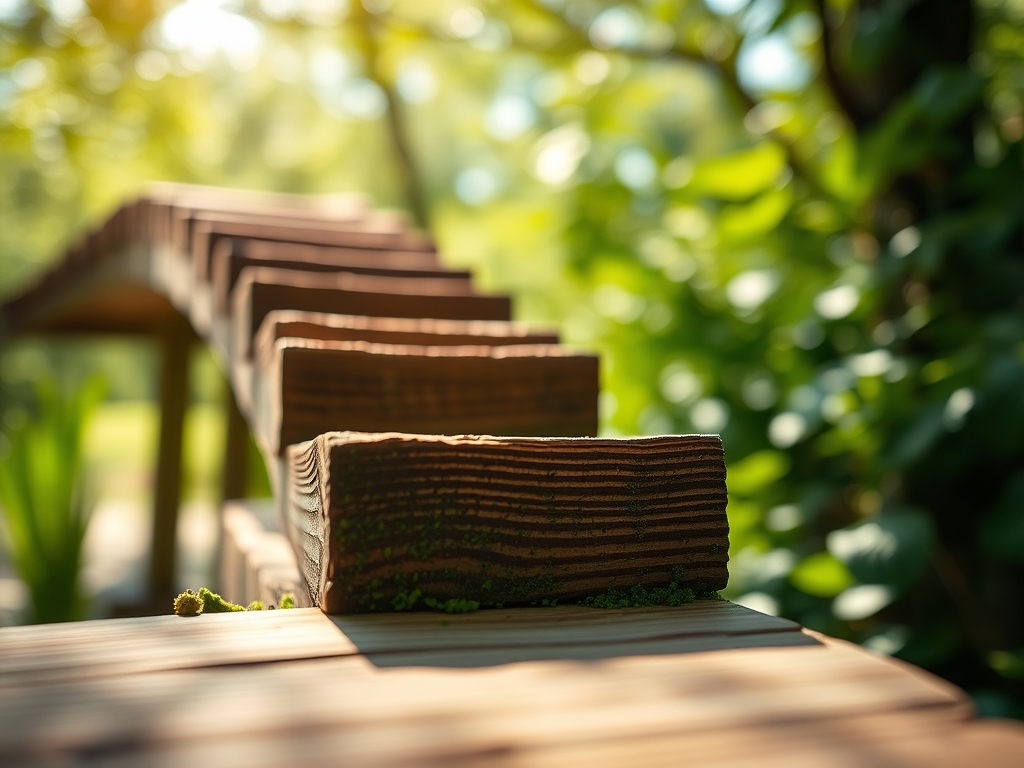
9 Important Steps to Stain a Garden Bridge
Damp earth releases a sharp, geosmin scent after a spring rain, signaling the peak of cellular turgor in the surrounding flora. For the horticulturist, this moisture is a warning. A wooden structure spanning a water feature or a bioswale faces constant hydrostatic pressure and fungal colonization. Proper maintenance is not merely aesthetic; it is a structural necessity to prevent cellulose degradation. Understanding the steps to stain a garden bridge requires the same precision used in managing a high-performing rhizosphere. Wood is a biological tissue that remains porous long after it is harvested. Without a protective barrier, UV radiation breaks down lignin while moisture ingress facilitates the growth of wood-decay fungi. By applying a high-quality sealant or stain, you arrest the process of senescence in the timber. This guide applies the rigors of soil science and structural botany to ensure your bridge survives the cycles of expansion and contraction inherent in temperate and subtropical climates. Success depends on timing, atmospheric humidity, and the chemical composition of the coating.
Materials:

Before addressing the timber, evaluate the surrounding environment. If the bridge is set in **friable loam** with a **pH of 6.5**, the soil acidity may accelerate the oxidation of metal fasteners. For the staining process, you require a penetrating oil-based or water-borne alkyd stain. Avoid film-forming paints that trap moisture. Gather a stiff-bristled nylon brush, an oscillating sander with **80-grit and 120-grit sandpaper**, and a pressure washer regulated to no more than **1,500 PSI**. While staining does not require NPK inputs, the health of the nearby plants is paramount. If you must fertilize the adjacent beds during this maintenance window, utilize a slow-release **10-10-10 NPK ratio** to support root development without causing a surge in vegetative growth that might crowd the workspace. Ensure all runoff is diverted from the **rhizosphere** of sensitive species to prevent chemical phytotoxicity or shifts in the **Cation Exchange Capacity (CEC)** of the substrate.
Timing:
The biological clock of your garden dictates the optimal window for structural maintenance. In Hardiness Zones 5 through 7, the ideal period is late spring or early autumn when the ambient temperature stabilizes between 50 and 80 degrees Fahrenheit. Avoid staining during the transition from vegetative to reproductive stages of nearby perennials, as heavy foot traffic can damage emerging buds. Monitor the dew point; wood moisture content must be below 15 percent for optimal stain absorption. If the wood is saturated, the water occupies the cellular voids, preventing the stain from penetrating the tracheids and vessels of the timber. Wait for a window of 48 hours without precipitation to ensure the chemical bonds cure correctly before the next hydration cycle.
Phases:

Sowing the Foundation: Cleaning and Sanding
The first step is the removal of biological films, including algae and lichen. Use a solution of oxygen bleach rather than chlorine to protect the surrounding soil microbiota. Scrub the wood grain thoroughly to open the pores. Once dry, sand the surface to remove "mill glaze" or previous degraded coatings. This increases the surface area for molecular adhesion.
Pro-Tip: Removing the weathered gray layer exposes fresh cellulose. This is vital because UV-damaged wood fibers lose their structural integrity, preventing the stain from anchoring to the lignified cell walls.
Transplanting the Finish: Application Techniques
Apply the stain using a "wet-on-wet" technique. Use a natural bristle brush to work the pigment into the wood grain, moving from one end of a board to the other to avoid lap marks. Ensure the end-grain of the timber is saturated, as this is where the highest rate of capillary action occurs, leading to internal rot if left unsealed.
Pro-Tip: Focus on the end-grain because these exposed xylem tubes act like straws, drawing moisture deep into the heartwood through capillary rise, much like how a plant moves water via transpiration.
Establishing the Barrier: Curing and Inspection
Allow the first coat to penetrate for approximately 20 to 30 minutes before wiping away excess resin. A second coat may be applied if the wood remains "thirsty," indicating high porosity. The bridge must remain undisturbed for 24 to 48 hours to allow the solvents to evaporate and the resins to polymerize.
Pro-Tip: Polymerization creates a hydrophobic barrier that manages the wood's internal turgor. By regulating moisture exchange, you prevent the mechanical stress of swelling and shrinking that leads to checking and warping.
The Clinic:
Wood, like plants, exhibits symptoms of environmental stress. Identifying these early prevents structural failure.
- Symptom: Graying or Silvering. This is caused by UV degradation of lignin. Solution: Sand back to the "bright" wood and apply a stain with high trans-oxide pigments for UV reflection.
- Symptom: Soft, Spongy Texture. This indicates active fungal decay (rot). Solution: Excise the affected area and treat with a borate-based fungicide before sealing.
- Symptom: Peeling or Flaking. This occurs when a film-forming finish fails to move with the wood. Solution: Strip the coating entirely and switch to a penetrating oil that resides within the wood fibers.
Fix-It for Nutrient Deficiencies: If the plants flanking your bridge show Nitrogen chlorosis (yellowing of older leaves), supplement the soil with a quick-release nitrate-based fertilizer at a rate of 0.5 lbs of Nitrogen per 1,000 square feet once the staining project is complete.
Maintenance:
Post-stain maintenance ensures longevity. Inspect the bridge twice annually. Use a soil moisture meter to check the ground saturation near the bridge footings; excessive moisture at the base can lead to "wicking" rot. Keep the bridge surface free of leaf litter, which traps moisture and creates a microclimate for fungal spores. If you notice localized wear, use a hori-hori knife to scrape away debris from between the planks to ensure proper airflow. Maintain the surrounding garden by using bypass pruners to keep foliage at least 6 inches away from the wood, preventing the transfer of moisture and pests.
The Yield:
While a bridge does not produce a caloric yield, its "harvest" is the preservation of the landscape's structural integrity. A well-maintained bridge should repel water, causing it to bead on the surface rather than soak in. This hydrophobic state should last 2 to 3 years depending on UV exposure. When the wood no longer beads water, the protective resins have reached the end of their functional life, and the cycle must begin again.
FAQ:
How long should I wait after rain to stain?
Wait at least 48 hours of dry, sunny weather. Use a moisture meter to confirm the wood's internal moisture is below 15 percent. Staining wet wood leads to immediate coating failure and trapped fungal spores.
Can I use a sprayer for the stain?
Yes, but you must "back-brush" the surface. A sprayer deposits the stain, but a brush forces the liquid into the cellulose fibers and pores. Back-brushing ensures even distribution and maximum penetration into the wood grain.
What is the best temperature for staining?
Aim for a steady 60 to 75 degrees Fahrenheit. Avoid direct midday sun, which causes the stain to dry too quickly, preventing deep penetration. High humidity above 65 percent will significantly extend the necessary curing time.
Do I need to sand a new bridge?
Yes. New timber often has "mill glaze," a crushed layer of fibers from the planing process. Sanding with 80-grit paper opens these fibers, allowing the stain to bond with the wood's internal structure rather than sitting on top.