8 Best Slip Resistant Boots for Prep
The smell of damp earth and the sharp, metallic tang of cold steel tools define the early morning hours of a professional prep cycle. In the greenhouse or the field, turgor pressure is the primary metric of success; a leaf must feel turgid and resilient, not flaccid or wilted. This physical demand requires a stable foundation for the technician. Navigating the slick, wet surfaces of a wash station or a mud-slicked furrow requires the best slip resistant boots for prep to ensure safety and precision. When handling heavy equipment or delicate seedlings, a single slip can compromise hours of labor or damage expensive irrigation infrastructure. Stability in the rhizosphere starts with stability at the feet. This guide examines the technical requirements for maintaining a high-output botanical environment while ensuring the operator remains grounded on treacherous substrates. We focus on the intersection of horticultural efficiency and structural safety, where every step must be as calculated as a nutrient dosage.
Materials:
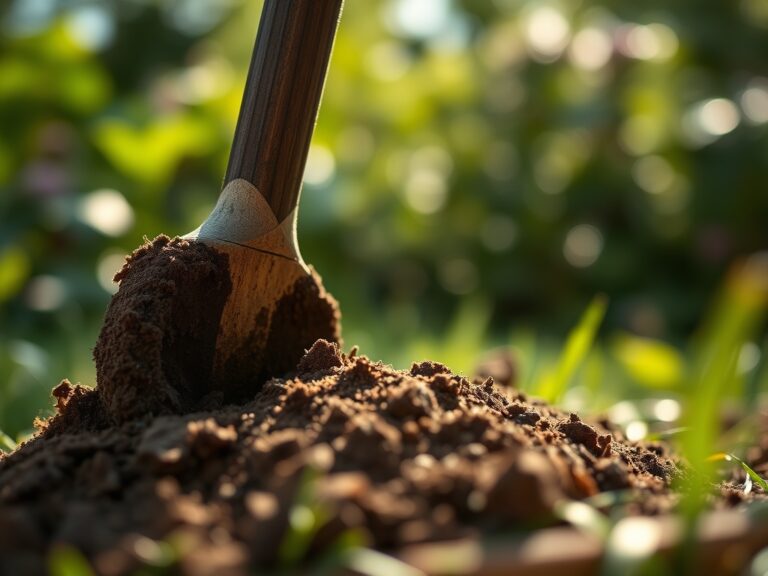
Successful cultivation begins with a substrate that facilitates high Cation Exchange Capacity (CEC). For most intensive prep work, you require a **friable loam** consisting of **40 percent sand, 40 percent silt, and 20 percent clay**. This balance ensures adequate pore space for oxygen while retaining moisture. The soil pH must be calibrated to the specific crop; a range of **6.2 to 6.8** is generally optimal for nutrient bioavailability.
Nutrient management follows strict NPK (Nitrogen, Phosphorus, Potassium) ratios. During the initial prep phase, a 10-10-10 balanced fertilizer provides a baseline, but specific stages require adjustment. For leafy vegetative growth, increase Nitrogen to a 20-10-10 ratio. For root establishment and flowering, pivot to a 10-30-20 ratio to provide the Phosphorus necessary for ATP production and cellular energy transfer. Ensure the substrate has an organic matter content of at least 5 percent to support microbial life and improve soil structure.
Timing:
Precision timing is dictated by USDA Hardiness Zones and the biological clock of the species. In Zones 5 through 7, the spring prep window opens when soil temperatures consistently reach 55 degrees Fahrenheit. This temperature threshold triggers the transition from dormancy to active metabolic states.
The biological clock is governed by the photoperiod. As day length increases, plants move from the vegetative stage (focusing on biomass) to the reproductive stage (focusing on fruit or seed production). For cool-season crops, prep must be completed at least three weeks before the last frost date. For warm-season cultivars, wait until the threat of frost has passed and the soil remains above 65 degrees Fahrenheit overnight. Failure to respect these thermal windows results in stunted growth or premature senescence.
Phases:

Sowing
Seeds must be placed at a depth exactly two to three times their diameter. Inconsistent depth leads to uneven emergence and competition for light. Ensure the seedbed is firm but not compacted; a bulk density of 1.33 g/cm3 is ideal for most row crops.
Pro-Tip: Monitor for phototropism immediately after emergence. Seedlings will lean toward the strongest light source due to the migration of auxins to the shaded side of the stem. Rotate trays 180 degrees daily to maintain vertical structural integrity.
Transplanting
When moving starts from the nursery to the field, minimize root exposure to prevent desiccation. The transition must occur during low-light hours, such as early morning or late afternoon, to reduce transpiration stress.
Pro-Tip: Inoculate the root zone with mycorrhizal fungi during this phase. This symbiotic relationship extends the root system's reach, increasing the surface area for water and phosphorus absorption by up to 100 times.
Establishing
The first 14 days post-transplant are critical for hydraulic integration. The plant must establish a "pull" from the soil to the leaves via the xylem. Maintain consistent moisture levels to prevent the loss of turgor.
Pro-Tip: Avoid excessive early fertilization to prevent auxin suppression. High nitrogen levels can sometimes trick the plant into prioritizing foliage over the deep root development needed for long-term stability.
The Clinic:
Physiological disorders often mimic pathogen attacks but are usually the result of environmental stress or nutrient imbalances.
- Symptom: Interveinal chlorosis (yellowing between green veins) on young leaves.
- Solution: This indicates an Iron deficiency, often caused by a pH above 7.0. Lower the pH using elemental sulfur or apply chelated iron.
- Symptom: Blossom end rot (dark, leathery spots on the base of fruit).
- Solution: This is a Calcium transport issue. Ensure consistent watering to allow the plant to move calcium through the transpiration stream.
- Symptom: Purple tinting on the underside of older leaves.
- Solution: This signals Phosphorus deficiency. This is common in cold soils where microbial activity is low; apply a water-soluble high-phosphorus starter.
- Symptom: Tip burn on new growth.
- Solution: Often caused by Boron toxicity or high salinity. Flush the rhizosphere with clean, un-softened water to leach excess salts.
Maintenance:
Consistency is the hallmark of professional horticulture. Apply exactly 1.5 inches of water per week at the drip line. Use a soil moisture meter to verify that the root zone at a 6-inch depth remains at 60 to 80 percent field capacity.
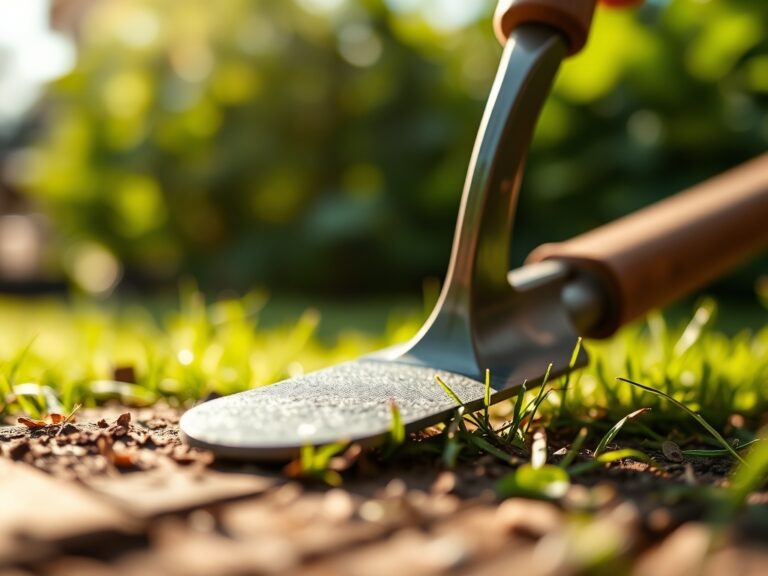
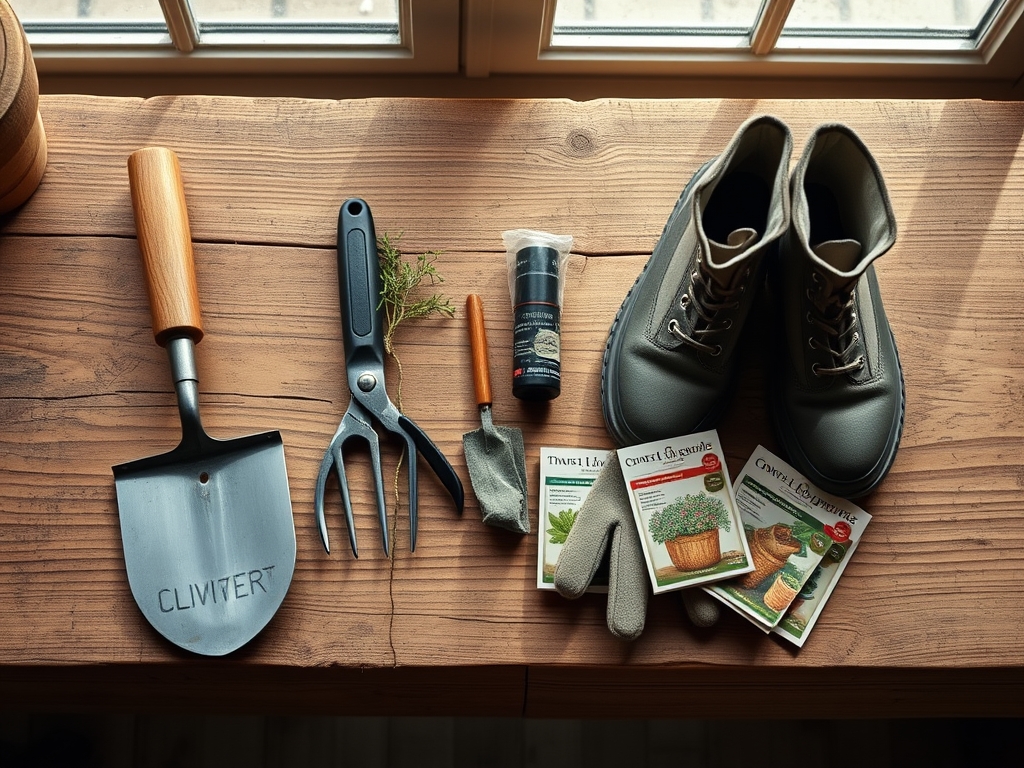
Pruning must be surgical. Use bypass pruners for living tissue to ensure a clean cut that heals quickly; anvil pruners can crush the vascular cambium. For weeding and soil aeration, a hori-hori knife allows for precise extraction of taproots without disturbing the surrounding soil structure. Always disinfect tools with a 10 percent bleach solution between plants to prevent the mechanical transmission of viral pathogens.
The Yield:
Harvesting is a race against cellular degradation. For most crops, the peak harvest window occurs at physiological maturity, just before the plant begins the process of senescence. Harvest during the coolest part of the day, typically between 5:00 AM and 8:00 AM, when respiration rates are lowest and sugar concentrations are highest.
Post-harvest handling is critical for "day-one" freshness. Immediately reduce the field heat of the produce by hydro-cooling or placing it in a forced-air cooling system. Maintaining a temperature of 34 to 40 degrees Fahrenheit and a relative humidity of 90 percent will slow metabolic activity and preserve the cellular structure for extended shelf life.
FAQ:
What is the best way to prevent slipping during prep?
Wear boots with a high-traction, oil-resistant rubber outsole featuring a multi-directional lug pattern. These are the best slip resistant boots for prep because they channel liquids away from the contact point, maintaining a high coefficient of friction on wet concrete or mud.
How do I fix yellow leaves?
Identify if the yellowing is on old or new growth. Old growth yellowing usually indicates a Nitrogen deficiency, while new growth yellowing suggests Iron or Manganese issues. Adjust the pH first, as most deficiencies are actually nutrient "lockout" caused by improper acidity.
How often should I test my soil?
Conduct a professional lab analysis once every 12 months before the primary planting season. This provides data on CEC, organic matter, and micronutrient levels. Supplement this with weekly EC (Electrical Conductivity) tests if using liquid fertigation systems to monitor salt buildup.
What is the most important tool for a prep gardener?
A high-quality hori-hori knife is essential. Its dual-edge design (serrated and straight) allows for planting, weeding, and measuring depth in a single tool. It is the primary instrument for managing the immediate rhizosphere without causing excessive soil compaction or root trauma.