6 Basic Steps to Install a Soil Barrier
The smell of damp earth after a heavy rain signals the release of geosmin; this organic compound indicates a healthy microbial population within the rhizosphere. Maintaining that health requires structural integrity. When invasive root systems or chemical runoff threaten your cultivated beds, the most effective defense is a physical obstruction. Mastering the steps to install a soil barrier ensures that your high-value specimens remain isolated from aggressive competitors and contaminated groundwater. A successful installation prevents the lateral migration of rhizomes while maintaining the necessary turgor pressure in your primary crops. You are not just digging a trench; you are managing the subterranean architecture of your landscape. By controlling the boundary between native soil and amended beds, you regulate nutrient availability and moisture retention. This process requires a precise understanding of soil mechanics and plant physiology. Without a barrier, your carefully balanced soil chemistry will eventually succumb to the dilution of the surrounding environment.
Materials:
Selecting the correct substrate is the foundation of structural success. You must start with a **friable loam** consisting of approximately 40 percent sand, 40 percent silt, and 20 percent clay. This specific texture provides an ideal **Cation Exchange Capacity (CEC)**, allowing the soil to hold onto essential nutrients like potassium and magnesium.
For the barrier itself, utilize high-density polyethylene (HDPE) with a thickness of at least 60 mil. This material resists the puncture force of woody roots. If you are amending the soil within the barrier, aim for a pH between 6.2 and 6.8 to optimize nutrient uptake. Your initial fertilization should follow a strict NPK ratio of 10-10-10 for general establishment or a 5-10-5 ratio if you are prioritizing root development over foliage. Ensure you have a supply of coarse builder's sand to provide a drainage base at the bottom of your trench, which prevents anaerobic conditions that lead to root rot.
Timing:
The biological clock of your garden dictates the installation window. In USDA Hardiness Zones 4 through 7, the ideal time for installation is early spring, at least three weeks before the last frost date. This allows the soil to settle before the plants enter their peak vegetative stage. In warmer Zones 8 through 10, late autumn is preferable to avoid the extreme heat that can cause plastic barriers to expand or warp during installation.
Monitoring the transition from vegetative to reproductive stages is critical. If you install a barrier while a plant is in its reproductive phase (flowering or fruiting), the mechanical stress of root disturbance can trigger senescence, causing the plant to shut down prematurely. Aim for the "dormant window" when metabolic activity is at its lowest. Soil temperature should be at least 50 degrees Fahrenheit (10 degrees Celsius) to ensure the ground is workable and to prevent the freezing of delicate root hairs during the process.
Phases:

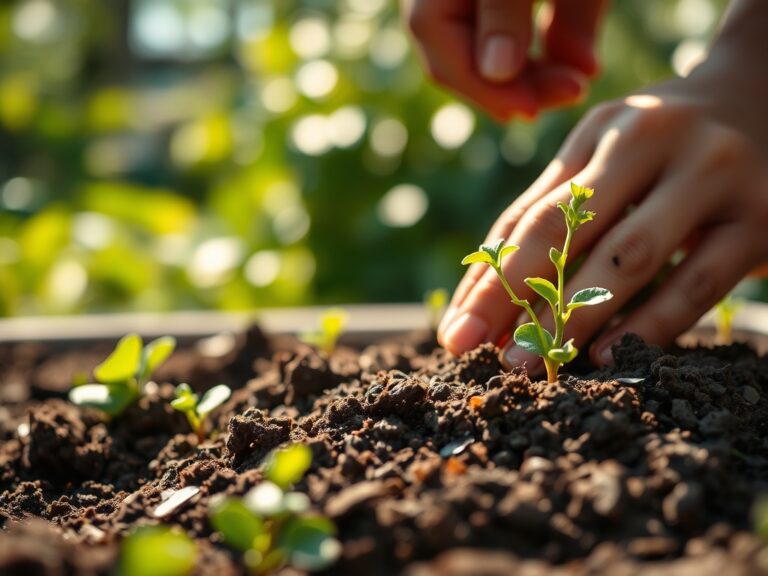
Sowing and Site Preparation
Begin by excavating a trench 24 to 36 inches deep. The depth is determined by the specific root architecture of the invasive species you are blocking. For running bamboo, a 30-inch depth is the industry standard. Ensure the walls of the trench are vertical and smooth.
Pro-Tip: Angle the barrier slightly away from the planting area at a 15-degree tilt. This utilizes thigmotropism, a biological response where roots hitting the barrier are directed upward toward the surface rather than finding a way underneath it.
Transplanting and Placement
Insert the HDPE liner into the trench. Leave exactly 2 inches of the barrier protruding above the soil line. This prevents "over-topping," where stolons or surface runners grow over the top of the barrier and re-establish themselves on the other side. Backfill the exterior side with native soil and the interior side with your amended friable loam.
Pro-Tip: When backfilling, avoid over-compacting the soil. High bulk density restricts mycorrhizal symbiosis, the symbiotic relationship between fungi and roots that increases phosphorus uptake by up to 10 times.
Establishing and Hydration
Once the barrier is set, saturate the area to eliminate air pockets. Air pockets cause root desiccation. Use a soil moisture meter to ensure the root zone reaches a saturation level of 70 percent during the first 14 days.
Pro-Tip: Maintaining consistent moisture during establishment prevents the release of abscisic acid, a hormone that causes stomatal closure and halts photosynthesis when a plant perceives drought stress.
The Clinic:
Physiological disorders often arise from improper installation or poor soil management within the barrier.
Symptom: Interveinal chlorosis (yellowing leaves with green veins) on new growth.
Solution: This indicates Iron deficiency, often caused by a pH above 7.0.
Fix-It: Apply chelated iron and lower the pH using elemental sulfur to reach a 6.5 target.
Symptom: Leaf margins appearing "burnt" or brown.
Solution: This is typically Potassium deficiency or salt accumulation.
Fix-It: Flush the soil with 2 inches of water to leach salts and apply a 0-0-50 sulfate of potash supplement.
Symptom: Stunted growth and pale green color across the entire plant.
Solution: Nitrogen chlorosis.
Fix-It: Apply a quick-release nitrate-based fertilizer at a rate of 1 pound of actual nitrogen per 1,000 square feet.
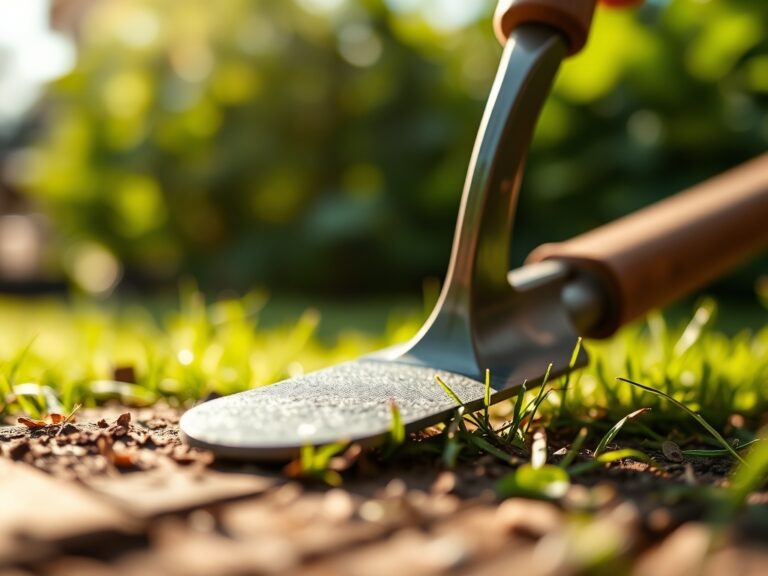
Maintenance:
A soil barrier is not a "set and forget" system. You must monitor the perimeter monthly. Use a hori-hori knife to slice along the inside of the barrier to prune any "circling roots" that could eventually girdle the plant. Maintain a strict irrigation schedule of 1.5 inches of water per week delivered directly at the drip line.
Check the structural integrity of the barrier after any heavy freeze-thaw cycles. Soil heaving can push the barrier out of the ground. Use bypass pruners to remove any organic debris like fallen leaves or mulch that bridges the 2-inch gap above the soil, as this debris creates a "ladder" for invasive roots to cross. Test your soil pH every two years; the enclosed nature of a barrier can lead to localized acidification.
The Yield:
When harvesting from a barrier-protected bed, timing is everything. For woody perennials, harvest during the morning hours when turgor pressure is at its highest. This ensures the plant tissue is hydrated and crisp. For flowers, cut when the buds are at the "tight crack" stage.
Post-harvest, immediately submerge the cut ends in 40-degree Fahrenheit water. This rapid cooling slows down the metabolic rate and delays the onset of ethylene production, which is the gas responsible for aging and wilting. By controlling the subterranean environment with a barrier, you ensure that the energy of the plant is directed toward fruit and flower production rather than competing for resources.
FAQ:
How deep should a root barrier go?
Most residential barriers should reach a depth of 24 to 36 inches. This depth effectively intercepts the majority of lateral-growing rhizomes and stolons found in common invasive species and aggressive turf grasses.
What is the best material for a soil barrier?
High-density polyethylene (HDPE) with a thickness of 60 mil is the professional standard. It is chemically inert, does not leach toxins into the rhizosphere, and provides the mechanical strength necessary to deflect powerful root systems.
Can I use wood or metal as a barrier?
Wood decays within a few seasons due to microbial activity. Metal can rust and leach heavy metals into the soil, altering the cation exchange capacity. HDPE is preferred for its longevity and chemical stability.
Why must the barrier stick out above the ground?
Leaving 2 inches of the barrier visible prevents surface runners from "jumping" the wall. Without this lip, plants like Bermuda grass or mint will simply grow over the top and bypass the underground obstruction.