5 Vital Steps to Secure a Cat Enclosure
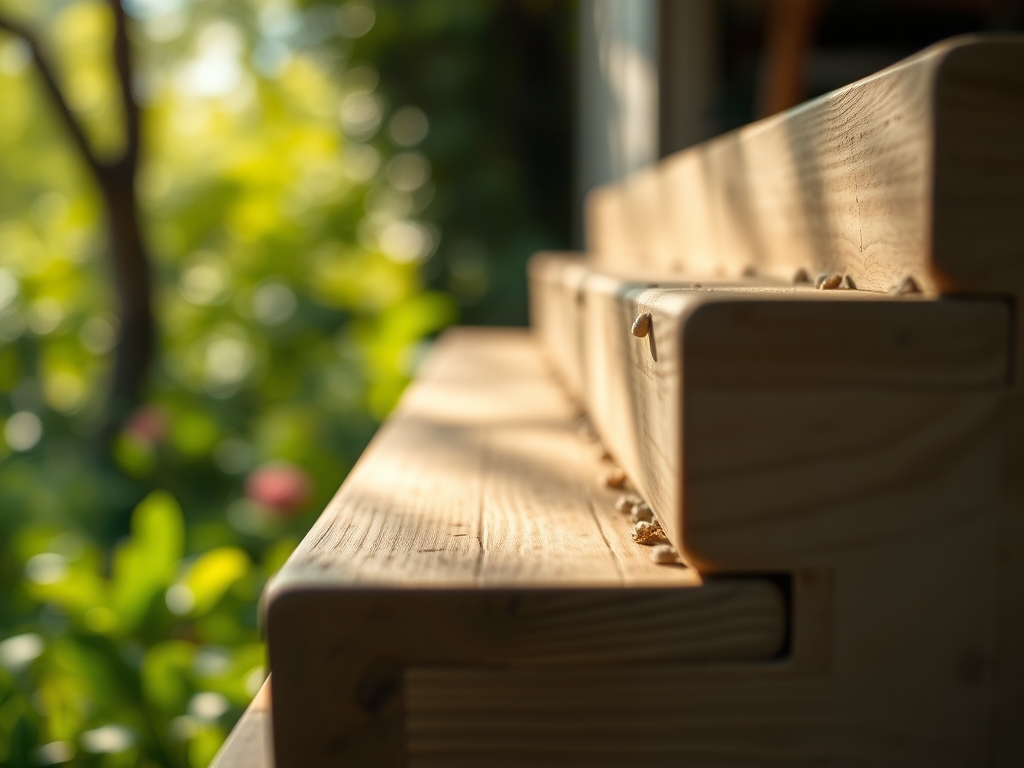
Crushed basalt underfoot releases a sharp, metallic scent when damp; it is the smell of a stable foundation. A healthy leaf maintains high turgor pressure through consistent osmotic balance, a state that mirrors the structural integrity required for an outdoor feline habitat. Achieving this stability requires precise steps to secure a cat enclosure against environmental stressors and physical force. You must treat the enclosure as a living extension of the landscape, ensuring the perimeter resists both subterranean burrowing and lateral tension. Failure to anchor the base or tension the mesh leads to structural senescence. By integrating heavy-gauge galvanized steel with deep-set pressure-treated timber, you create a barrier that withstands the kinetic energy of a climbing animal while maintaining the aesthetic standards of a professional botanical collection. Precision in the initial layout prevents the gradual shifting caused by freeze-thaw cycles in the upper soil horizons.
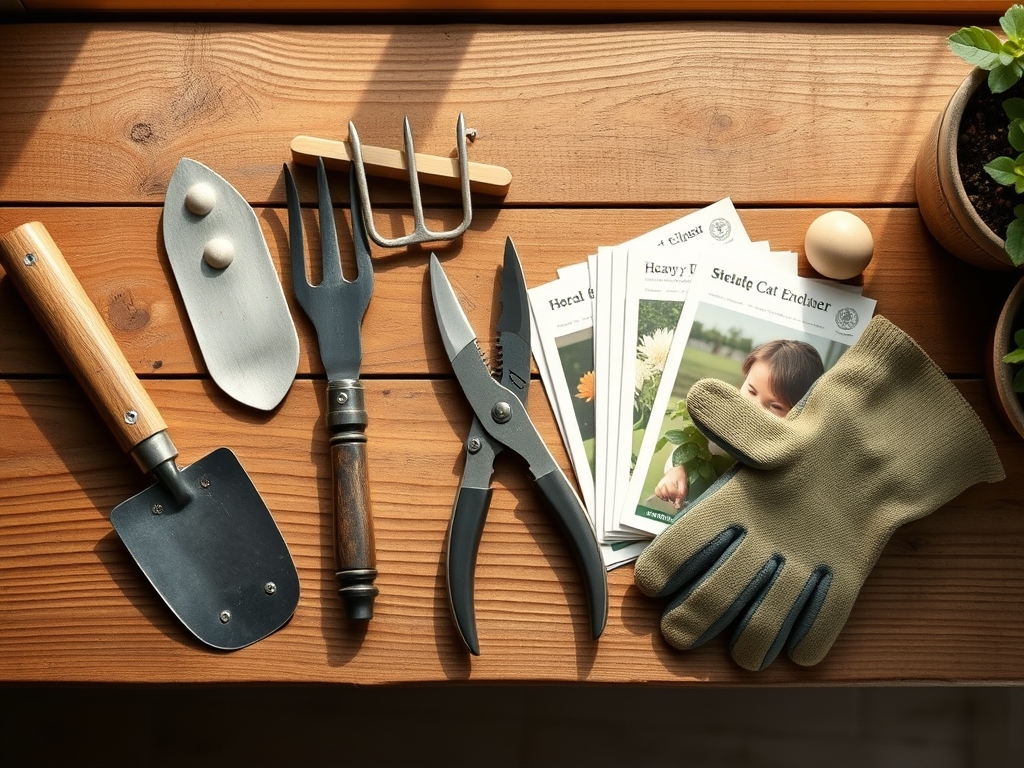
Materials:
The success of any structural installation begins with the substrate. For high-traffic enclosures, the soil must be a friable loam with a pH between 6.0 and 7.0 to prevent the rapid corrosion of metal ground stakes. If your soil is heavy clay, the Cation Exchange Capacity (CEC) will be high, meaning it retains moisture that can lead to wood rot at the post base.
To stabilize the area surrounding the enclosure, apply a balanced 10-10-10 NPK ratio fertilizer to the turf or perimeter plantings. This ensures robust root systems that act as biological anchors for the soil. If you are planting cat-safe vegetation like Nepeta cataria or Chlorophytum comosum within the enclosure, transition to a 5-10-5 NPK ratio to prioritize root development and structural cellulose over rapid, weak vegetative growth. The substrate should feel granular and crumble under pressure, indicating a healthy balance of sand, silt, and organic matter that allows for 1.5 inches of drainage per hour.
Timing:
Installation should occur when the ground is workable, typically between Hardiness Zones 4 and 8 during the window after the last spring frost but before the summer solstice. This timing aligns with the biological clock of the surrounding flora; plants are in a vigorous vegetative state and can quickly recover from the root disturbance caused by digging post holes.
Avoid construction during peak dormancy (winter) as frozen soil prevents the proper compaction of backfill, leading to "frost heave" where the earth ejects the posts. Conversely, late-summer installation risks high transpiration rates for any peripheral plants, causing wilting and loss of turgor. Aim for a soil temperature of at least 55 degrees Fahrenheit to ensure that any stabilizing ground cover can establish its rhizosphere around the new hardware.
Phases:

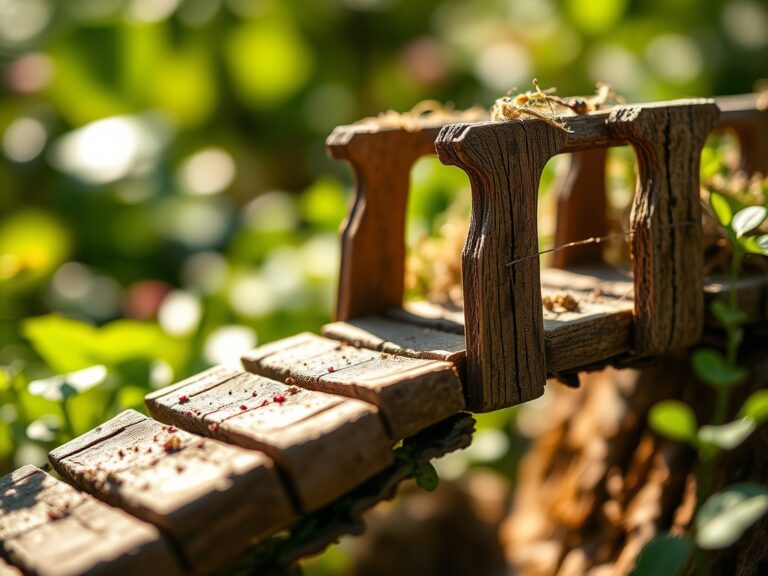
Sowing the Foundation
Excavate the perimeter to a depth of 12 inches. This depth is critical to prevent predators from digging in and to secure the mesh below the soil line. Line the trench with 19-gauge hardware cloth.
Pro-Tip: Ensure the mesh flares outward in an "L" shape. This utilizes the weight of the overlying soil to create a physical lever; as an animal digs down, it encounters the horizontal mesh, preventing further penetration. This mimics the way deep taproots stabilize a plant against lateral wind shear.
Transplanting the Framework
Set your vertical supports at 6-foot intervals. Use a soil moisture meter to ensure the ground is not saturated before pouring concrete or tamping the earth. If using wooden posts, ensure they are rated for "ground contact" to resist the fungal pathogens present in the soil's organic layer.
Pro-Tip: Use a plumb bob to ensure 90-degree verticality. This prevents gravitational stress from causing "lean," much like how plants use negative gravitropism to grow away from the earth's center. A tilted post creates uneven tension on the mesh, leading to premature metal fatigue.
Establishing the Barrier
Secure the heavy-duty netting or wire mesh using stainless steel zip ties or galvanized staples every 4 inches. Tension is paramount; the mesh should not deflect more than 0.5 inches when pushed.
Pro-Tip: Install an inward-leaning "overhang" at the top of the enclosure at a 45-degree angle. This exploits the physical limitations of feline anatomy. Because cats cannot easily navigate an inverted climb, this design utilizes the principle of mechanical advantage to keep the inhabitant contained without the need for a full roof.
The Clinic:
Physiological disorders in the enclosure environment often manifest as structural or botanical failures.
Symptom: Mesh sagging or "bellying" between posts.
Solution: Install a high-tensile tension wire at the top and bottom of the run. Use turnbuckles to tighten the wire until the mesh is taut. This redistributes the load across the entire framework.
Symptom: Leaf yellowing (Chlorosis) on perimeter plants.
Solution: This is often a Nitrogen deficiency. Apply a quick-release high-nitrogen fertilizer (30-0-0) to restore chlorophyll production and increase photosynthetic efficiency.
Symptom: Wood rot at the soil line.
Solution: Improve drainage by grading the soil away from the post. Use a hori-hori knife to scrape away soft, necrotic wood and apply a copper-based fungicide to arrest the decay.
Fix-It for Nutrient Deficiencies:
If plants near the enclosure show purple undersides on leaves, this indicates Phosphorus deficiency. Incorporate bone meal into the top 2 inches of soil to support cellular energy transfer (ATP) and strengthen the plant's vascular system.
Maintenance:
A secured enclosure requires rigorous mechanical and biological upkeep. Inspect the perimeter weekly for signs of soil erosion or animal interference. Use bypass pruners to clear any overhanging branches within 4 feet of the enclosure; these act as "ladders" that bypass your security measures.
Irrigation management is vital for the longevity of the structure. Provide 1.5 inches of water per week at the drip line of any perimeter plantings to maintain soil density. Dry, desiccated soil shrinks and pulls away from posts, creating gaps. Use a soil moisture meter to verify that the moisture has penetrated to a depth of 6 inches. Every six months, check all fasteners for oxidation. If you find rust, sand the area and apply a cold-galvanizing spray to prevent the spread of iron oxide.
The Yield:
While a cat enclosure does not produce a caloric harvest, its "yield" is measured in the longevity of the materials and the health of the enclosed environment. If you have integrated a "catio" garden, harvest herbs like catnip when the plant reaches 8 inches in height. Cut just above a leaf node to stimulate auxiliary bud growth and prevent apical dominance from making the plant leggy.
For day-one freshness, harvest in the early morning when turgor pressure is highest and the essential oils are concentrated in the foliage. Place the stems immediately in cool water or a sealed container to prevent wilting caused by rapid transpiration.
FAQ:
What is the best mesh size for a cat enclosure?
Use a 2-inch by 2-inch or smaller mesh. This prevents the cat from getting its head stuck and stops small predators from entering. Ensure the wire is at least 16 to 19 gauge for structural durability.
How deep should I bury the fence?
Bury the mesh at least 12 inches into the substrate. For maximum security, flare the mesh outward in an "L" shape at the bottom of the trench to stop burrowing animals from tunneling under the perimeter.
Can I use PVC pipe for the frame?
PVC lacks the structural rigidity for long-term security. It degrades under UV radiation, becoming brittle and prone to cracking. Use galvanized steel or pressure-treated timber to ensure the enclosure survives environmental stressors and physical impact.
How do I stop my cat from climbing the mesh?
Install a 12-inch inward-facing return at the top of the fence. Set this at a 45-degree angle. The inverted slope makes it physically impossible for the cat to crest the top, utilizing their own weight against them.